One of the things that brings me so much enjoyment is creating. Whether it’s a craft project or a larger home renovation project, I just love to make things! When I’m working on a project, it’s like I go into my happy place.
Now, I don’t always have hours and hours to just create all day. I’ve got other responsibilities and things to take care of. So, sometimes it’s nice to be able to do a project that’s creative but also quick and easy. Those types are projects are the best!
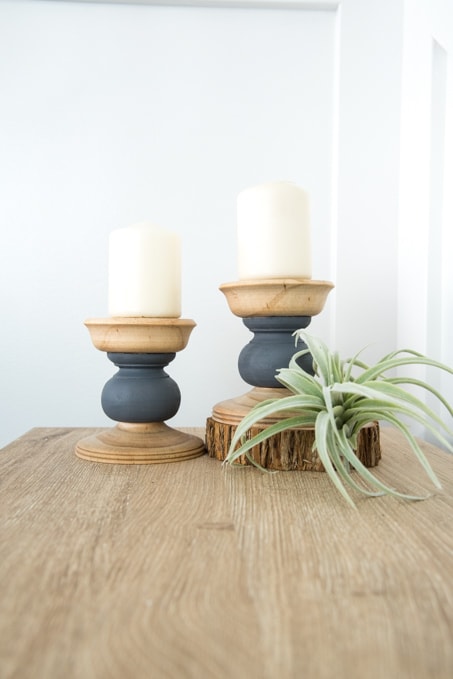
And let me tell you, this DIY candle holder project was just that kind of project. A super quick DIY project that made me feel so accomplished once I was finished.

Let me show you how to make them!
This post contains affiliate links for your convenience. For more information, see my disclosures here.
DIY Color Block Candle Holders
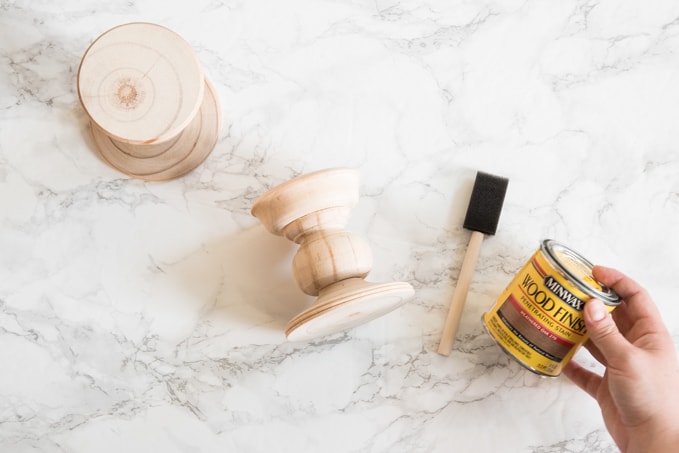
Materials
- Unfinished Wooden Candle Holders (I found mine at Michael’s. At around $5 a piece, they quickly found their way into my cart.)
- Minwax Stain in Weathered Oak
- Fusion Mineral Paint in Soap Stone
- Foam Brushes
- Paper Towels
The design that I wanted for these candle holder was pretty simple. I wanted the middle section to be the gray color block part and I wanted to the top and bottom to have a wood finish.

For these candle holders, I really wanted to keep the natural wood look, but the unfinished wood looked a little “too unfinished” without stain. So I grabbed a small can of Minwax stain from my painting stash in the shade Weathered Oak.
Weathered Oak is one of my favorite stains because it’s a mix of natural brown and a hint of gray. I love it!
It’s always a best practice to stain first and paint second. That’s because you can paint over any stain mistakes, but you can’t stain over paint mistakes.
Using a foam brush, I applied a layer of stain on one section of the candle holder.

Then, I used a paper towel to wipe away the excess stain. Quick and easy!


Then, I repeated this process for the other section of the candle holder. And then I repeated it again for the second candle holder.

After the stain on the sides was dried, I went back and stained the top and bottom of the candle holders. That way none of the wood in the top and bottom sections was left unfinished.
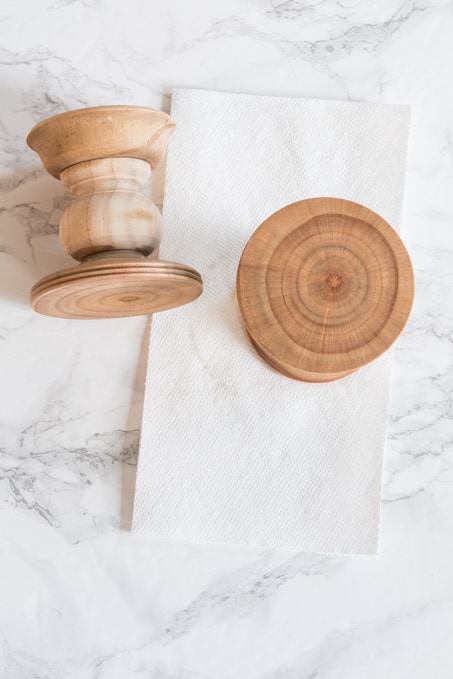
Look at that color! I loved the look of the Weathered Oak stain. One thing you have to remember to do with this stain color is to mix it properly before you use it. That’s because it has some gray paint mixed into it. You want it to be evenly distributed when you apply it.
I had a small issue with this and got a little too much gray in one part of my candle holder. It’s ok though, I like that the candle holders each look a little different and unique.
Once the stain was dry, I grabbed one of my sample jars of Fusion Mineral Paint.

I’ve used Fusion Mineral Paint in a few projects in the past, like my Old Furniture Makeover and my DIY Gather Wooden Sign.
Back when I was deciding on the colors that I wanted for my larger projects, I ordered some of the mini sample jars. These are perfect for small craft projects like this!
Fusion Mineral Paint is great because it is self-levelling. That means that once it dries, the brush strokes level out and are no longer visible. It also has a great matte finish that I really love.
Even though this little mini jar is small, I haven’t run out of any of my samples yet. The paint really goes a long way!
I used a foam brush to apply the paint onto the middle section of the candle holders.

And, since I was going for “easy” on this project, I didn’t even tape off the stained sections of the candle holders. I just carefully used the brush to get the paint into the small curves. If you are really worried though, you could use painter’s tape to make sure you don’t mess up.
I wasn’t really concerned about these looking too perfect, so I just went for it.

I only applied one coat of Fusion Mineral Paint and then I let everything dry.
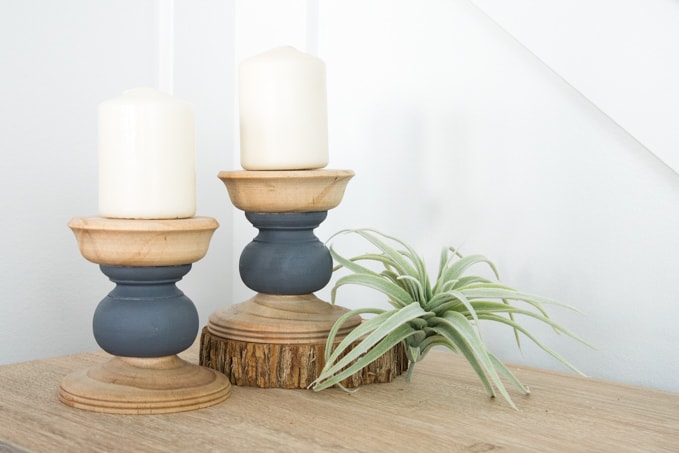
After about an hour, my candle holders were finished!

Seriously you guys, this was one of the easiest home decor projects that I’ve ever done!
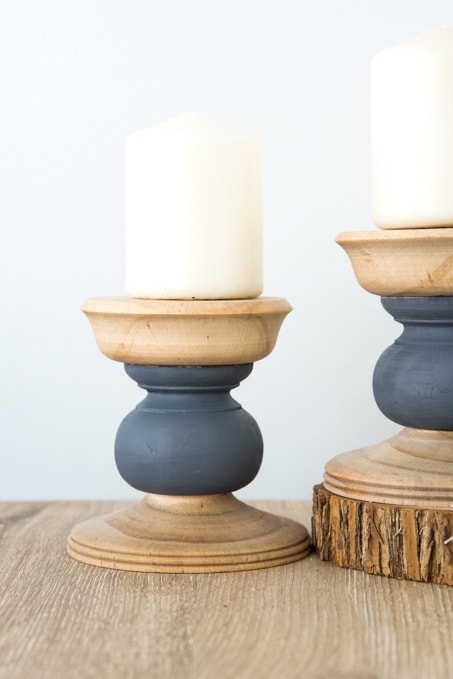
And now I have these really pretty modern candle holders for my home.
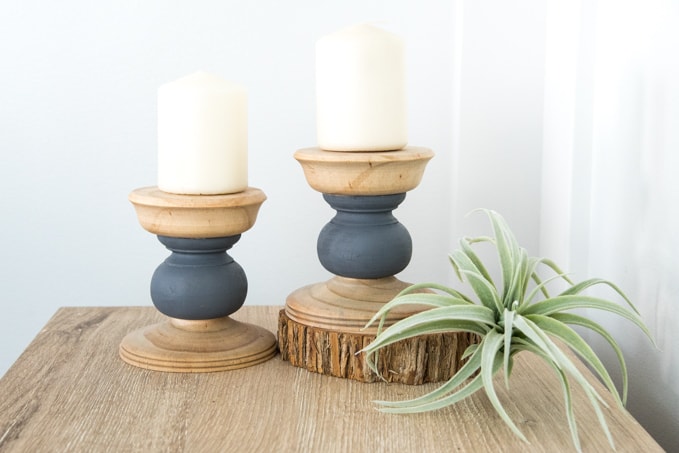
I only spent about $10 on the unfinished wood and, since I already had the paint and stain, that meant they only cost me $5 a piece!
That’s amazing considering I’ve seen some pillar candle holders in stores for around $30 a piece!
I’m so happy with how my budget-friendly versions look! I think I may even make another set. Or maybe I’ll make them as a gift. I think I just want to do another quick and easy creative project. ????
I hope you enjoyed this tutorial. Do you love quick and easy creative projects as much as I do? Let me know in the comments.
I hope you have a great week!


These are so cute! I am definitely borrowing this idea for whenever we finally add some shelving in our master!
Thanks Brittany!! 🙂
These would look so great in a master bedroom. I can’t wait to see how you decorate.
Thanks for stopping by the blog
>> Christene