Make a DIY oh come let us adore him pillow using the Cricut Explore or Cricut Maker. This pillow will look great in your home!
Welcome to Have Yourself A Very Cricut Christmas: 25 Days of Homemade Holiday Crafts!
Each day in December, I’ll be sharing a new Christmas project that you can make using your Cricut. It’s going to be a blog version of an advent calendar! Come back every day to get a new “gift.”
Today’s gift is an Oh Come Let Us Adore Him Pillow.

One of my favorite ways to decorate for Christmas is to change out my throw pillow covers.
During the Christmas season, it’s fun to add in some more themed pillow covers.
You can buy pillow covers online, or you can make your own custom designs. With iron-on vinyl, you can get the same look as pillow covers you find online.
I designed a modern calligraphy style Christmas pillow cover design that I think will look great with any Christmas decor style. It’s simple and beautiful!
You’re going to love this Oh Come Let Us Adore Him Pillow. Here’s how to make it!
How to Make an Oh Come Let Us Adore Him Pillow Using The Cricut
This post contains affiliate links for your convenience. For more information, see my disclosures here.
Materials:
Tools:
- Cricut Machine (You can use a Cricut Explore or a Cricut Maker for this project)
- Standard Grip Cutting Mat
- Cricut Fine-Point Blade (comes with all Cricut Machines)
- Cricut Weeder Tool
- Cricut EasyPress or Iron
- Cricut EasyPress Mat or Ironing Board
How to Cut Out The Project Using The Cricut
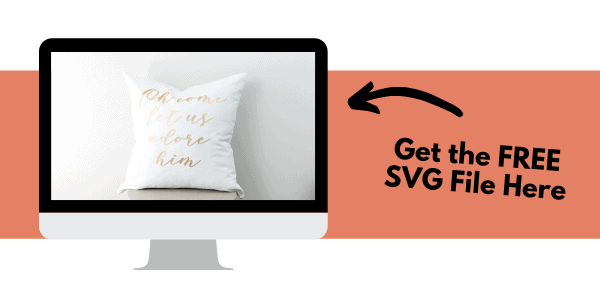
First, you will need to download the Oh Come Let Us Adore Him Pillow SVG file.
Get the Free Oh Come Let Us Adore Him Pillow SVG File
Start by opening Cricut Design Space and creating a new project.
Upload the SVG File
Then, upload the SVG file by selecting the Upload button and then Upload Image. Next, drag and drop or select the SVG file you want to upload.
After the SVG is uploaded, add the image to your design canvas.
If you need a little more help uploading SVG files, you can learn more in this post.
The SVG file will already be sized properly for this project.
Make It
Now it’s time to make your project!
Click on the Make It button in the upper right of the screen.
The first screen you will see is the Mat Preview Screen. This will show you all of the different mats needed for your project. Each mat represents another piece of material.
For this project, there is only one material being used.
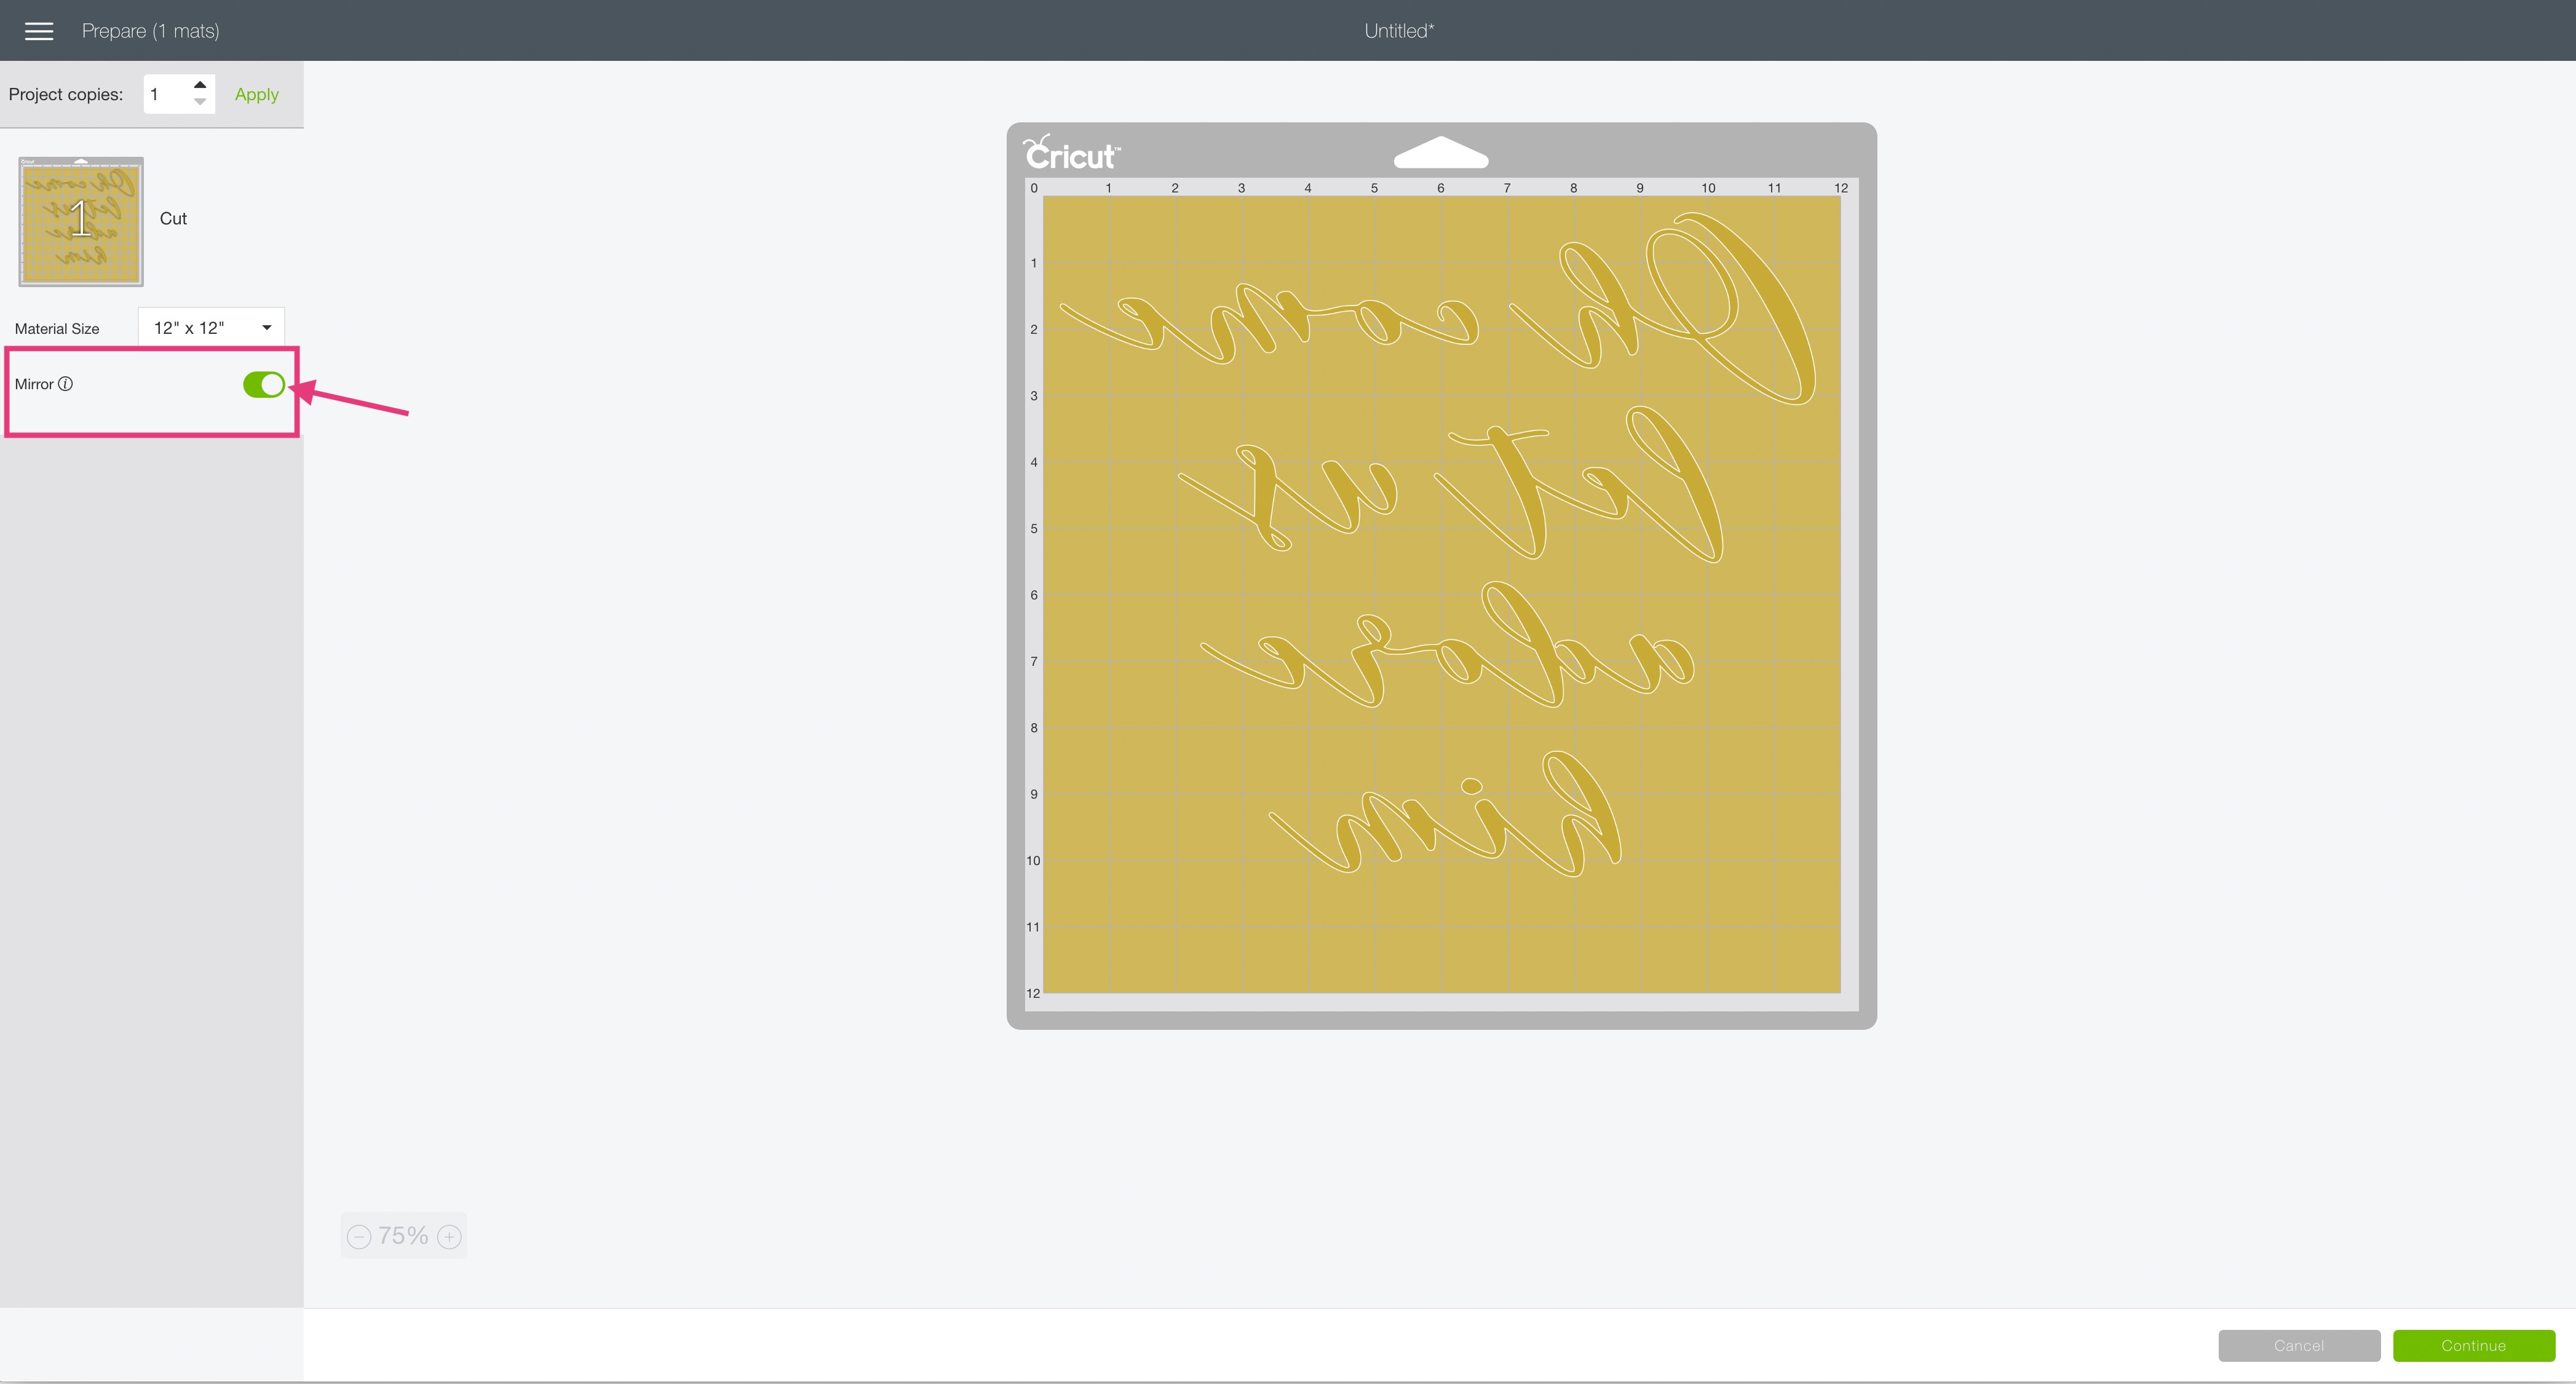
When cutting iron-on vinyl, you will need to mirror the image. This is because iron-on vinyl must be placed shiny side down on the cutting mat. If you want your design to be cut out the correct way, you will need to select the mirror setting.
On the left side of the Mat Preview Screen, select the Mirror toggle switch so that it turns green. This will invert your image design for cutting.
Click on the Continue button in the lower right of the screen.
Connect your Cricut machine. Then, adjust the settings as follows.
Material: Iron-On
Pressure: Default
Tools: Fine-Point Blade
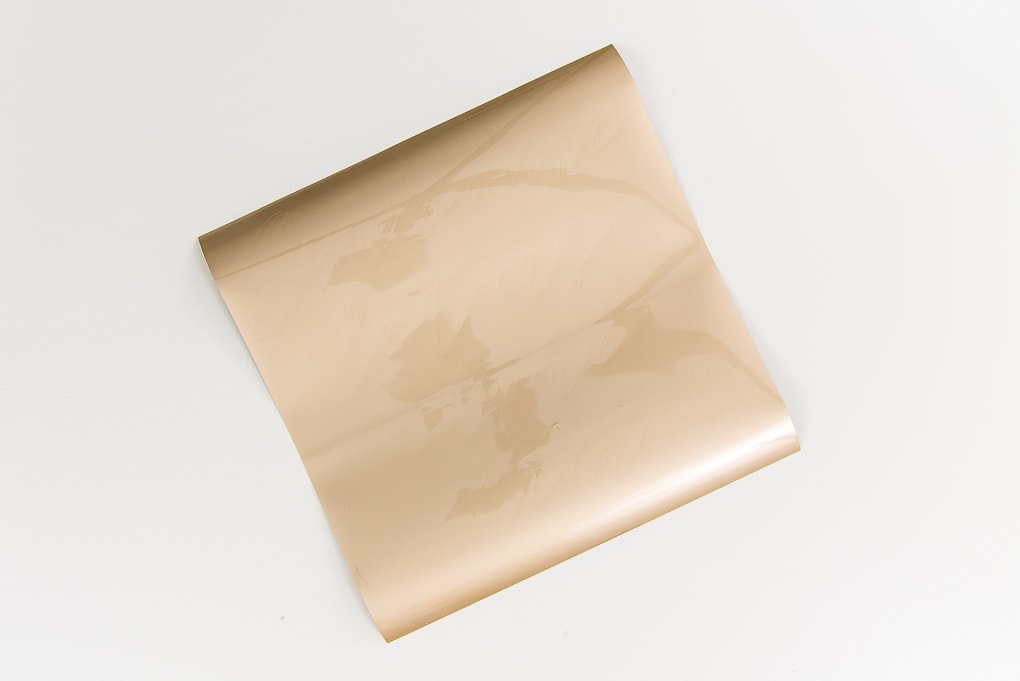
Place the iron-on vinyl shiny side down onto the standard grip cutting mat. The shiny side is actually the iron-on transfer sheet.
Load the standard grip cutting mat with your iron-on vinyl into the machine. Then, press the flashing Go button to begin the cutting process.
How to Assemble The Project
Once all of your pieces are cut out, it’s time to assemble the project.
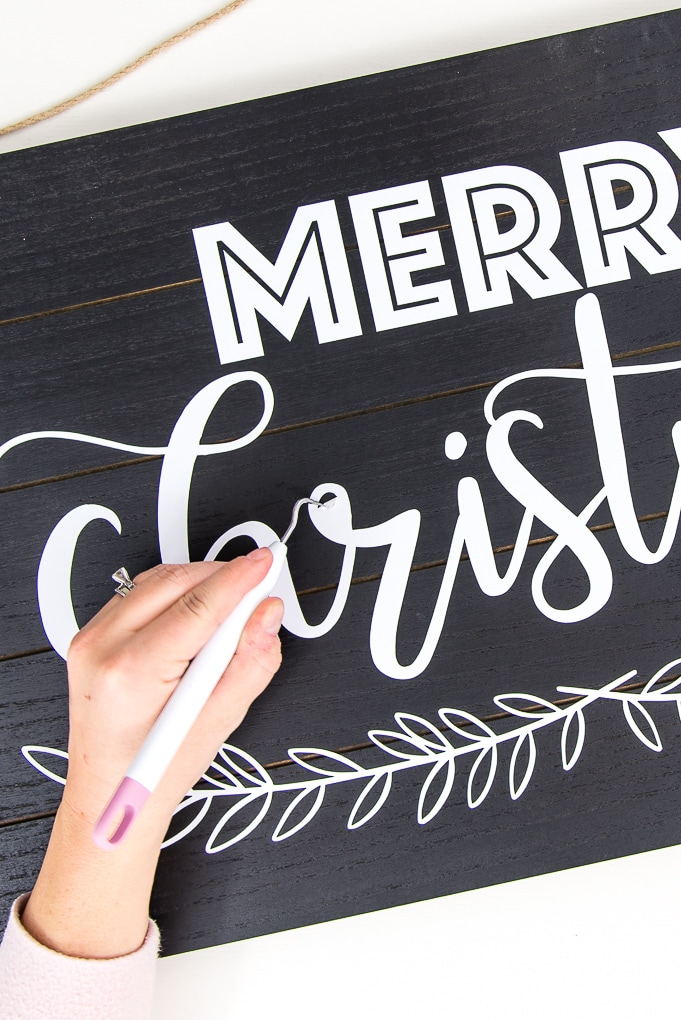
First, you will need to weed the iron-on vinyl design to remove the extra material. The goal is to leave only the iron-on vinyl for the design image behind.
Use the weeder tool to pick up the vinyl off the iron-on transfer sheet and easily remove it. After all of the extra iron-on vinyl is removed, you should be left with just the design on the iron-on transfer sheet.
Now your iron-on design is ready for transfer.
The best tool for transferring iron-on vinyl onto your design surface is the EasyPress.
It provides even heat to your entire design which helps it to adhere better. It also comes with a built-in timer and online interactive guide so you know exactly what settings you need for each project.
I like to use the EasyPress mat too so that I have a convenient heat-resistant surface.
If you don’t have these tools, you can also use an iron and an ironing board.
Place the pillow cover on the EasyPress mat and use the online Cricut EasyPress Interactive Quick Reference Guide to determine the settings and instructions that you need for your project.
Here are the settings that I used for this project.
Place your iron-on vinyl design onto the pillow cover and center it.
Then, apply heat using the EasyPress and gentle pressure for 30 seconds.
Because this project is larger than the EasyPress, you will need to repeat this step for the different sections of the design.
Then, flip the pillow cover over and use the EasyPress to apply heat to the back for 15 seconds.
Flip the pillow cover over again and peel off the iron-on transfer sheet while it’s still warm.
Add a fluffy pillow insert to finish the project.
Now your Oh Come Let Us Adore Him Pillow is ready!
I love the simple and beautiful design of this pillow. It looks like calligraphy and will fit into just about any decor style for Christmas.
It will also look great layered with some Christmas pillows in shades of red and green.
I hope you love this Oh Come Let Us Adore Him Pillow.
If you decide to make this project, I would love to see!
Tag me on Instagram . Use the hashtag #25daysofcricut so that we can all see each other’s projects too!
To see more projects from Have Yourself A Very Cricut Christmas: 25 Days of Homemade Holiday Crafts!, click here!
If you want to follow along and see all of the projects for Have Yourself A Very Cricut Christmas: 25 Days of Homemade Holiday Crafts!, you can bookmark this blog post and visit it each day to see the newest project.








Very beautiful, will go with any decor for Christmas! Love the easy press.