I’ve been seeing these cute hanging planters all over the place lately. You know the one’s I’m talking about – the woven string ones that have a little tassel at the bottom. They look kind of complicated and normally involve some sort of pattern or design. I found out that these are actually called macramé planters because the cord used to make them is macramé! Go figure.

This post contains affiliate links. For more information, see my disclosures here.
Since I’ve been working on turning our porch into a relaxing retreat, I thought some plants would be the perfect addition. I saw a really cute macramé hanging planter while out shopping the other day, but it was around $25! I wasn’t about to pay that much for some string and a pot. After doing some research, I figured out that these planters are actually a lot easier to make than they seem. You can create a basic macramé hanging planter design in less than 15 minutes. The only skill you need is basic knot tying.
To make an easy macramé hanging planter you will need:
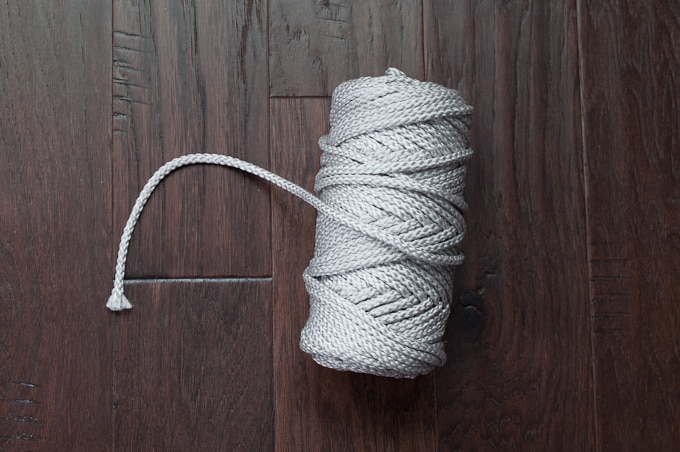
- Macramé Cord
- Scissors
- Ruler or Tape Measure
- Plant Pot (mine was from Ikea originally, but I picked this one up at Goodwill for $0.99!)
- Pretty Plant

First, you need to determine how long you want your hanging planter to be. I wanted mine to be about 36” long, but you can change this for any length you want. Measure out the macramé cord for the length of your hanging planter.
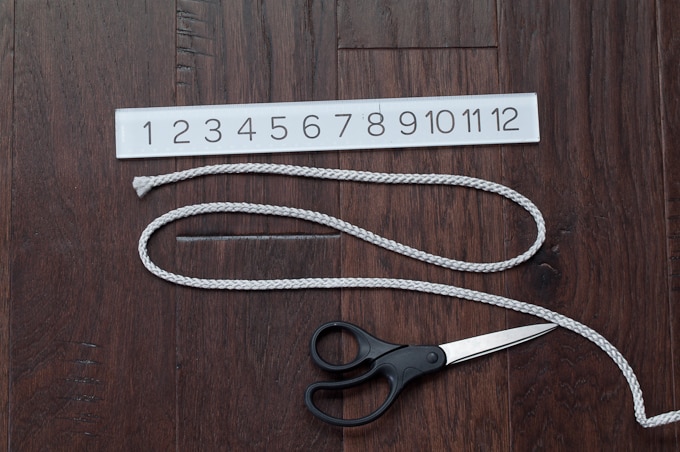
Then, double this length. For me, this was 72” of cord. Don’t cut it yet! We still have some other measurements to add on.
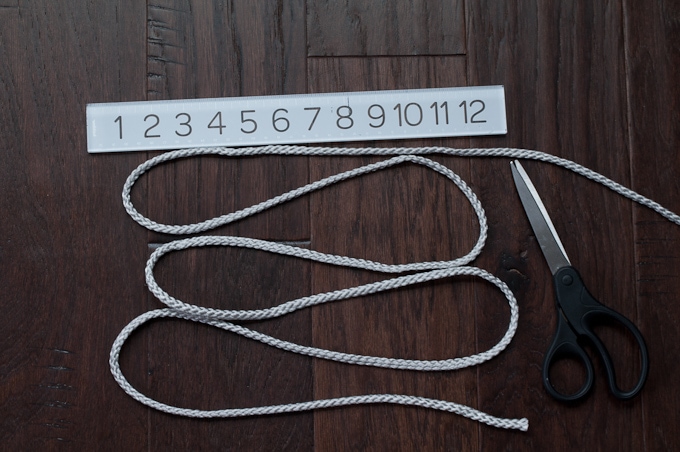
Next, take your plant pot and lay the cord across the diameter. Give yourself some extra on each side. Mine ended up being about 12” total for the pot diameter plus some extra.

Finally, add an additional 24” of cord. At this point, you can cut your macramé.
So the total length of this cord is

Total Length = (Length desired for Hanging Planter x 2) + (Diameter of Plant Pot + a few inches extra) + 24”

Take this piece of macramé cord and cut 3 more pieces of the same length so you end up with 4 strands total.

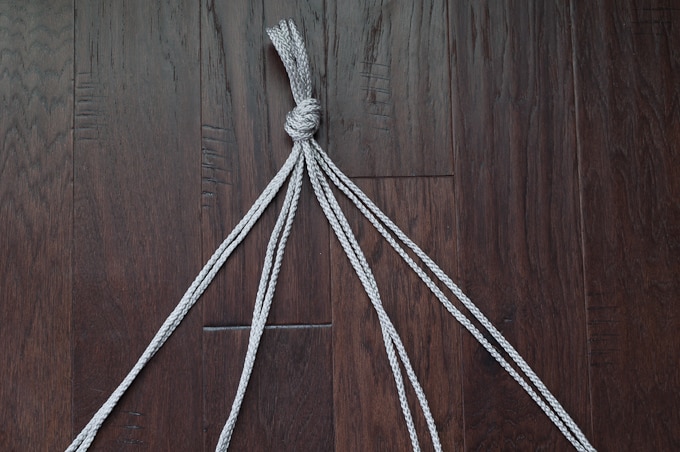
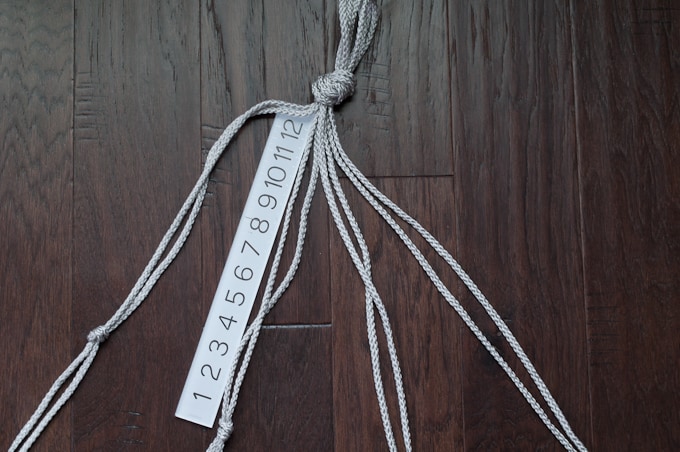
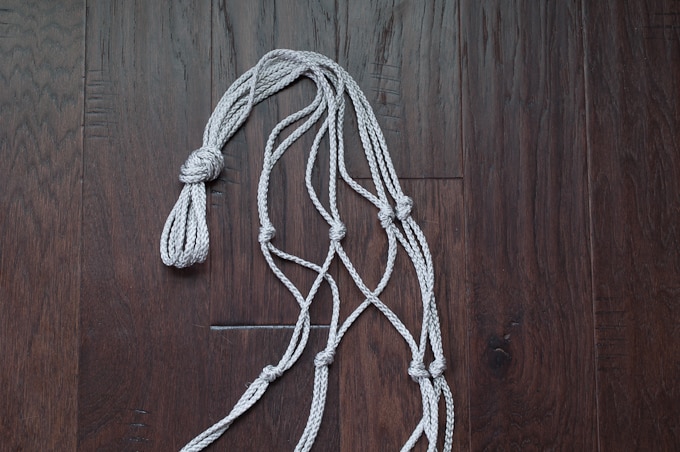
Top Knot
Line up all of the cords as evenly as possible, then fold them in half. You should have two equal lengths of 4 strands on either side of the fold.

Make a knot in the cords at this middle point and leave a small loop of cord at the top. This will be the “hook” that you hang your planter from. Tug on each of the strands as needed to make your knot look neat.

Spread out the 8 strands of cord and create 4 groups of 2 strands. Try to group together strands that are naturally close to each other based on how you tied your knot.
Middle Knots
On your first set of 2 cords, measure down from the top knot about 12”.

Tie a small knot in the 2 cords at the 12” mark.

Repeat this process for the remaining 3 pairs. Each time, make sure your knot is about the same length from the top knot as the rest of the pairs.
Once you have tied all 4 knots, bring the strands together and make sure they are all about even. Adjust the knots as needed to make them as close as possible.
These are the middle knots.

Spread out the strands from the middle knots. Group together 1 strand from a middle knot with 1 strand from the adjacent middle knot. You will end up with 3 groups of 2 strands with an extra single strand on either end.

Bottom Knots
Measure the height of the plant pot. Mine was about 7”.
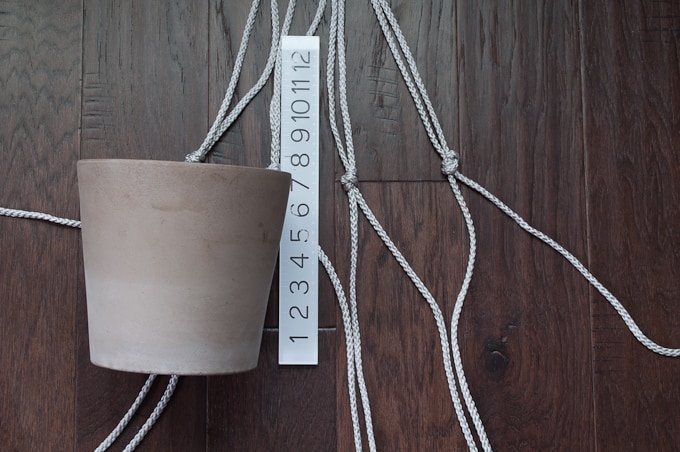
This is the length that you should tie your next row of knots down from the middle knots.


Repeat with the remaining pairs, making sure the bottom knots are all equal to each other.
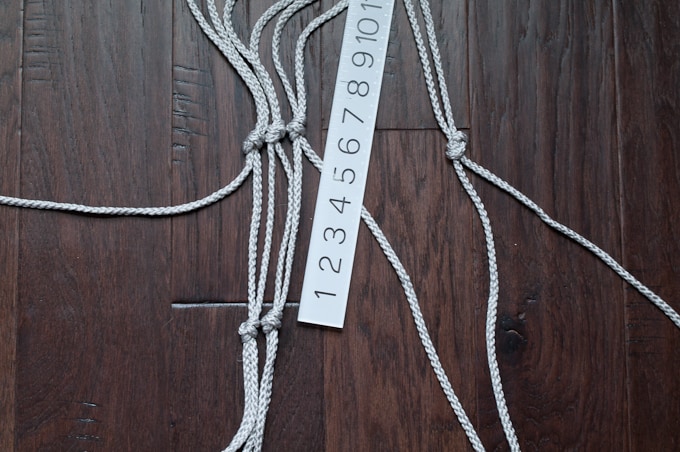
Once you have 3 bottom knots, take the 2 stands on either end and group them together. Make a knot with these 2 strands at the same length as the other 3 knots.
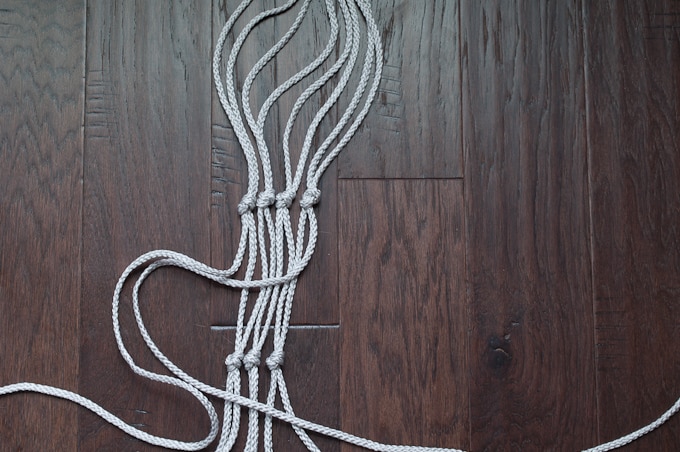
Now you have 1 top know, 4 middle knots, and 4 bottom knots.
Base Knot
Place your plant pot inside. This is easier to do if you hang your macramé from a doorknob or some sort of hook. Gather the remaining cords together at the bottom of the plant pot. Adjust the cords as needed until everything looks even and your pot is centered.
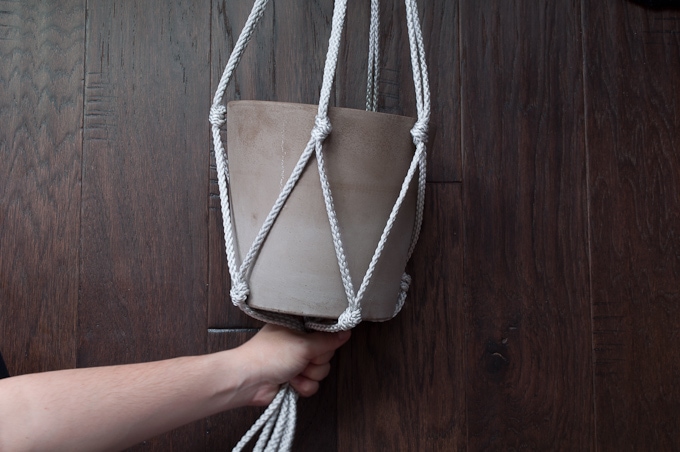
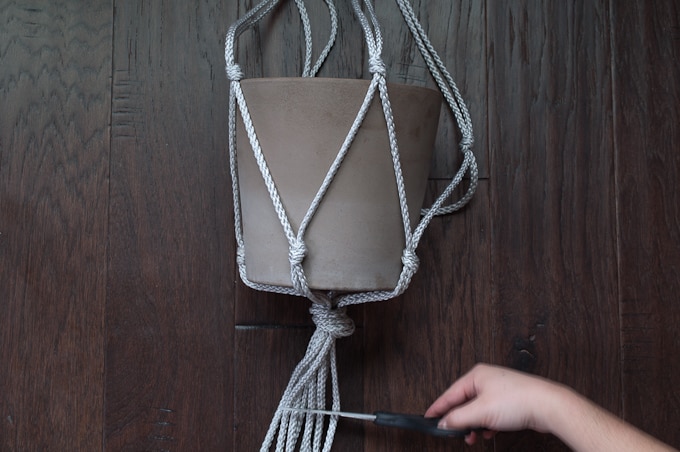
Make a final knot with all 8 strands at the center of the bottom of the pot.

You should now have a tassel underneath the pot. You can leave it as is or cut it to any length. I chose to cut mine slightly shorter.
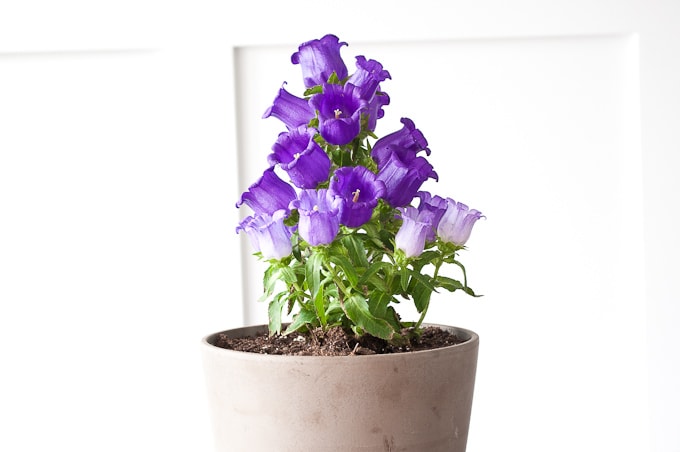
Now you’re done! You have a hanging macramé planter! It really is just as easy as tying some knots.

All you have to do is put a pretty plant inside and your hanging planter is ready to go outside!

This project was so easy and I love how it turned out! It’s a simple design that adds a lot of interest to a basic planter pot.

If you want another layer of detail or extra support for a heavier pot, you can add another row of knots. Just repeat the process of adding the bottom knots again but tie each set at half the length. So, for this planter, if I wanted an additional row I would tie the first row of bottom knots at 3.5” down from the middle knots and then the second row of bottom knots 3.5” down from the first row. I actually made a second planter this way with the extra macramé cord that I had. I posted a photo over on my Instagram of how that one turned out.


I’m really happy with my hanging planter! It turned out really cute and was so much more affordable than those hanging planters in the stores. I can’t wait to get it outside and hang it up on our porch!

This Project was Featured on The Inspiration Gallery, Meet Up Monday, 15 Easy DIY Home Decor Ideas


This is such a cool craft! I love hanging planters and the knotted ropes look so great!
Ah – I haven’t macramed in years, thanks for the reminder! Thanks for sharing your post with us at #CCBG http://tryit-likeit.com/link-party-it
so awesome! I used to macrame a zillion years ago and thought about finding a tute to make a few hanging planters. Now, I have found one 🙂 Thanks for sharing such an easy to follow tutorial on how to macrame!
Thanks Millie! I’m glad you enjoyed the tutorial!
>> Christene
Love the simple look of this. Thanks for sharing your tutorial!
Thanks so much Pam!
>> Christene
This is so awesome and so easy! Now all I need it the outdoor deck to decorate 🙂 Thanks for sharing at the Wednesday Showcase link party.
Thank you for such a great tutorial. You’ve sparked an idea for me.
Christene I love the simplicity of your tutorial. I’m confident I could make my own now. Thanks for sharing with us at Creatively Crafty #ccbg
It would be really cute to make several of these and hang them along a pergola or patio cover. Thanks for the tutorial!
Randi I love that idea!! You could also hang a few of them together but at different heights to add some interest. 🙂
>> Christene
Wow, you make it look so easy!! I need to give this one a try! 😀
Looking for ideas for my patio and this is perfect!!
-Kelsie
http://www.designlifediaires.com
Thanks Kelsie! These would be perfect on a patio – and they are seriously so easy!
>> Christene
Such a cute project, I did something like this a long time ago and now that I see how nice yours look, I definitely need to try it again. Sometimes simple things are the best!Thanks for sharing at the Pretty Project Party! XO, Amy
I’ve been making hangers like that for years. You can also add beads by the knots or in between for more interest. Great lesson for newbees.