You can never have too many notebooks, right? From planning your to-dos, jotting down thoughts, or even journaling, notebooks can be used for so many different things. Even in a world where so much of what we do is digital, sometimes it’s nice to actually write something down on real paper!
In our home, you will always find me carrying around at least one notebook. I’m all about digital solutions, but sometimes I like to get my thoughts and plans out on paper first.
I also cannot resist a cute notebook at the store! The only problem is, once I actually buy the cute notebook I don’t want to use it and “mess it up!” I know, it’s ridiculous! But, I know there’s someone out there has that same problem.
That’s when I started buying the plain notebooks. Plain ones that I wouldn’t feel guilty about actually using!
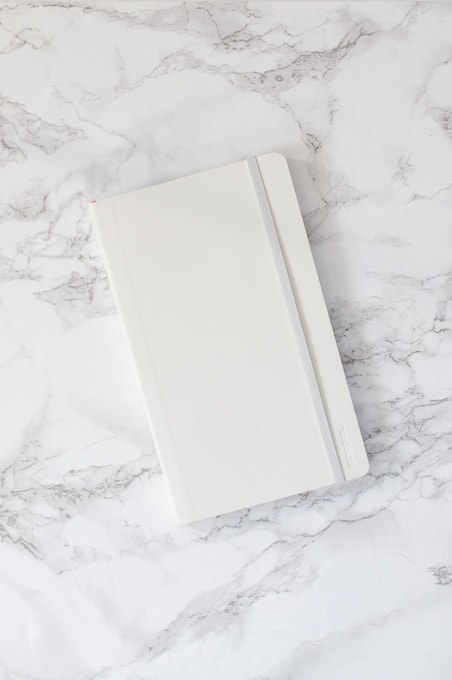
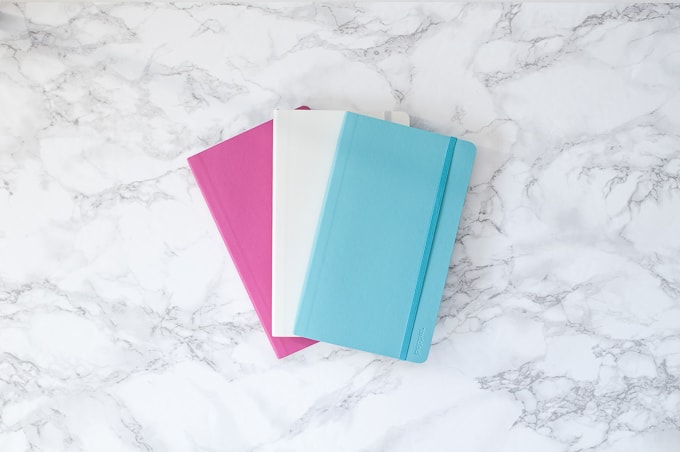
Recently I’ve been loving these colorful Poppin notebooks. They come in a variety of bright, bold colors and are the perfect size for carrying around with me.
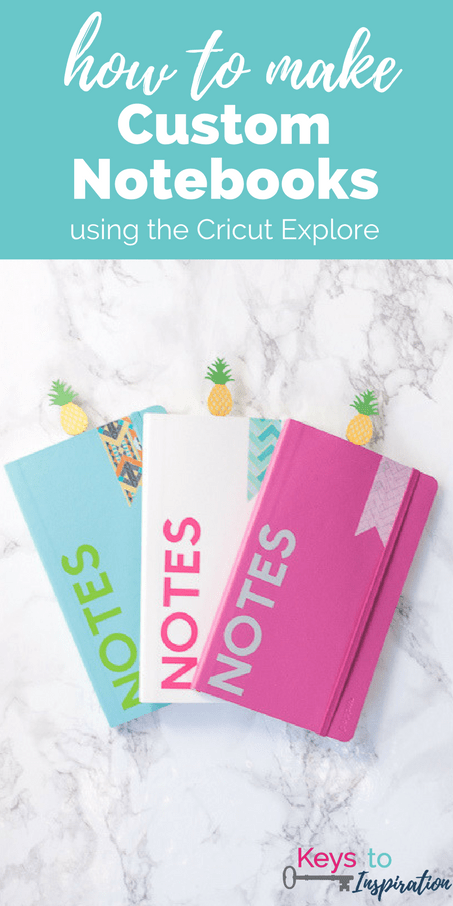
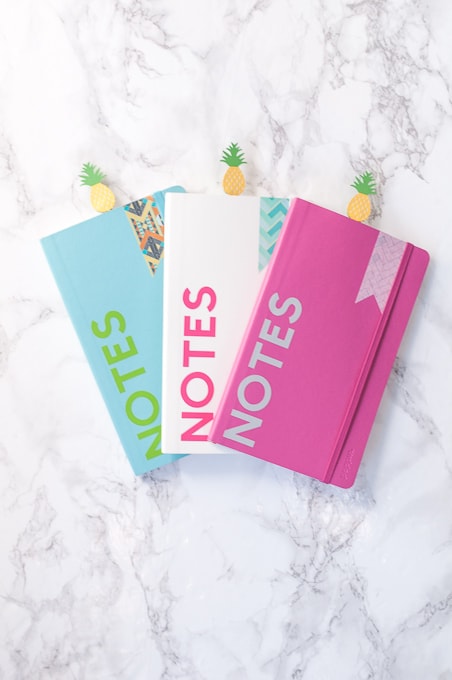
Since these notebooks are pretty basic, I thought it would be fun to make them look even cuter by adding my own custom design. My basic notebooks went…
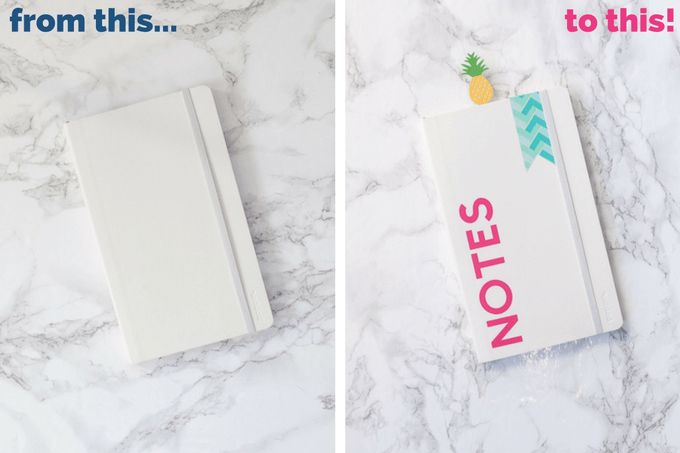
Yay! Cute, custom notebooks!
To create this custom design, I decided to label the notebooks on the front cover using some bold text. Then, I created a fun washi flag for the top corner to add some flair. Finally, I decided that my notebooks needed a bookmark so I could always find my place. I created these fun pineapple bookmarks that really stand out and make the notebooks look adorable!
And guess what? I designed and created all of this myself using my Cricut Explore!
Read below to learn how you can make them!
I’ve also compiled all of the mini projects and all of the learned skills into a free mini eBook!
All of the tutorials from the post are included as well as an entire section called the Library of Learned Skills. Each skill is shown along with the icon from the post and a brief explanation. It’s the perfect quick reference guide!

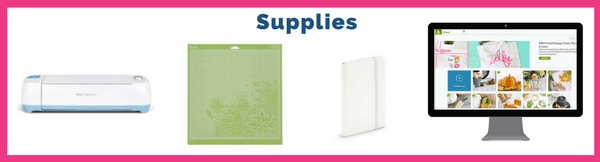
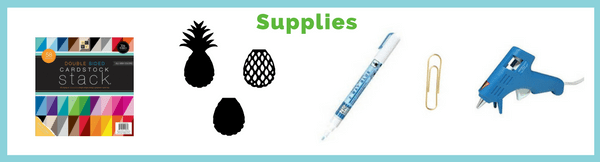
Supplies
- Cricut Explore Machine
- Cricut Design Space Software (online)
- 12” x 12” Standard Cutting Mat
- Notebook
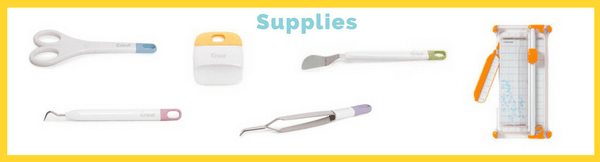
Optional Supplies
Mini Project: Vinyl Label

Supplies
- Vinyl
- Transfer Tape (optional)
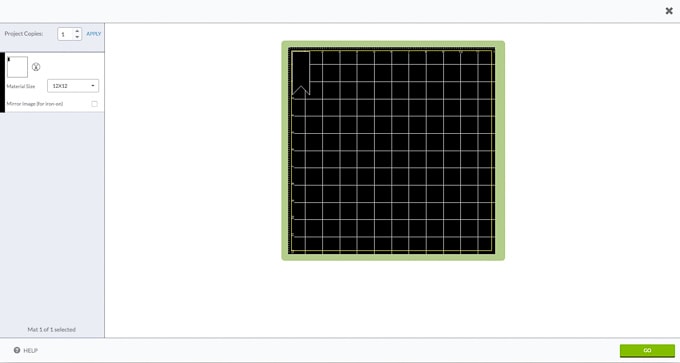
Step 1: Open Cricut Design Space and click on the button to Create a New Project. This will open a new blank project space.

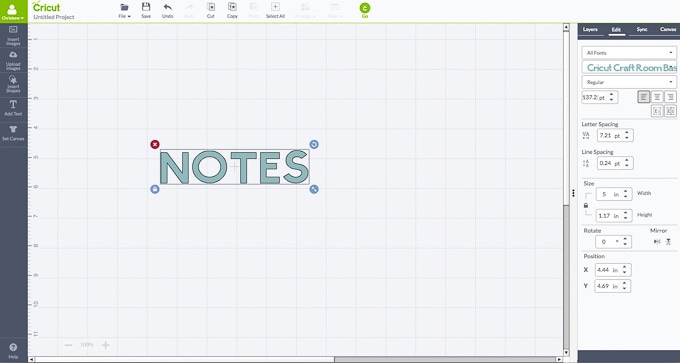
Step 2: In the Side Menu, select Add Text and a blank text box with a text box editor will appear.

In the text box editor, type in the word “NOTES.” Cricut Design Space text always appears in the default font – Cricut Alphabet. You can change the font to any font in Cricut Design Space or on your computer.

To change the font in the Edit Panel, select the arrow drop down next to the Cricut Alphabet font and choose the font Cricut Craft Room Basics from the list. This is a free font from Cricut Design Space.
Step 3: Measure your notebook cover to determine how big your word should be. My notebook is 5” x 8.25” and the space where I want my word is 5” tall. That means my word will be 5” wide.
Using the Edit Panel, resize the word by typing your width measurement (mine is 5”) into the box next to Width. Since the image is locked proportionally, the height will scale accordingly.
Step 4: Now it’s time to cut out your design. In the Top Menu select the Go button to open the preview menu
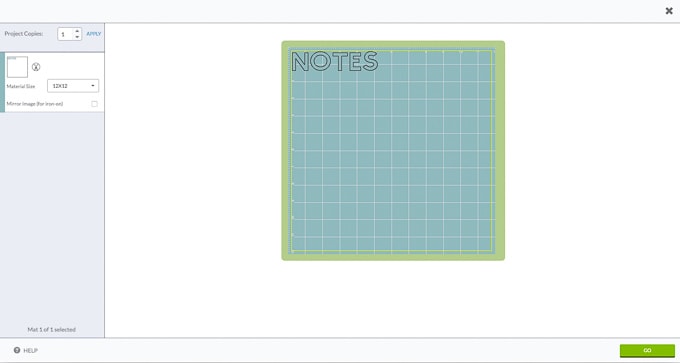
Select the Go button in the lower right hand corner. Follow the instructions to configure the Cricut Explore for cutting your design.
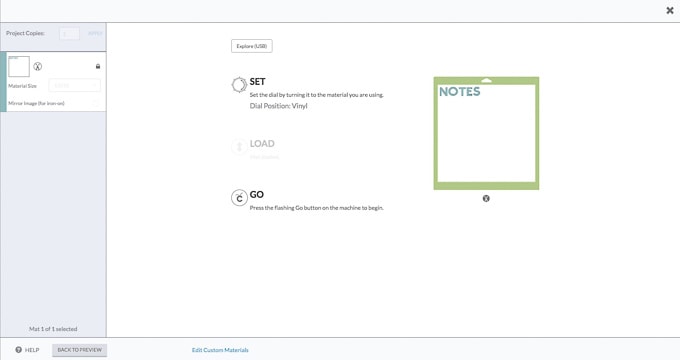
Set the dial on the Cricut Explore to the Vinyl setting. By setting the dial to Vinyl, the Cricut Explore knows just how far to cut into the material so that the vinyl is cut, but the backing is not cut.
Cut a piece of vinyl that is bigger than your design and place it on the cutting mat. Load the mat into the machine using the Load Button.

Press the flashing Go button (it has a “C” on it) on the machine to begin and watch as the Cricut Explore brings your design to life!
Step 5: Once the Cricut Explore is done cutting, use the weeder tool to remove the extra vinyl around the outside of your design so that only the word remains.
Step 6: Transfer your vinyl word onto your notebook. You can do this one letter at a time or you can pick up the entire design at once using transfer tape.
Cut out a piece of transfer tape big enough to cover the entire word. Remove the paper backing of the transfer tape and place it over the word with the sticky side down. Apply pressure by running your fingers or a scraper tool over the entire design. This will help the transfer tape grab the vinyl from the paper backing.
Then, slowly peel the transfer tape away from the paper backing to reveal the sticky side of the vinyl. Line up the word carefully on your notebook, then once you are happy with the placement, run your fingers or a scraper tool over the design to transfer the vinyl. Carefully remove the transfer tape to uncover the design.
Yay, you’ve completed your first mini project! Your notebook is already looking great!
Mini Project: Washi Flag

Supplies
- Washi Sheet
- Downloadable Flag Image (Click Here to Download)
- Press’n Seal (optional)
Step 1: Open Cricut Design Space and click on the button to Create a New Project. This will open a new blank project space.
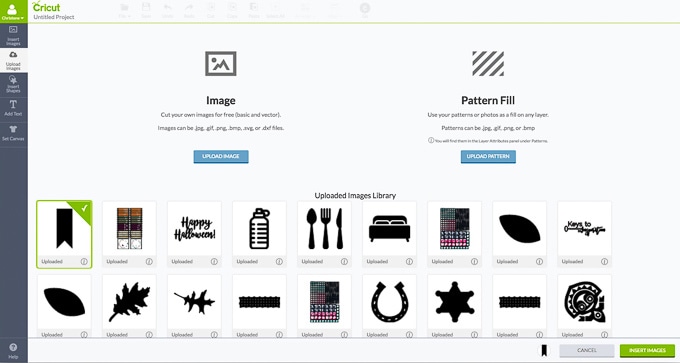
Step 2: In the Side Menu, select Upload Images and a new menu will appear.

Select the Upload Image button.

Next, select Browse and navigate in your computer to the Flag Image file that you saved previously.

Since this is a vector image (an image with the file extension .svg), Cricut Design Space already knows how to interpret it. All you need to do is name the image and save it.
Select the image in the menu and click Insert Images to add it to your design.
Step 3: Measure your notebook cover to determine how big your flag should be. My notebook is 5” x 8.25” and the space where I want my flag is 2.5” tall and 1” wide.
Click on the flag image so that it is selected and you will see 4 icons around the corners of the image.

Select the lock icon and it will change to an unlock icon.
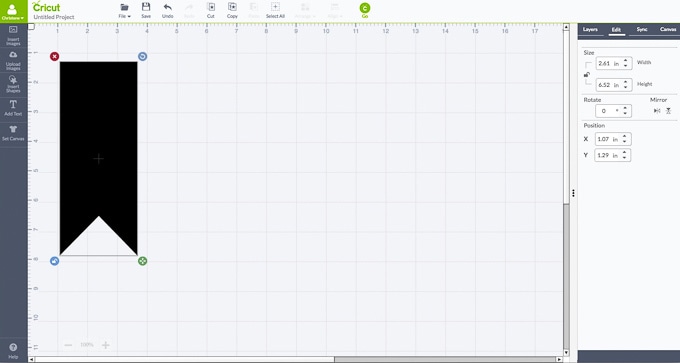
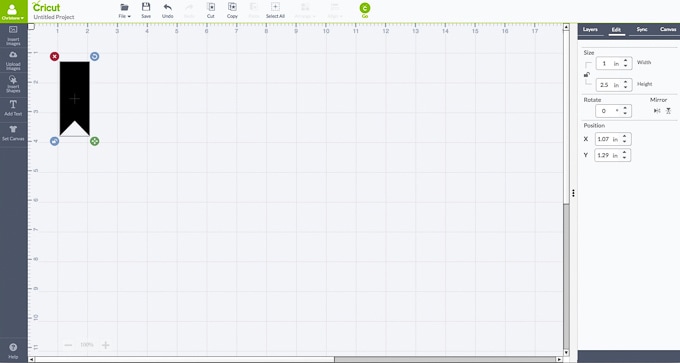
Now that the image is unlocked, using the Edit Panel resize the flag to your custom measurement into the boxes next to Width and Height (mine are 1” width and 2.5” height).
Step 4: Now it’s time to cut out your design. In the Top Menu select the Go button to open the preview menu.
Select the Go button in the lower right hand corner. Follow the instructions to configure the Cricut Explore for cutting your design.
Set the dial on the Cricut Explore to the Custom setting.
Washi sheets are custom materials, so you will need to tell the machine which specific material you are using. In the preview, select Washi Sheets from the drop down of custom materials.

Place your Washi sheet on the cutting mat. Load the mat into the machine using the Load Button.
Press the flashing Go button (it has a “C” on it) on the machine to begin and watch as the Cricut Explore brings your design to life!
Step 5: Once the Cricut Explore is done cutting, remove the washi sheet from the cutting mat and use scissors to cut out the section of the sheet that your design is on.
Once you have a small square of washi sheet with your design on it, use the weeder tool to remove the extra vinyl around the outside of your design so that only the flag remains.
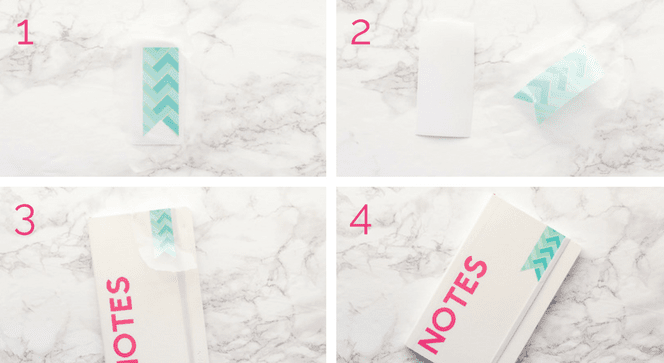
Step 6: Transfer your washi flag onto your notebook. You can do this by just peeling it off the backing and placing it on your notebook or you can pick up the entire design at once using Press’n Seal.
Washi is a delicate material, so transfer tape can actually be too sticky to use when transferring the design. Press’n Seal is a great alternative to use as a transfer material.
Cut out a piece of Press’n Seal big enough to cover the entire flag. Place the Press’n Seal over the flag and apply pressure by running your fingers over the entire design. This will help the Press’n Seal grab the washi from the paper backing.
Then, slowly peel the Press’n Seal away from the paper backing to reveal the sticky side of the washi. Line up the flag carefully on your notebook, then once you are happy with the placement, run your fingers over the design to transfer the washi. Carefully remove the Press’n Seal to uncover the design.
Yay, you’ve completed your second mini project! Your notebook is almost complete!
Mini Project: Pineapple Bookmark
Supplies
- Cardstock (1 sheet green, 1 sheet light yellow, 1 sheet dark yellow)
- Paperclips
- Glue Pen
- Hot Glue Gun and Glue Sticks
- Downloadable Pineapple Front Image (Click Here to Download)
- Downloadable Pineapple Middle Image (Click Here to Download)
- Downloadable Pineapple Back Image (Click Here to Download)
Step 1: Open Cricut Design Space and click on the button to Create a New Project. This will open a new blank project space.
Step 2: In the Side Menu, select Upload Images and a new menu will appear.
Select the Upload Image button. Next, select Browse and navigate in your computer to the Pineapple Front Image file that you saved previously. Name the image and save it.
Repeat this process to upload the Pineapple Middle Image and the Pineapple Back Image.
Select all three of the images in the menu and click Insert Images to add them to your design.
Step 3: Each layer of the pineapple is going to be a different color of paper in your final design. Let’s change the color in Cricut Design Space to match.
Select the Pineapple Front Image. In the Layers Panel, select the scissors icon next to the image. This will open the Layer Attributes Panel.
Under Basic Colors, select the orange box to change the color to orange. We’re going to use orange to represent the darker yellow paper.
Pineapple Middle Layer – Yellow
Pineapple Back Layer – Green
Step 4: Let’s visualize how the design will look when it’s assembled. Drag the layers on top of one another to create the full layered pineapple image.
Step 5: The pineapple is too big to be a bookmark right now, so you will need to resize it. Since this design is made up of multiple layers, you want all the layers to resize together. That way all the pineapple layers will fit together once they are cut out. First, let’s group to layers.
In the Top Menu, select the Select All button.
Then, at the bottom of the Layers Panel, select Group. You can now see in the Layers Panel that all three images are a group.
Step 6: Next you will need to resize the pineapple. Using the Edit Panel, resize the images by typing 1.75” into the box next to Height. Since the image is locked proportionally, the width will scale accordingly.
Since you are done resizing, at the bottom of the Layers Panel, select UnGroup.
Step 7: Now it’s time to cut out your design. In the Top Menu select the Go button to open the preview menu.
Remember how we changed the colors of each layer? That wasn’t just for fun. It actually helps Cricut Design Space understand that each layer will need to be cut out from a different colored sheet of paper. You can see in the preview menu that each layer is shown on its own cutting mat.
Select the Go button in the lower right hand corner. Follow the instructions to configure the Cricut Explore for cutting your design.
Set the dial on the Cricut Explore to the Cardstock setting. If you are using a lighter weight paper, you may want to adjust to dial to a notch below the Cardstock setting or even to the Light Cardstock setting if your material is really thin.
Place your first piece of cardstock (green) on the cutting mat. Load the mat into the machine using the Load Button.
Press the flashing Go button (it has a “C” on it) on the machine to begin and watch as the Cricut Explore brings your design to life!
Repeat for each additional piece of cardstock (orange and then yellow) to cut out all three layers.
Step 8: Once the Cricut Explore has cut out all three layers, it’s time to assemble your bookmark.
Take the dark yellow front layer and use the glue pen to draw a thin layer of glue onto the back of the cardstock. Attach the dark yellow front layer to the light yellow middle layer.
Next, take the green back layer and, using a hot glue gun, carefully glue a paper clip to the bottom of the green layer.
Once the hot glue has dried, use the glue pen and hot glue to attach the light yellow middle layer to the green back layer to cover the paper clip.
Just like that, you’ve completed your final mini project! Your notebook is finished and it’s looking so cute!

8 Comments