Now that it’s October, our house is in full fall mode. I’ve pulled out all of my fall decorations and tried to make our home feel a little bit cozier as the temperatures start to drop.
Fall is definitely my favorite season. I think it’s because I love any reason to be cozy.
For example, in the middle of summer, you’ll normally find me on the couch with a blanket. And, you’ll see my husband rolling his eyes because “we’re paying for air conditioning so I can sit under a blanket!”
But in the fall, cozy socks, warm fuzzy blankets, and comfy sweaters are all perfectly acceptable! That’s my kind of season!
A few weeks ago, I shared my full fall home tour on the blog. You can see that post here. This year for fall, I decided to go for a simple and modern look.
I’m loving how our living room looks for fall, but there was just one little thing missing from my tour — an accent pillow.
I looked all over the place for a fall accent pillow. I wanted something cute and modern to really amp up the cozy living room feeling. But, I just couldn’t find one that I loved. And, I didn’t really want to spend lots of money on a seasonal pillow.
Instead of wasting money on an expensive pillow that I didn’t really like, I decided to make my own!
And, I managed to capture the feeling of fall perfectly. Because there’s really no better way to describe fall than with the phrase “Cuddle Weather.”
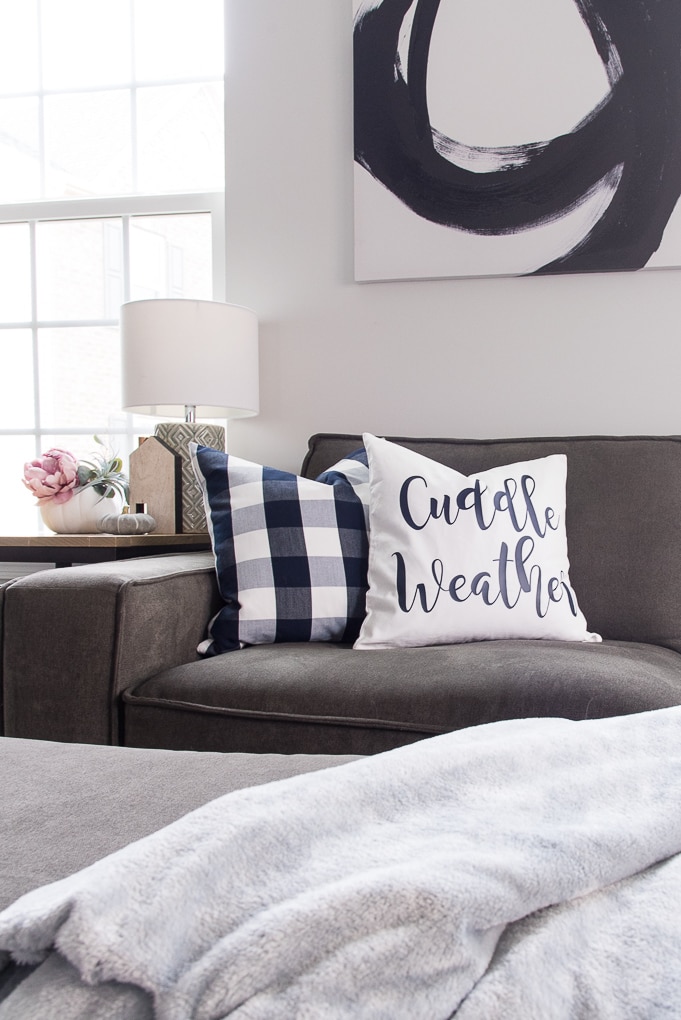
Today I want to share with you my full tutorial for creating this cozy fall pillow. I even have a free downloadable cut file for you!
How to Make a Cozy Fall Pillow using the Cricut Explore
A huge thanks to Craftables for providing product for this post! My favorable opinion of the amazing heat-transfer vinyl is 100% my own. This post contains affiliate links for your convenience. For more information, see my disclosures here.
To make this cozy fall pillow, you will need a Cricut Explore cutting machine. The Cricut Explore is my absolute favorite crafting tool because it helps me create just about anything I can think of. If you want to learn more about the Cricut Explore, check out this post.
Here’s what you’ll need to make the pillow.
Materials:
- Craftables Navy Blue Heat Transfer Vinyl
- White Pillow Cover 18” x 18”
- Pillow Insert
- “Cuddle Weather” SVG Cut File
Tools:
- Cricut Explore Cutting Machine
- Extended Length Standard Grip Cutting Mat
- Cricut Basic Tools Set
- Iron
- An old T-Shirt or thin piece of fabric (to use as a barrier between the iron and the heat transfer vinyl)
Get the Free Cuddle Weather SVG Cut File

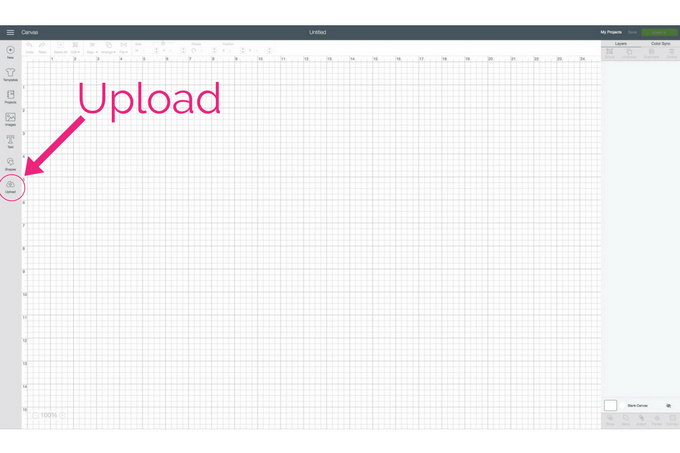
Start by creating a new project in Cricut Design Space. When you create a new project, you will be taken to a new blank canvas. For this project, you will need to upload the “Cuddle Weather” cut file. In the side menu, select the “Upload” button.
This will open the upload images menu. Next, select the “Upload Image” button.
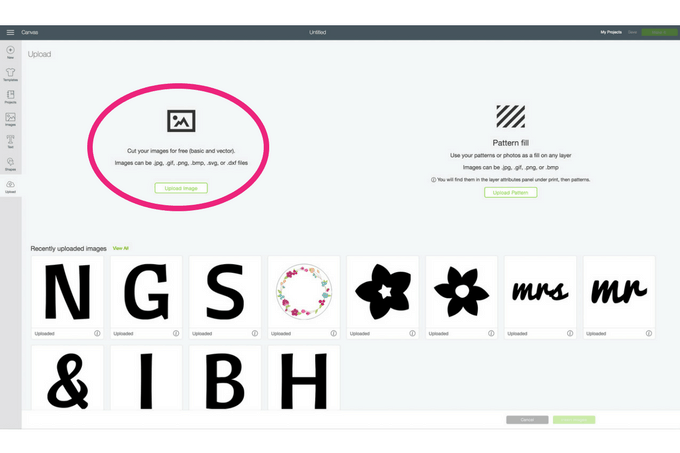
Navigate on your computer to the location where you have saved the “Cuddle Weather” cut file and select it.
Because this is an “svg” image, you don’t need to do anything else to the image. The background is already transparent. Just name the image and then select “Save” in the lower right of the menu.
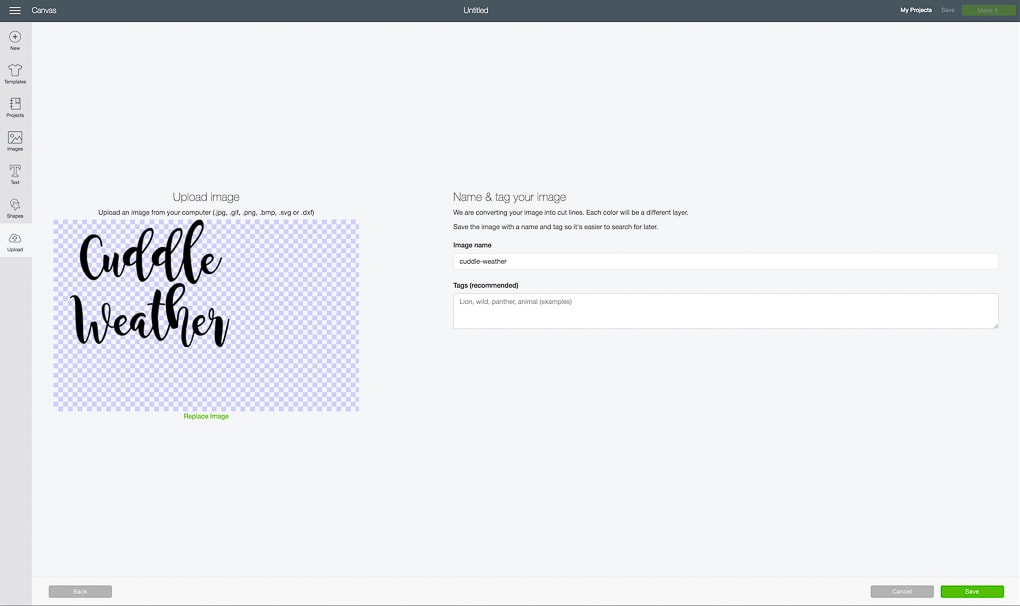
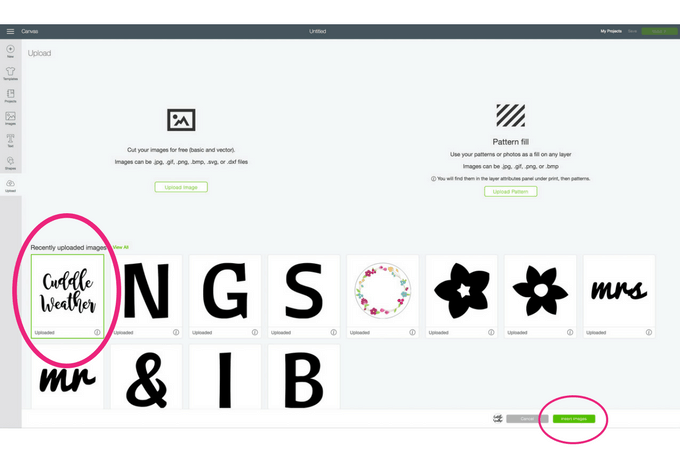
After you save the image, you will be taken back to the upload images menu which also is an image library. Select the “Cuddle Weather” image. Then select “Insert Images” to add the image to your design.
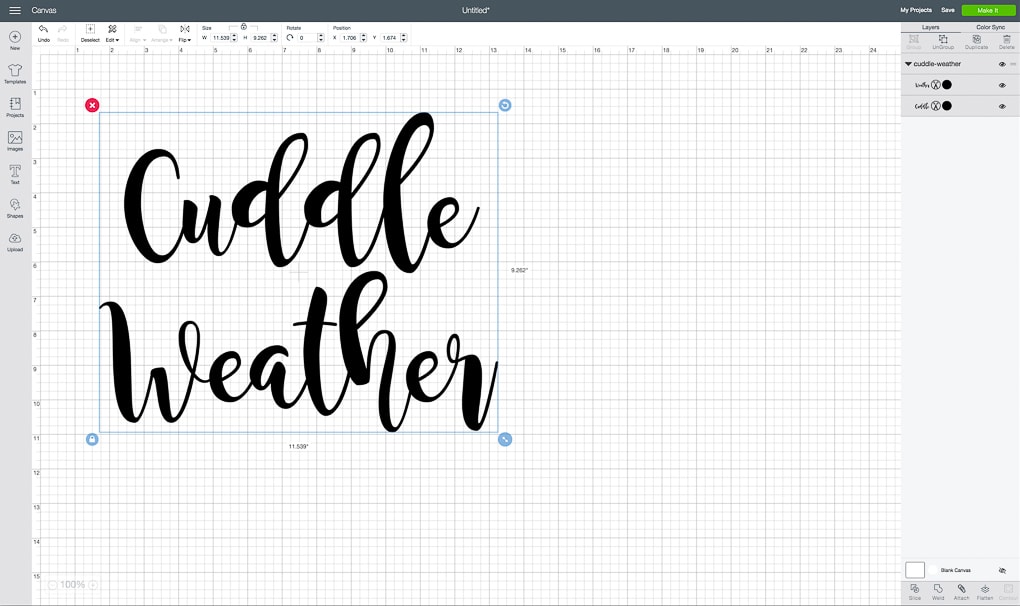
Now that the image has been added to your design, you can change its size. Select the image and a toolbar will appear at the top of the design area. In the toolbar, under the “Size” heading, change the height of the image to 11.5”. The width will scale accordingly.
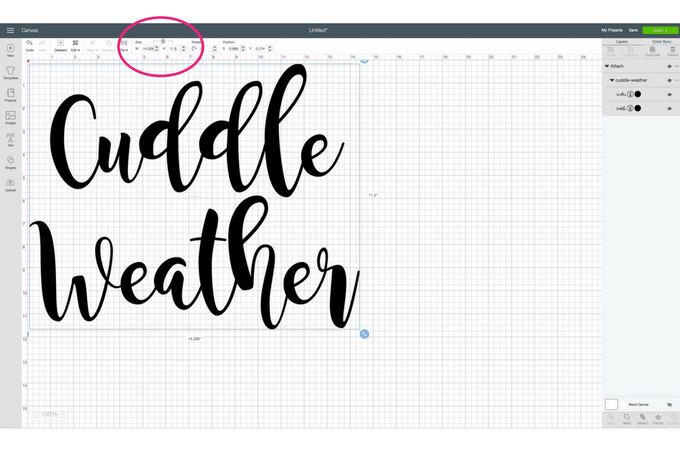
And that’s all the designing you need to do. Now you’re ready to cut out the image. Select the “Make It” button in the upper right of the design area. You will be taken to a preview menu.
Because the image is larger than 12” in width, you will need to use the extended standard grip cutting mat. This mat can hold materials up to 12” x 24”.
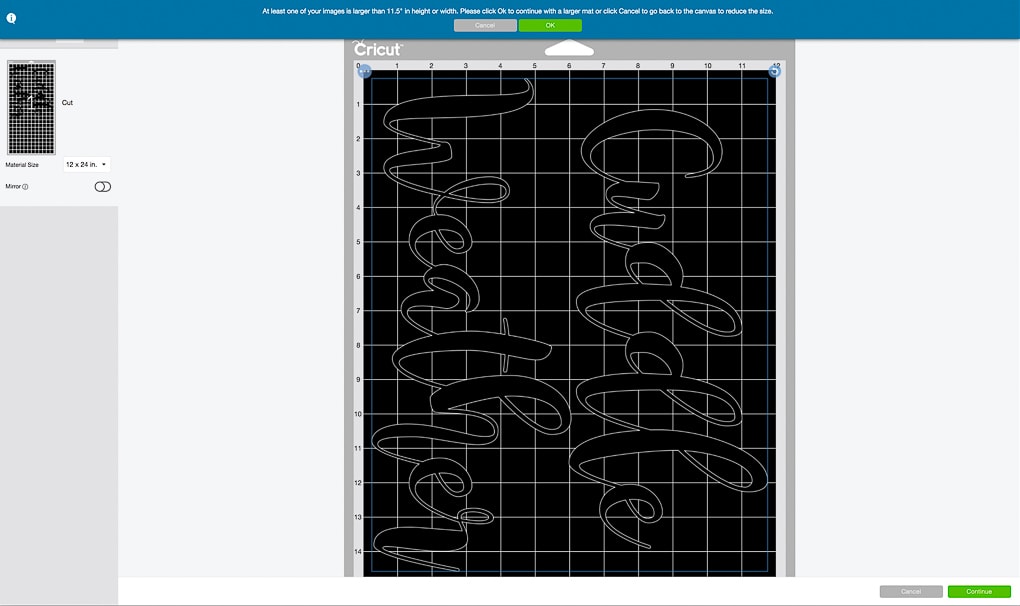
On the left side of the preview menu, select the “Mirror” button to flip the image. When using heat transfer material, you always need to select the “Mirror” button. If you don’t, when you iron the material onto your pillow cover your image will appear backward! And you don’t want that.
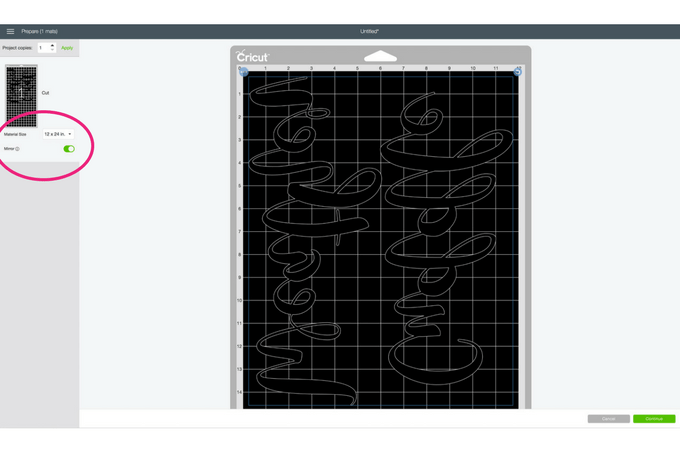
Select “Continue” to move onto the cutting menu. On your Cricut Explore machine, set the Smart Dial to “Iron-On.” This lets the machine know to cut a specific depth into the material so that the heat transfer vinyl is cut but the backing is not.
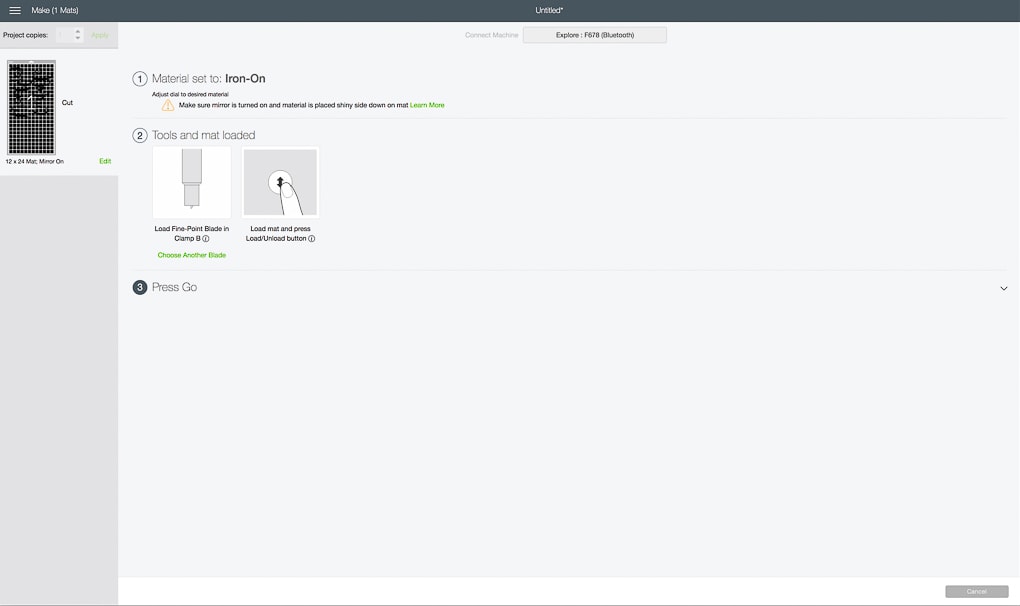
Next, you will need to prep your material for cutting.
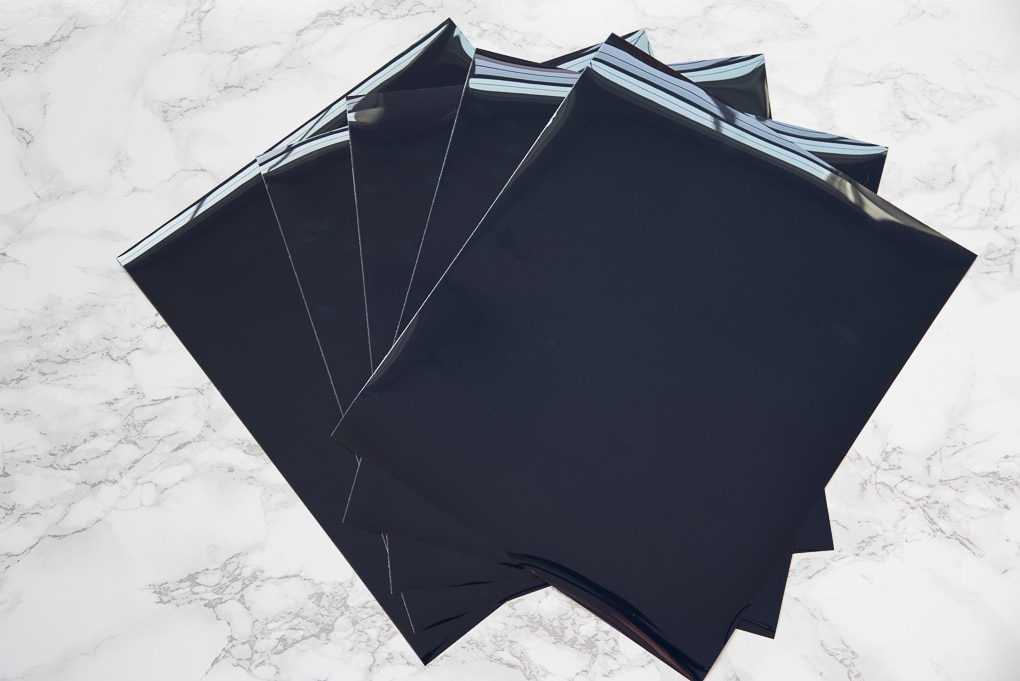
For this project, I decided the use the Craftables Heat Transfer Vinyl in the 12” x 20” size. The heat transfer vinyl came on a roll and was the perfect matte navy blue color!
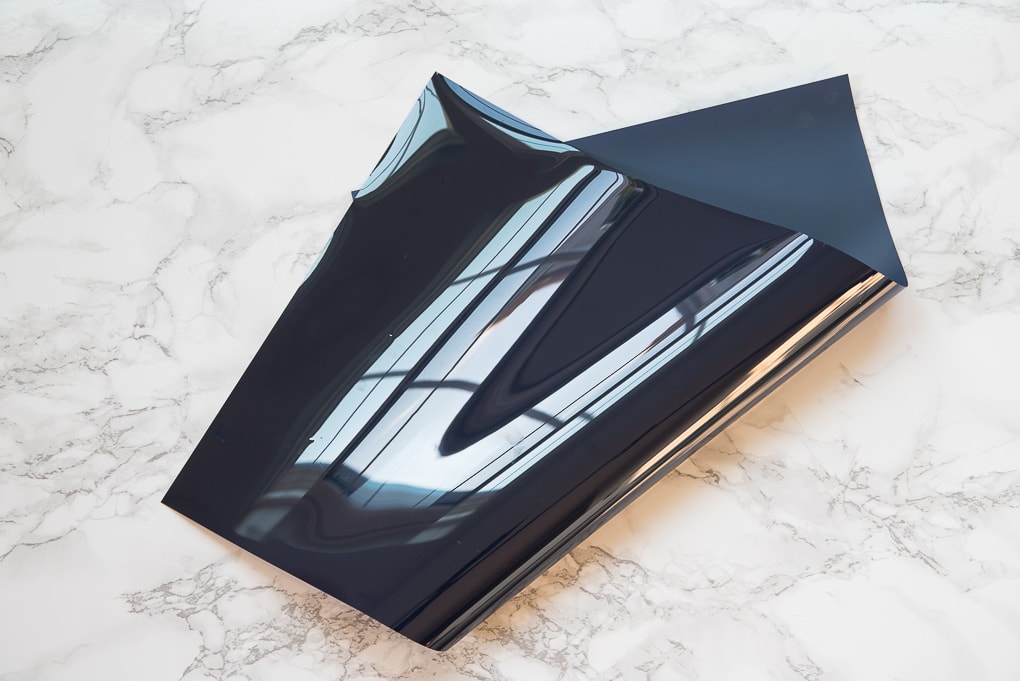
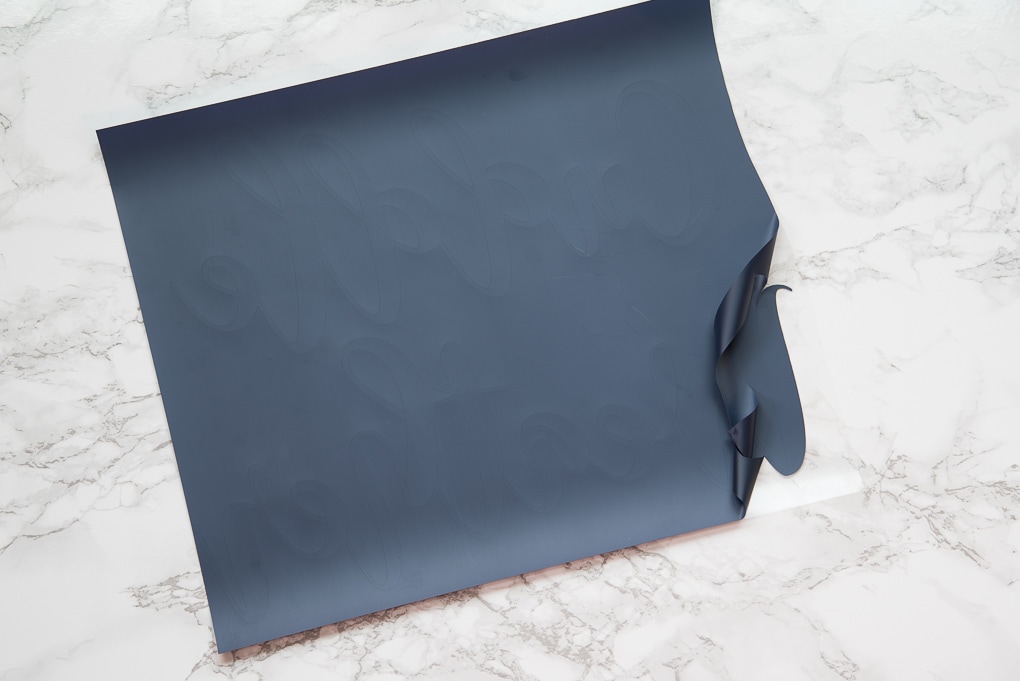
Heat transfer vinyl comes with a shiny plastic cover. That’s the reflection you are seeing in the picture. This plastic is actually the backing for the vinyl.
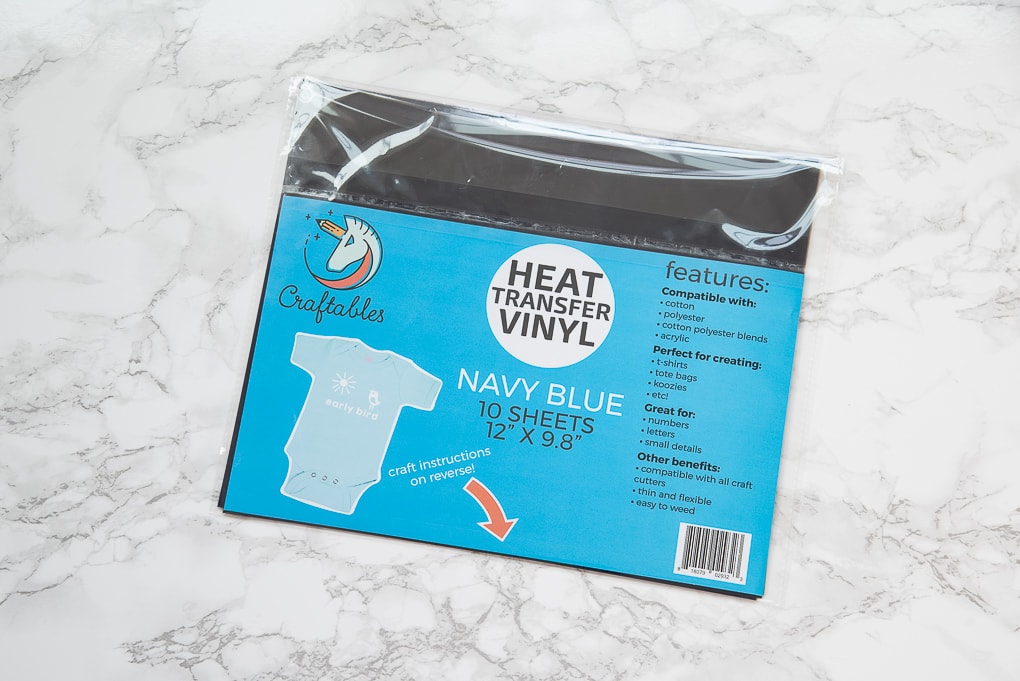
Craftables also has heat transfer vinyl in 12” x 9.8” sheets. These are the perfect size for smaller projects and are already cut to size. So there’s no need to struggle with cutting pieces of vinyl off of a roll.
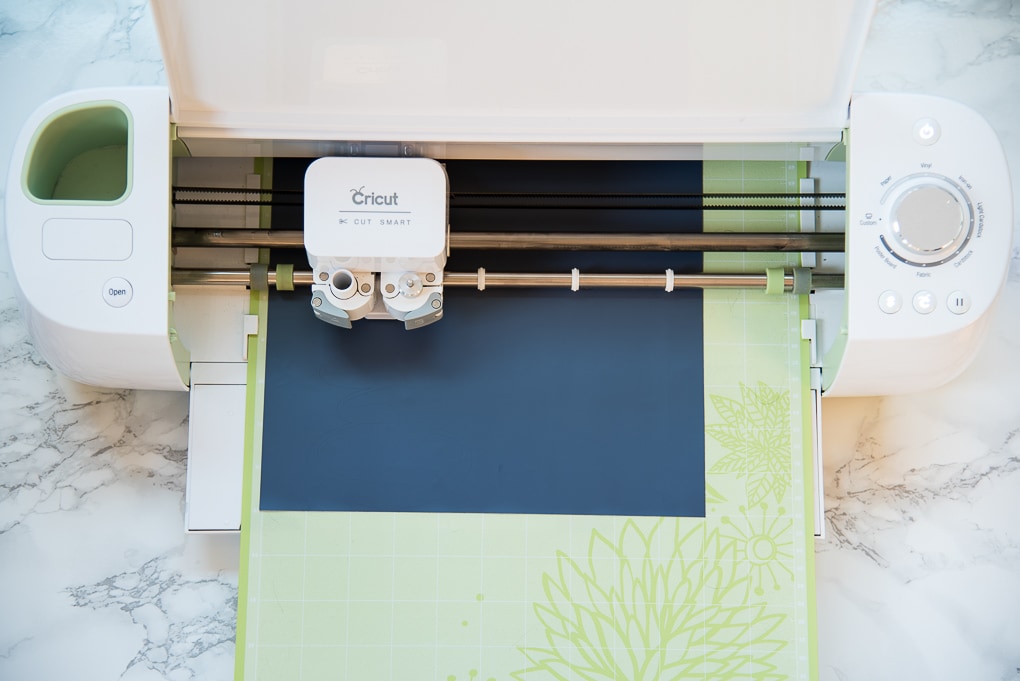
Place the heat transfer vinyl onto the cutting mat with the shiny plastic side down. Next, load the cutting mat into the machine. Then, just press the “Go” button and watch as your Cricut Explore brings your project to life!
After the Cricut Explore is done cutting the image, you will need to remove the material from the cutting mat.
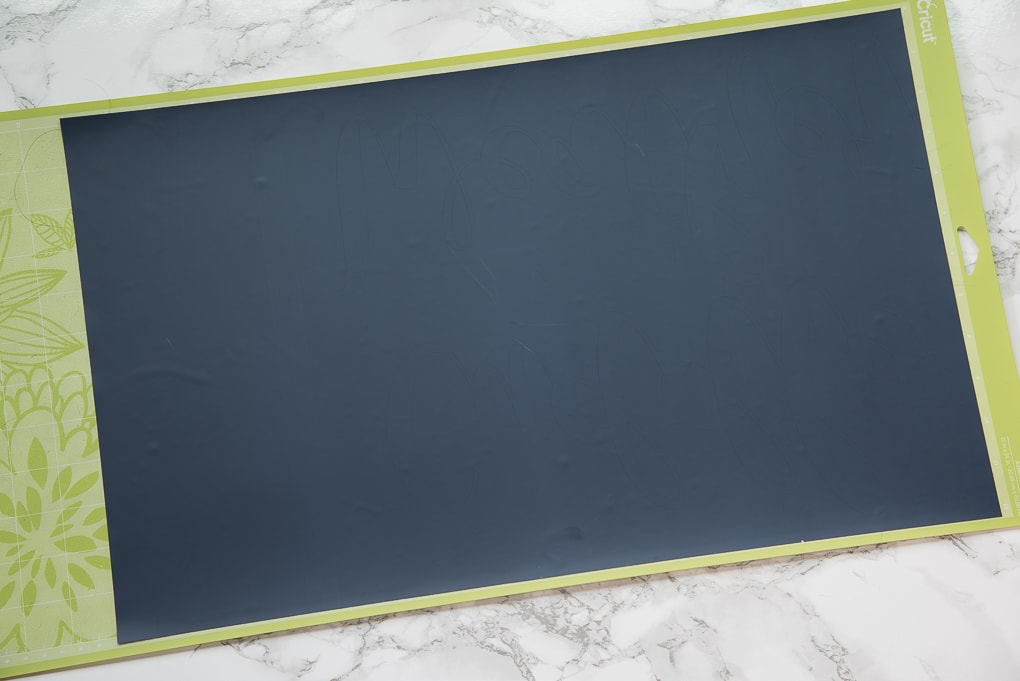
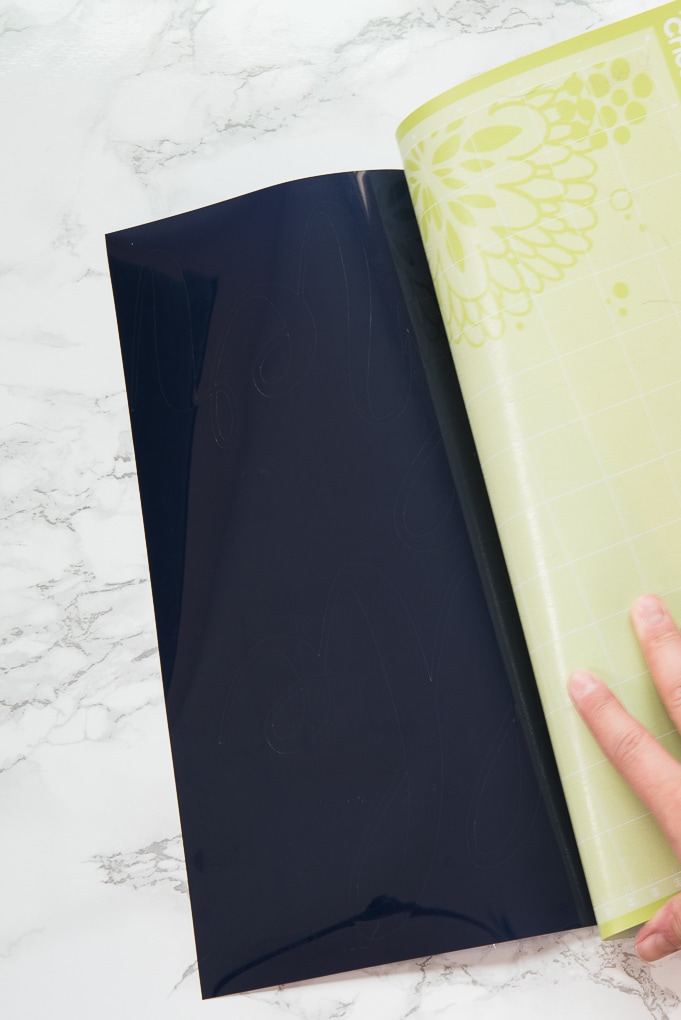
The cutting mats are normally extremely sticky. And sometimes, if you try and peel the material off, you can create creases or bends in your designs. I’ve found that the easiest way to avoid this is to actually peel the cutting mat off of the material.
First, flip the cutting mat over. Then, peel back the edge of the cutting mat. Continue to roll the cutting mat away from the heat transfer material until it has been completely released.
Now it’s time to weed your design. Weeding is the process of removing the excess vinyl from a design so that you are only left with your design on the plastic backing.
Starting at one corner of the material, peel the vinyl away from the plastic backing. Make sure to go slowly and only remove the extra vinyl, not your design.
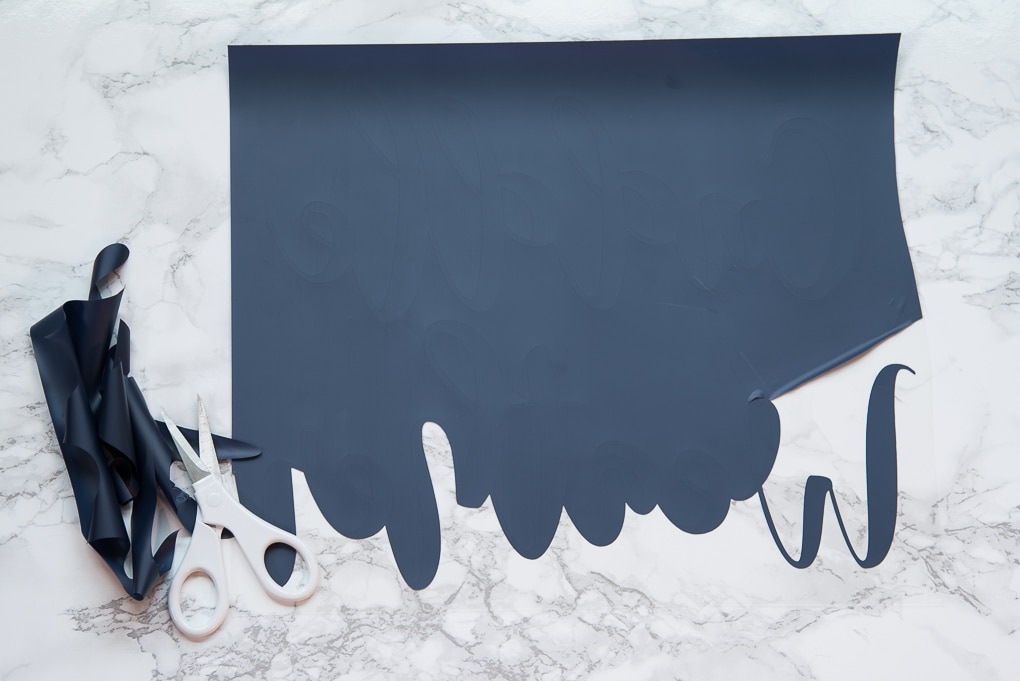
It’s helpful to have a pair of scissors on hand to cut away the excess vinyl as you go. Continue removing until only your design remains.
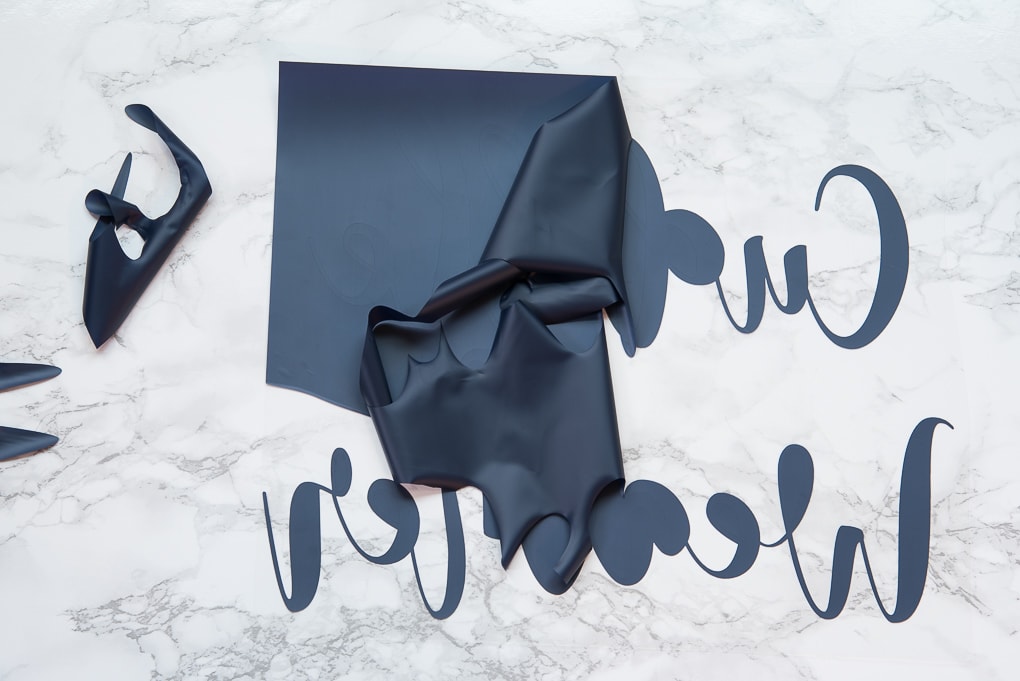
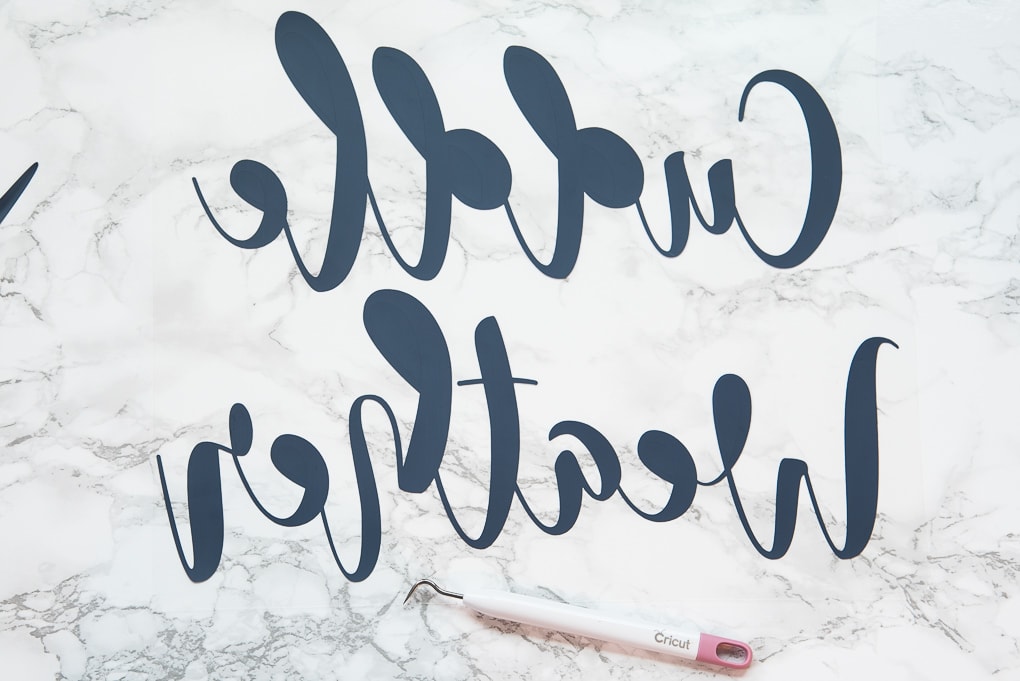
You can see that my design still has some extra vinyl inside of certain letters. These small pieces of vinyl can be tricky to remove by hand. The weeder tool is perfect for getting those smaller pieces off of the backing. Use the sharp tip to grab the edge or middle of the vinyl piece and then just peel it away.
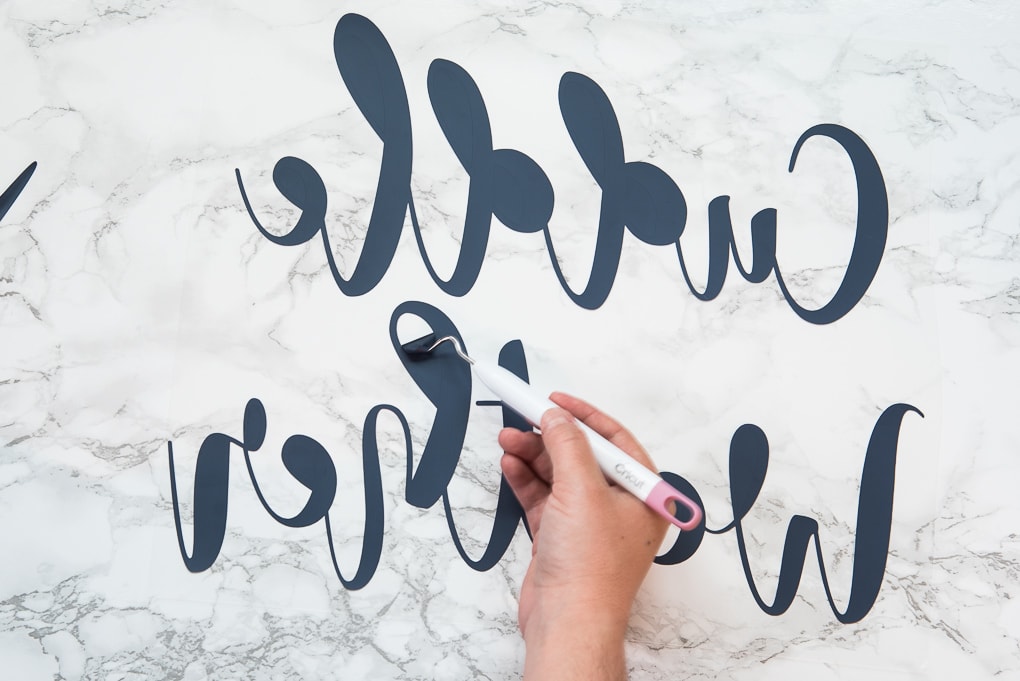
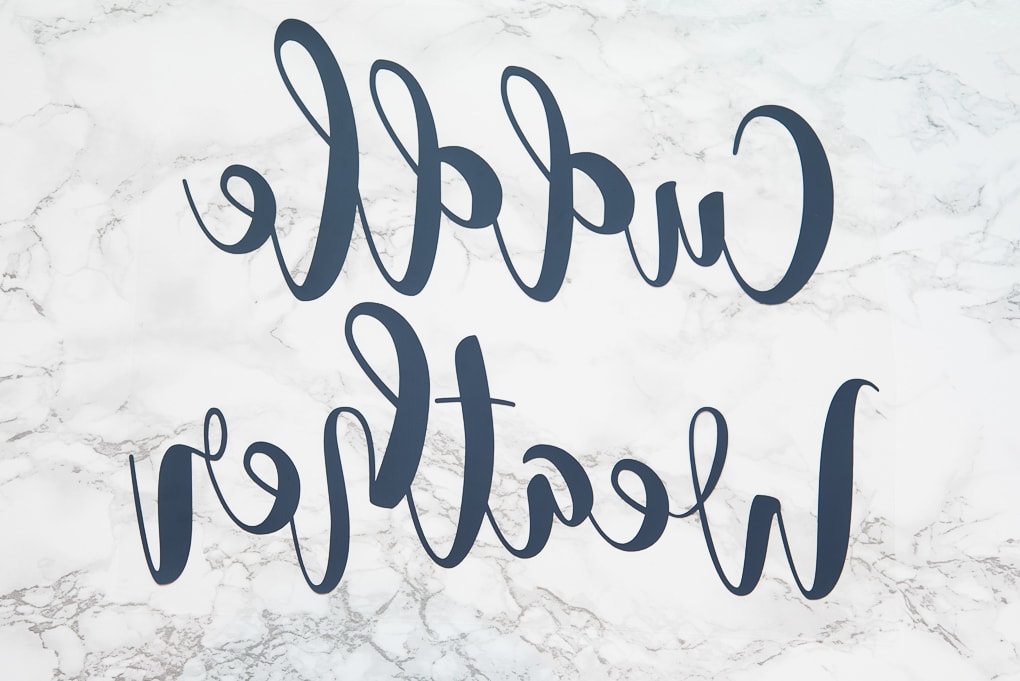
Before you can transfer the material to the pillow cover, you will need to prep the fabric. Using an iron on the highest heat setting, apply heat to the pillow cover
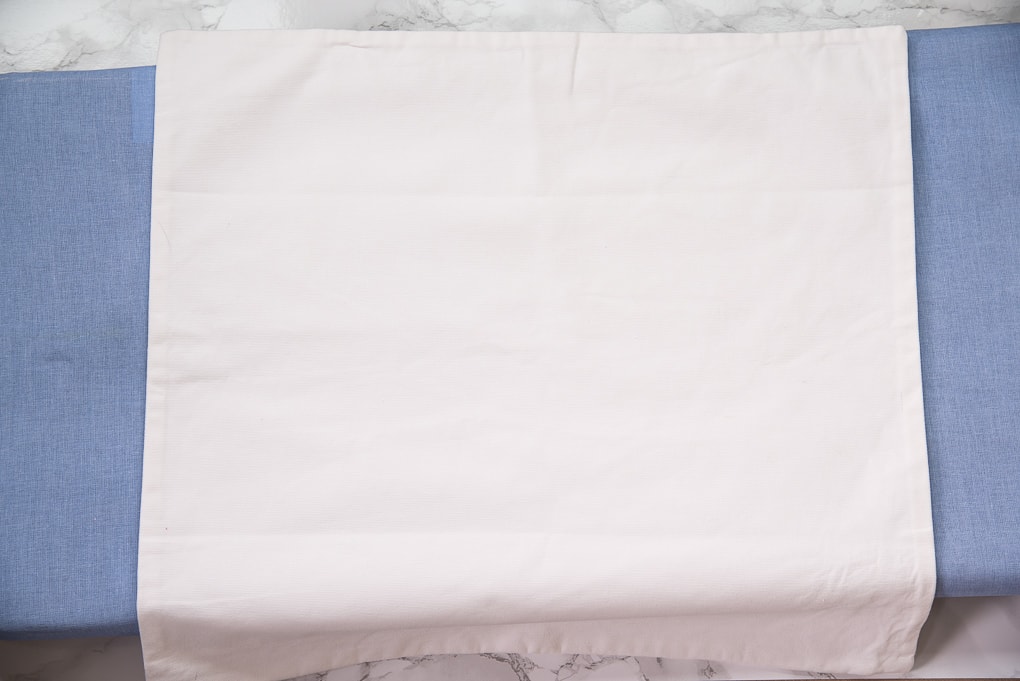
While your pillow cover is still warm, flip your heat transfer vinyl design over and center it on the pillow cover.
You will see that the design is now facing the right direction and the plastic backing is on top of the design. It’s a little hard to see in the picture, but the plastic is covering the entire design.
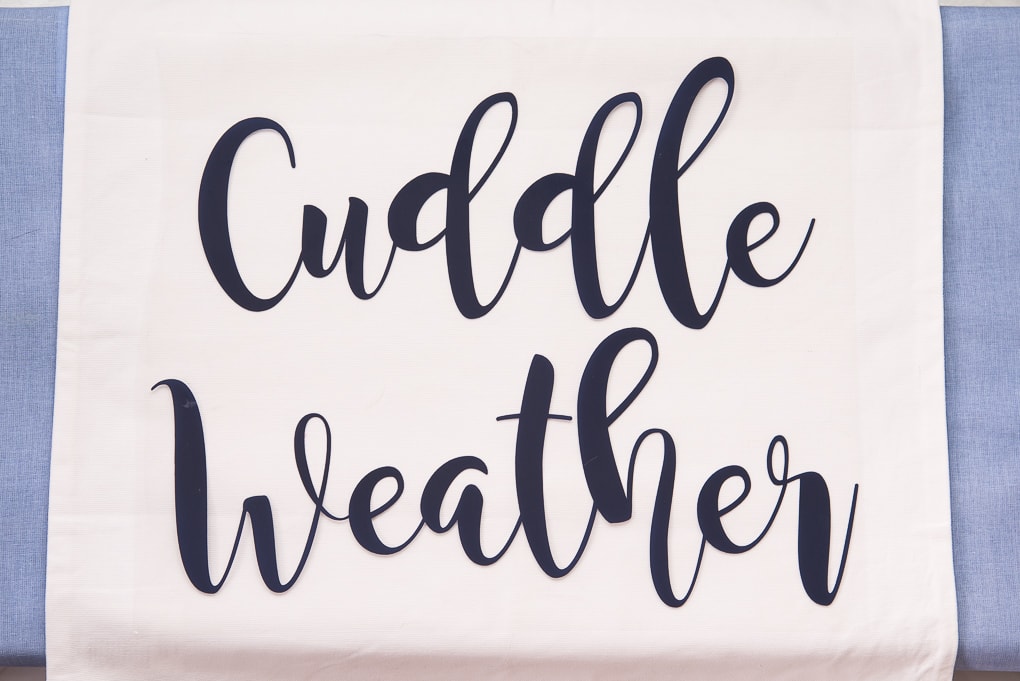
Next, take an old t-shirt or a thin piece and fabric and place it over your design. This will act as a barrier between the iron and the plastic.
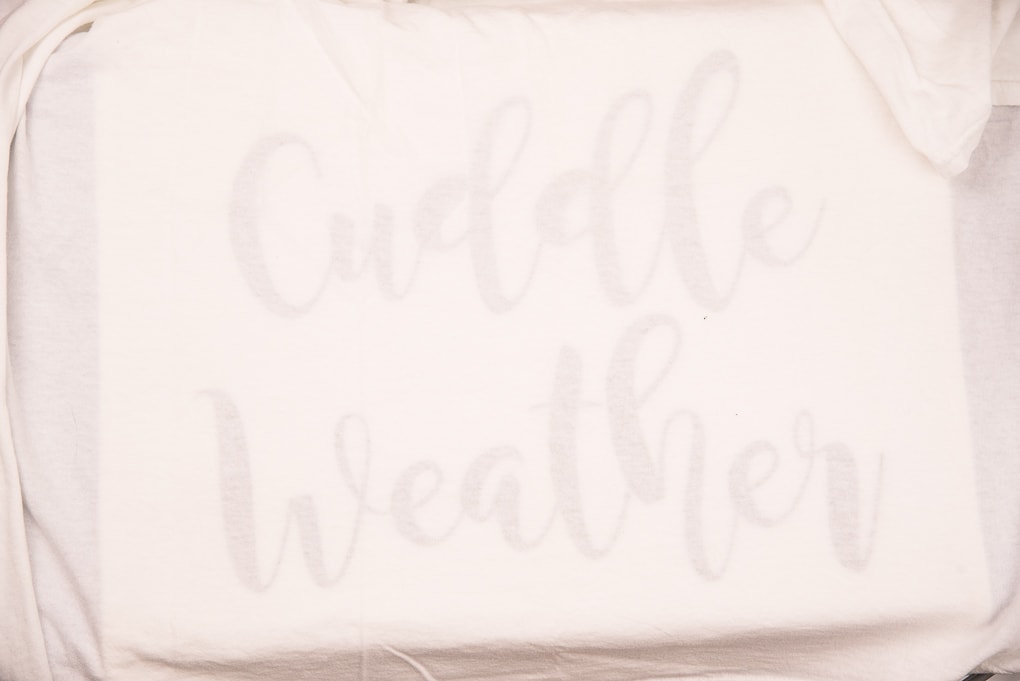
Set your iron to the highest heat setting, but make sure it is NOT set to steam. I always make sure to remove the water from the iron before I try to use it for heat transfer vinyl.
Press the iron down onto your design and hold it in place for 10 seconds. Then, pick up the iron and move it to another part of your design and repeat. Try not to slide the iron across your design because you might mess up the vinyl.
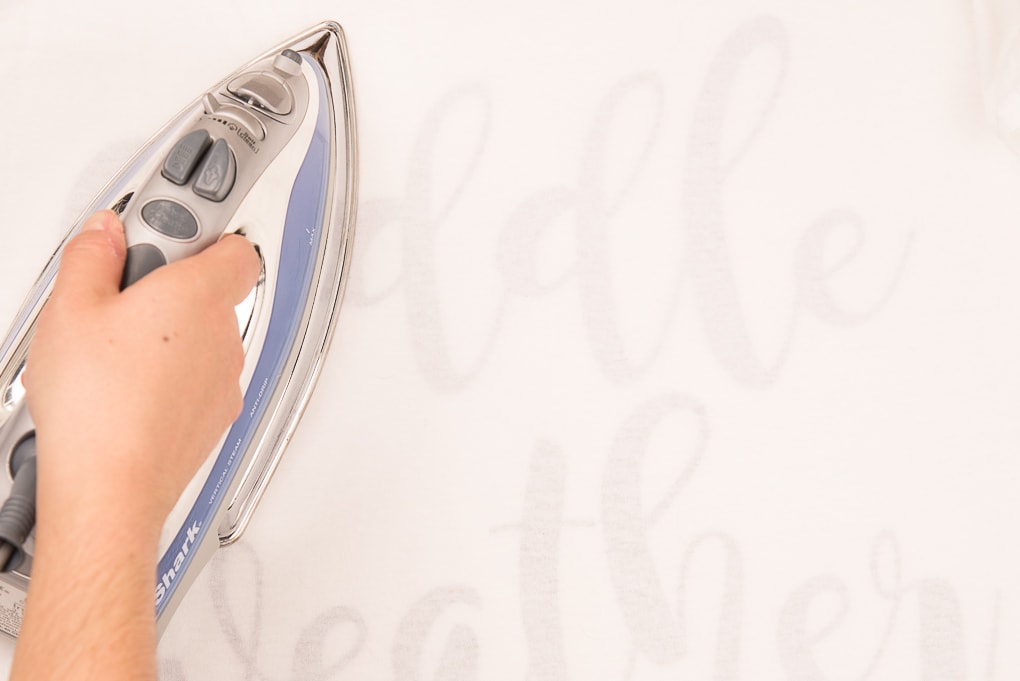
The goal is to apply even heat all over your design so that the heat transfer vinyl can release from the plastic backing and adhere to the fabric pillow cover.
Every time I do an iron-on project, the directions say that the process should only take like 30 seconds. But, in my experience, this always takes a lot longer! So, just be patient and continue to pick up and move the iron around applying even pressure and heat to your design.
To see if the vinyl is adhering to the fabric, slowly try to peel back the corner of the plastic backing.
If it’s ready, the vinyl will remove easily from the plastic backing and stick to the fabric.
If it’s not ready, the vinyl will pull up with the plastic backing. If your vinyl is still stuck to the plastic, just place it back down and repeat the ironing process to apply more heat.
Eventually, the vinyl will release from the plastic backing. When this happens, peel the backing away from your design to reveal the finished product!
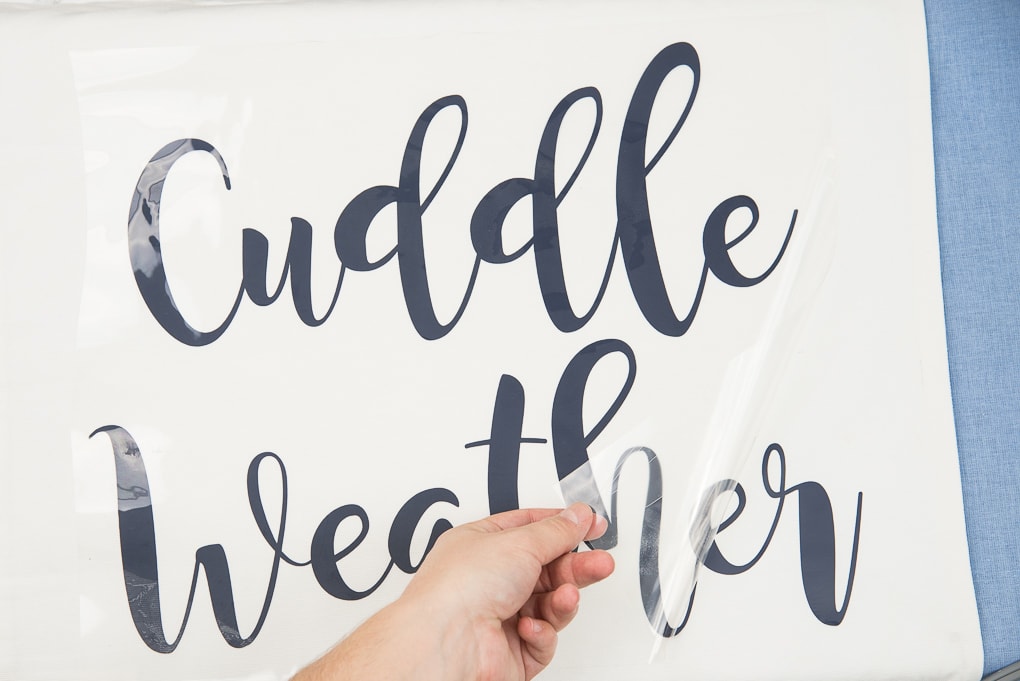
Once your pillow cover is finished, all you need to do is pop in a pillow insert. Then you’re done! You’ll have the perfect, cozy fall pillow for your home.
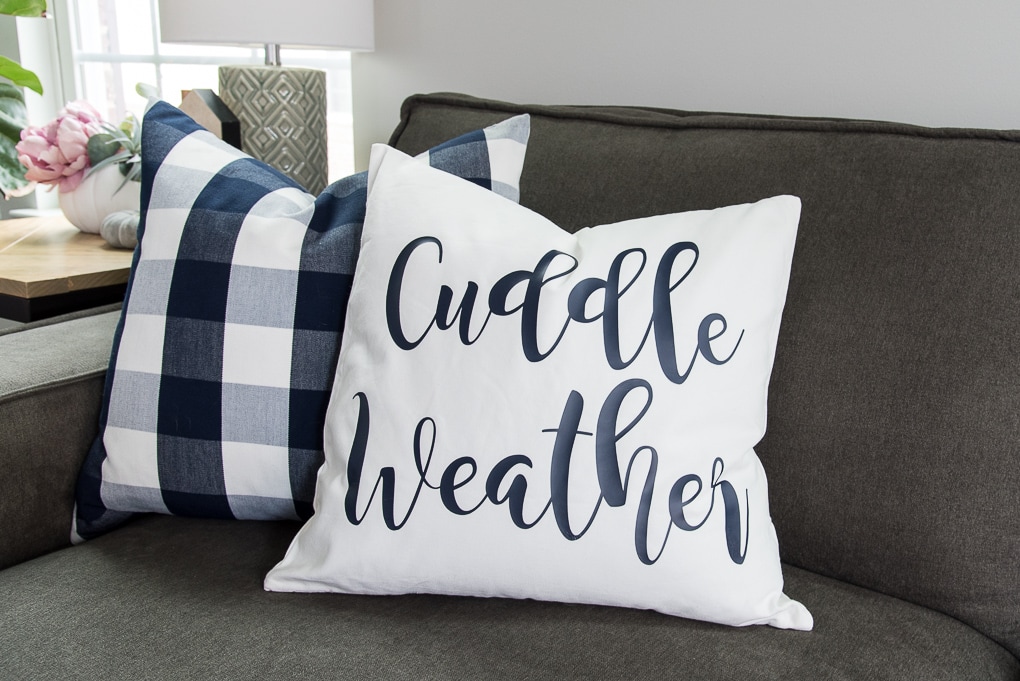
I absolutely love how my new accent pillow looks in our living room! It’s the perfect mix of cozy and modern and was exactly what I was looking for.
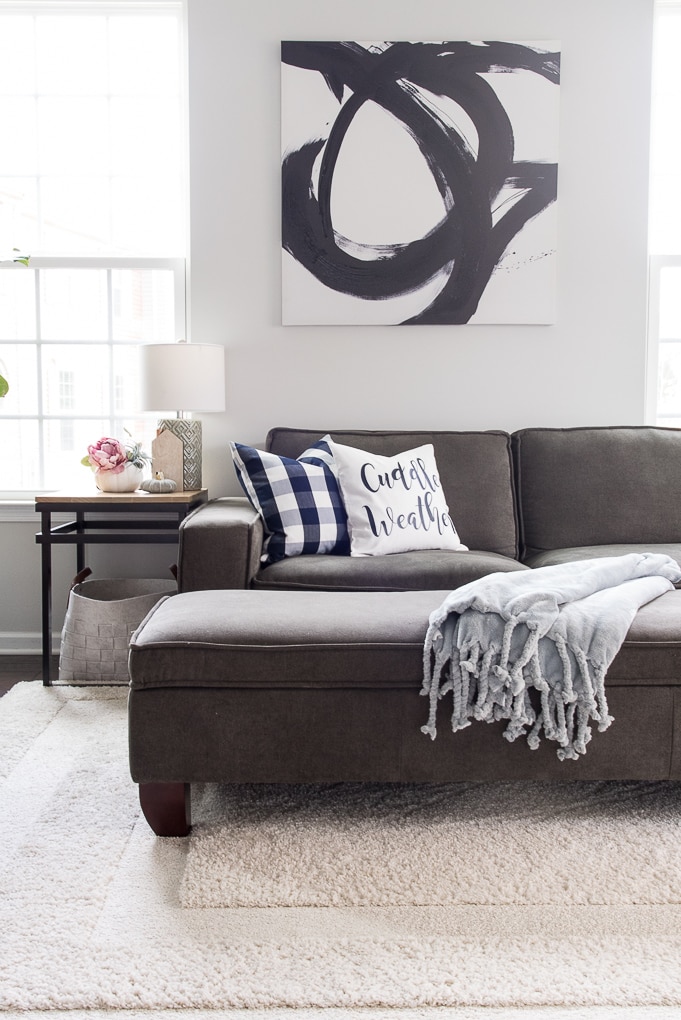
And nothing says fall like “cuddle weather!”
This was my first time using Craftables heat transfer vinyl and I have to say, I’m impressed! The heat transfer vinyl adhered so well to the fabric that it almost looks like it was screen-printed on. And, I didn’t have the peeling issue that I normally have with other heat transfer vinyl.
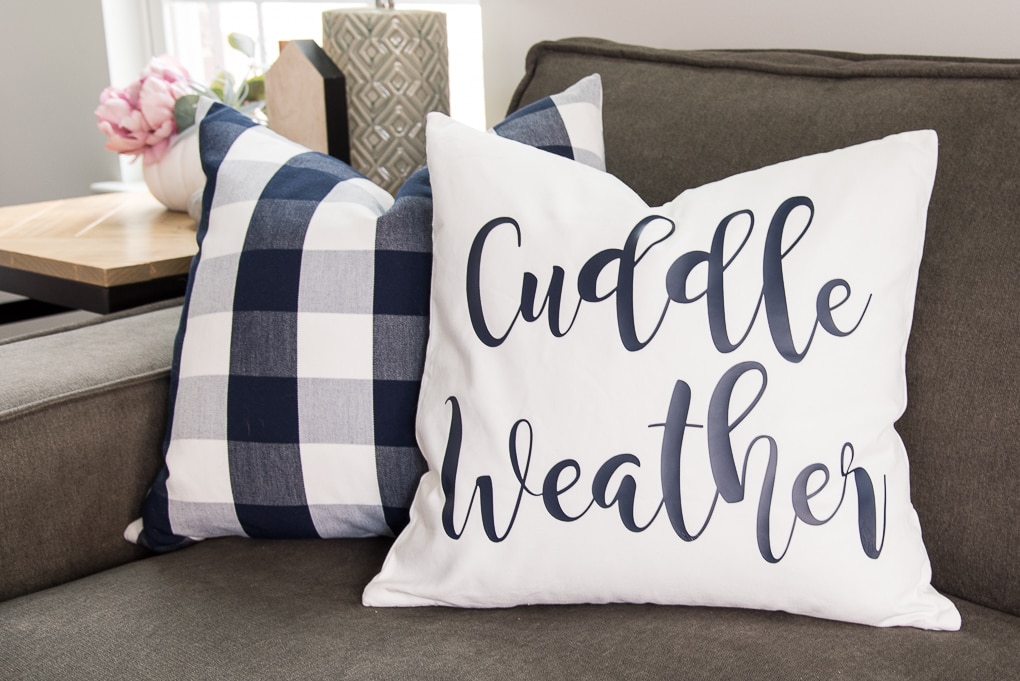
The vinyl is also very flexible. I’ve fluffed the pillow many times now, and the vinyl doesn’t make it feel stiff or uncomfortable. It flexes with the fabric.
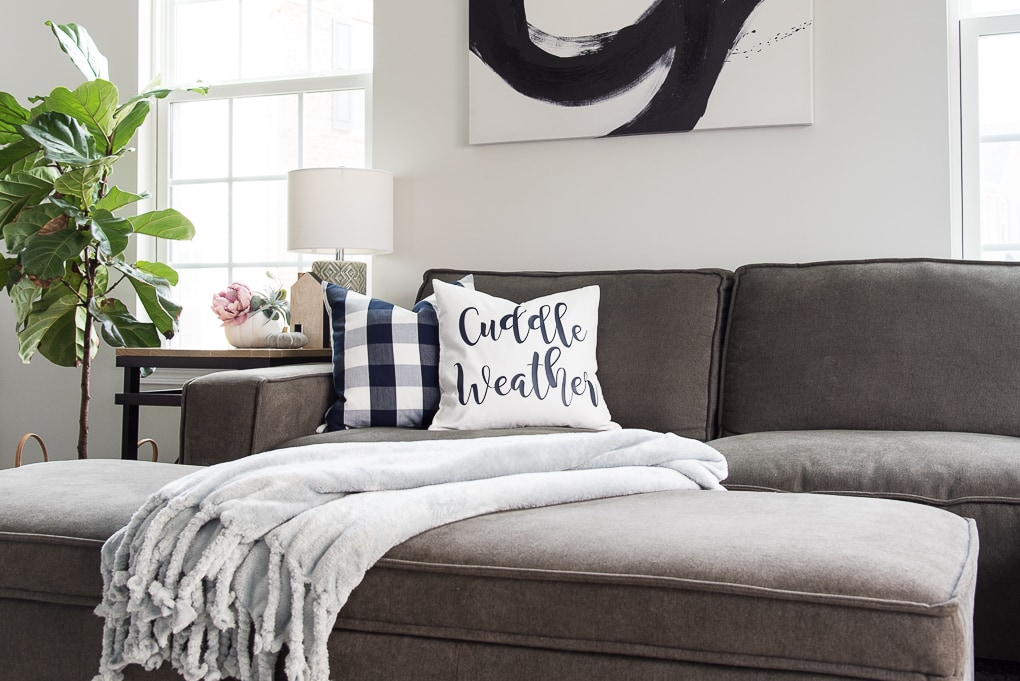
If you are looking for a high-quality heat transfer vinyl, definitely check out Craftables. They have a huge variety of heat transfer vinyl and other materials on their website. And, the best part is, it’s a lot cheaper than the heat transfer vinyl you’ll find in the craft store. The piece of vinyl that I used for this design was only $3.75!
Craftables has also graciously offered a coupon code just for you, my readers! Right now you can get 20% off your purchase by using the code InspirationKeys20.
This coupon code is only good until November 12, so make sure to go check them out! And stock up on those craft supplies!
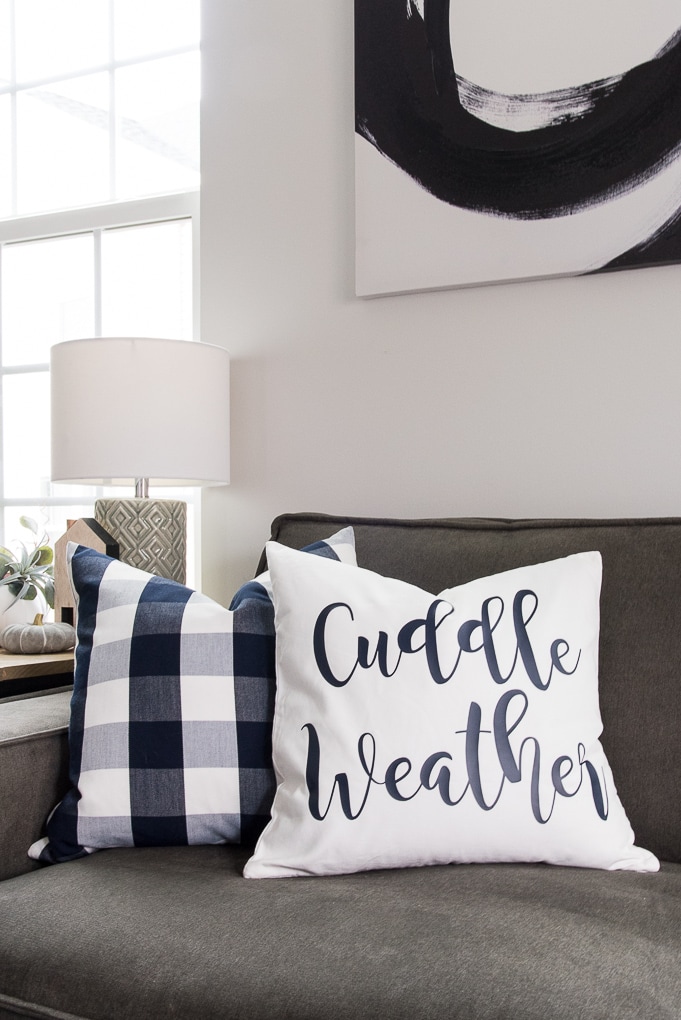
If you decide to make this project too, I would LOVE to see it! Leave a comment below or share a picture of your project on Instagram!
Now, I’m off to go get cozy on the couch with my new fall pillow… and a blanket of course!
Have a great week!





This is so cool! I never knew you could make a pillow transfer. And the pictures are perfect for following along! Nicely done 🙂 🙂
I need to make one of these! I love the phrase, cuddle weather. It does totally capture all the fall feels. Thanks for the tip about peeling the mat off the htv. Pinning!
Thanks Meredith! It really wasn’t that hard at all. And YES on the peeling the mat away. It works with lots of other materials too. Totally helps the material to not get all bent and curled.
Thanks for pinning!
>> Christene
Fall is also mine and my daughter’s favorite season! In fact I think she’d love a pillow like this one so thank you for sharing the idea!
very cute! this would make a great addition to my house
I am new to Cricut – when I upload the image and change height to 11.5 it is splitting it onto two sheets – I am using the 12×24 and it appears my Cricut is set for that. Has anyone else had this issue?
Hi Sha,
I’ve had that issue before too. Try setting the size to slightly smaller – maybe 11.45″ or if that doesn’t work 11.4″. Keep making it slightly smaller until it lets you use one sheet.
Hope this helps.
>> Christene