One of my favorite Easter treats growing up was always Peeps. I love marshmallows in general and marshmallows covered in sugar were even better! Now that I’m older, Peeps still bring back Easter basket memories, but unfortunately I don’t really enjoy the taste of them anymore. It’s probably because my taste buds have changed since I was a kid, but to me Peeps have a manufactured taste. I’m not really sure how to describe it. It’s kind of like how cheap chocolate can taste great when you are a kid, but when you taste real higher quality dark chocolate as an adult, the old chocolate you used to enjoy tastes horrible in comparison.
I really wanted to have Peeps this Easter, so I decided to make my own! At first, I thought this project was going to be super complicated, but I have to tell you that this was SO easy! I’ve never made marshmallows from scratch before, and for some reason in my mind they seemed like a mystical and complex thing to make. In reality all you need are a few ingredients. Marshmallows aren’t really that difficult and you can make them too!
This post contains affiliate links. For more information, see my disclosures here.
Easy Homemade Marshmallow Easter Peeps
Materials
- Stand Mixer (or Hand Mixer) with Wisk Attachment
- Saucepan
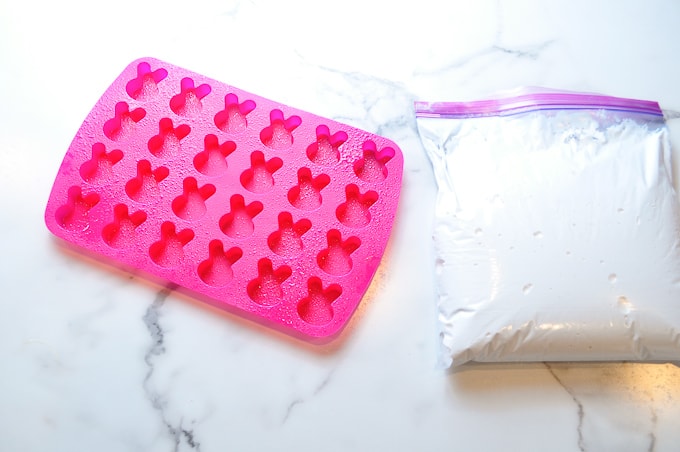
- Bunny Silicone Mold – I found mine at Wal-Mart (similar one here)
- Non-Stick Cooking Spray
- Colored Sanding Sugar (fine sugar) (similar here and in lots of different colors)
- Ziploc Bag – Freezer Size
- Plastic Wrap
- Spatula
The reason making marshmallows is so easy is that the stand mixer literally does all of the work for you! If you don’t have a stand mixer, I highly suggest you get one. It can be used for so many things other than baking. I got my beautiful bright pink one as a gift at my wedding shower and I love it!
Marshmallow Ingredients*
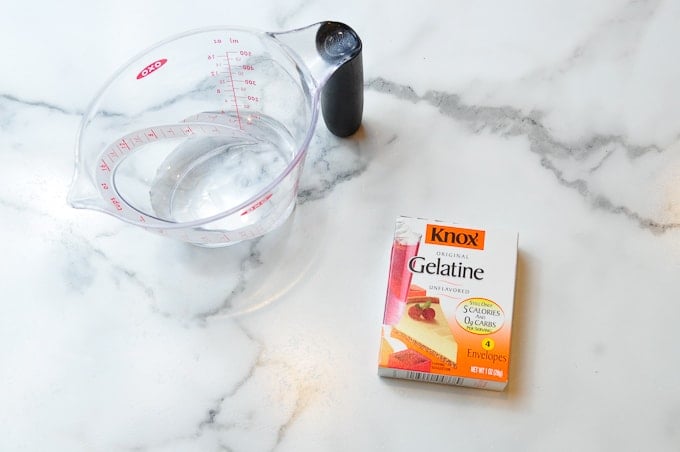
- 3 (1/4-oz) packets of unflavored gelatin
- ¾ cup cold water (split into ½ and ¼ cups)
- 2 cups granulated sugar
- 2/3 cup light corn syrup
- ¼ tsp salt
- 2 tsp vanilla extract
- Powdered Sugar (optional)
*Recipe Adapted from Martha Stewart
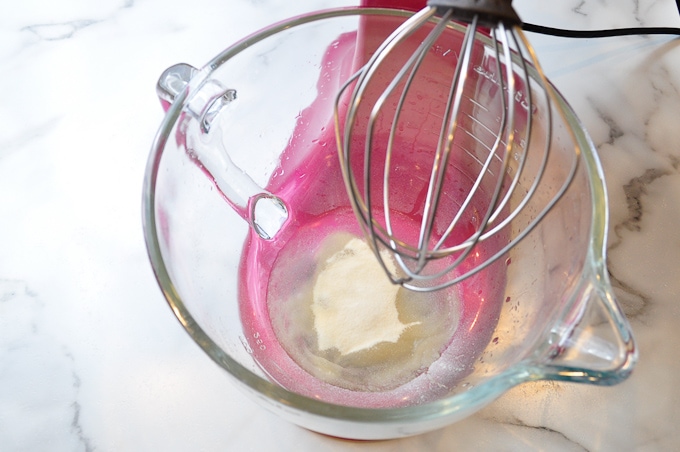
First, combine ½ cup of cold water and 3 packets of unflavored gelatin in the mixer bowl. Set a timer for 10 minutes.
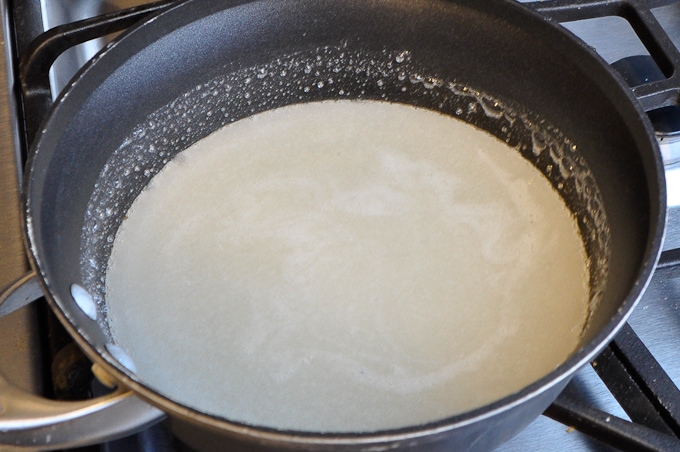
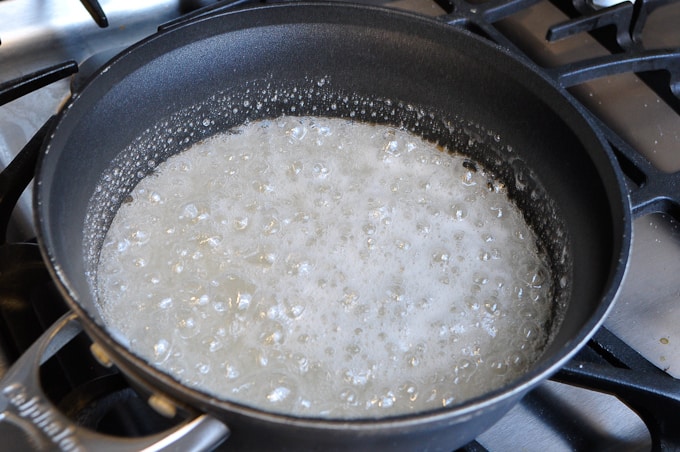
Next, in a saucepan, combine 2 cups sugar, 2/3 cup light corn syrup, and ¼ water. Stir to combine the ingredients.

Put the saucepan onto the stove over medium-high heat and bring to a boil. Boil rapidly for 1 minute.
Once the timer has finished and the gelatin has been sitting for ten minutes, turn on the mixer to low to break up the mixture slightly.
While the mixer is running on low, carefully take the saucepan off of the heat and slowly pour the boiling sugar mixture into the mixing bowl.
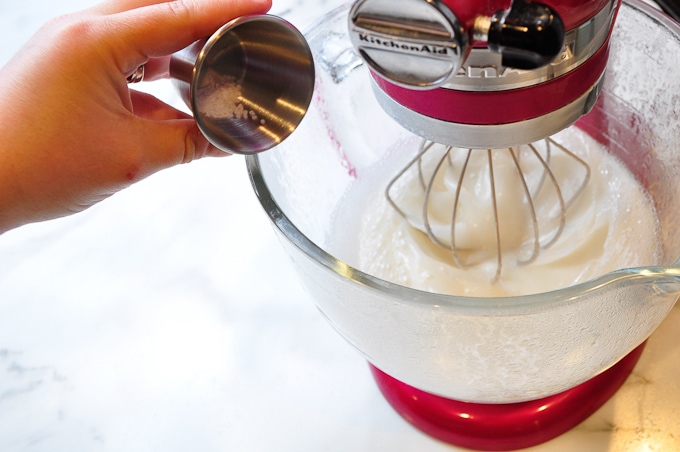
Add ¼ tsp salt to the mixture.
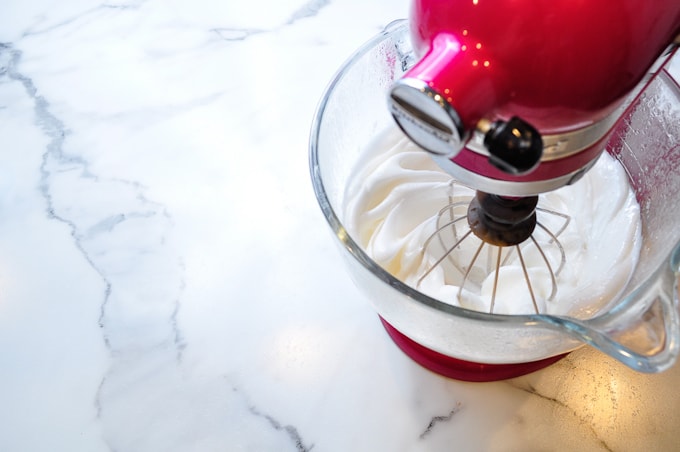
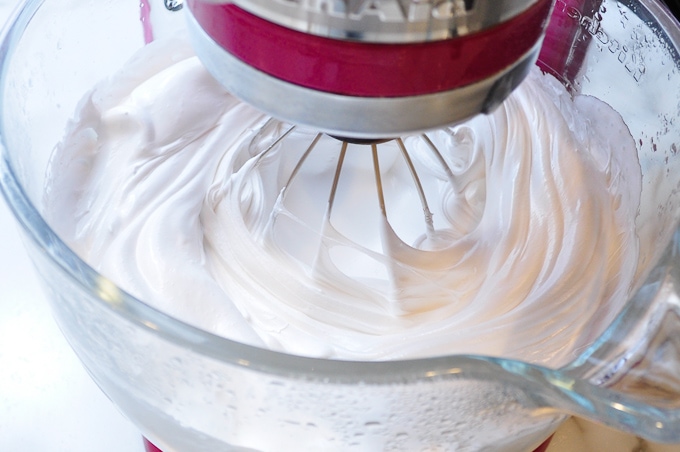
Increase the mixing speed to high and beat the mixture for 12 minutes.
As the stand mixer is beating the mixture it will begin to thicken. This is why having the stand mixer is so important. You literally don’t have to do anything except watch the mixer do it’s work and the marshmallow form before your eyes.
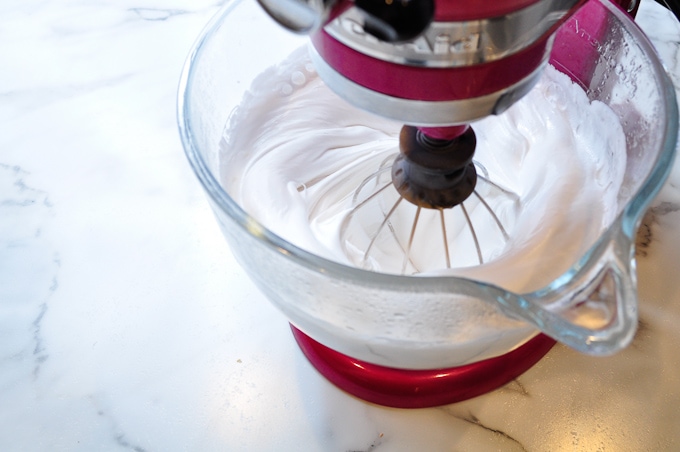
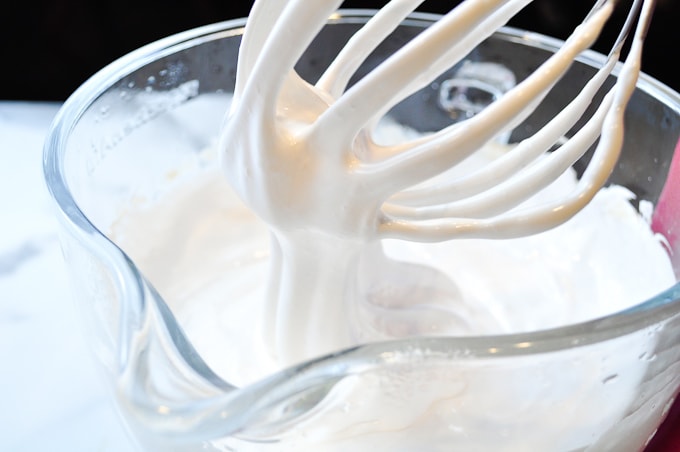
After 12 minutes are up, add the 2 tsp of vanilla extract to the mixture and slowly beat the combine.
Once it is well combined you will have this glorious, fluffy marshmallow mixture.
So gooey and delicious!
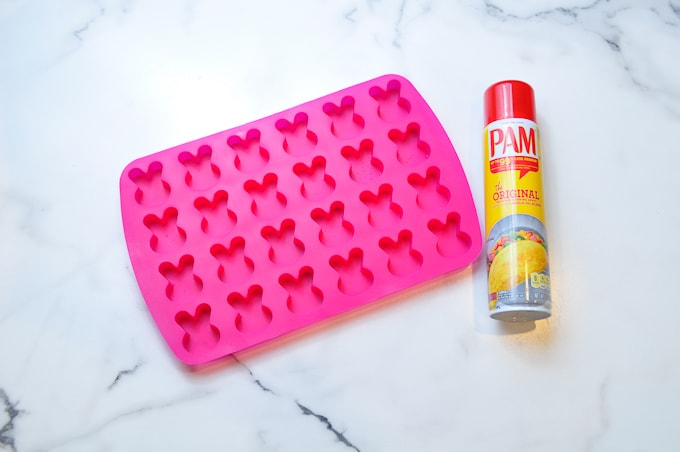
I found this silicon bunny mold at Wal-mart and it’s the perfect shape for some homemade peeps. You can grab a similar one here.
Before using the mold, you will need to spray it liberally with non-stick cooking spray. Make sure to angle the spray bottle to get into the sides of the mold. It looks like an excessive amount of spray, but you don’t want your gooey marshmallows to stick to the mold.
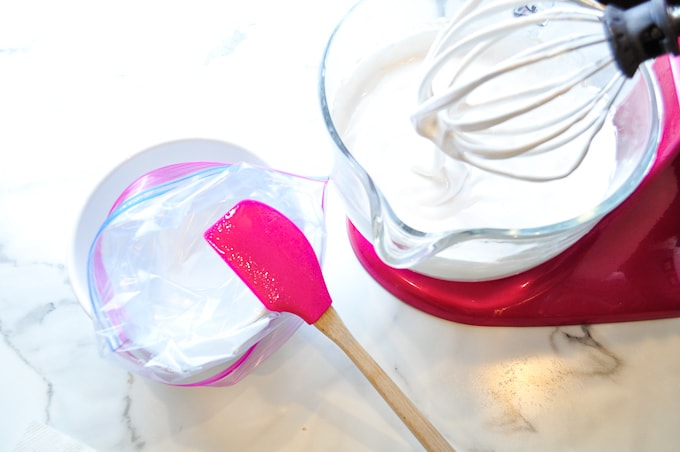
Next, take freezer-sized Ziploc bag and place it into a bowl to help it stand. Fold the edge out over the side. Spray a spatula with non-stick cooking spray.
Spoon the mixture into the plastic bag. Squeeze out as much air as you can and seal the top.
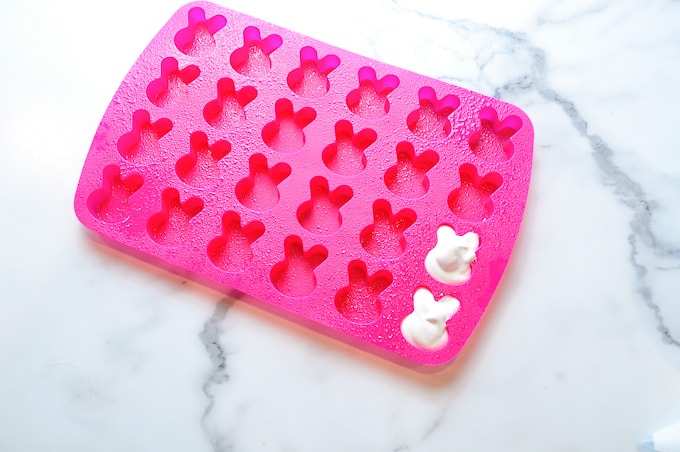
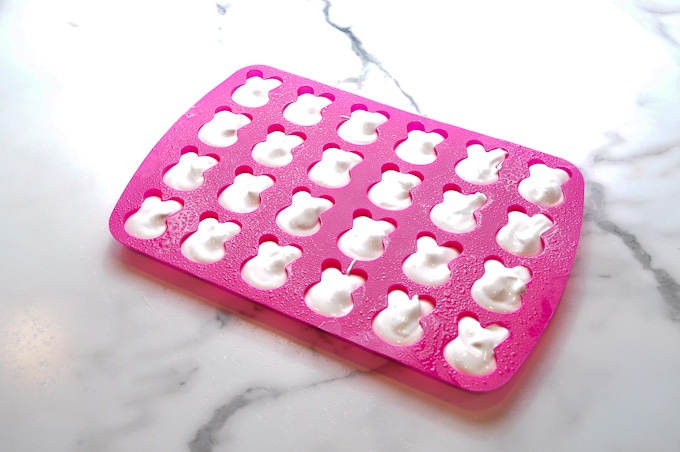
The bag will act as a piping bag for the marshmallow. Cut a small hole, about ½ in thick, into the corner of the bag. Begin to pipe the marshmallow into the bunny mold. You can fill the mold up to the top, but try not to go over the edge.
Cut a piece of plastic wrap to cover the entire mold and spray it with non-stick spray. Place the plastic wrap spray side down onto the bunny mold. This will prevent the marshmallows for drying out while they are setting.
Let this sit at room temperature for at least 2 hours.
IMPORTANT NOTE: This recipe makes a LARGE amount of marshmallow mixture. If you want to use it all to make peeps, you will need more than one silicon mold. You can’t just leave the mixture and wait for one batch to set because your extra marshmallow will also set inside the plastic bag. If you would rather not have the extra marshmallow, just scale the recipe down as needed.
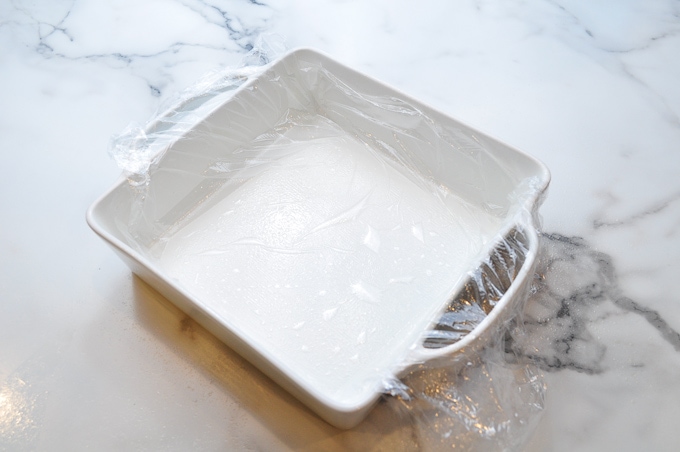
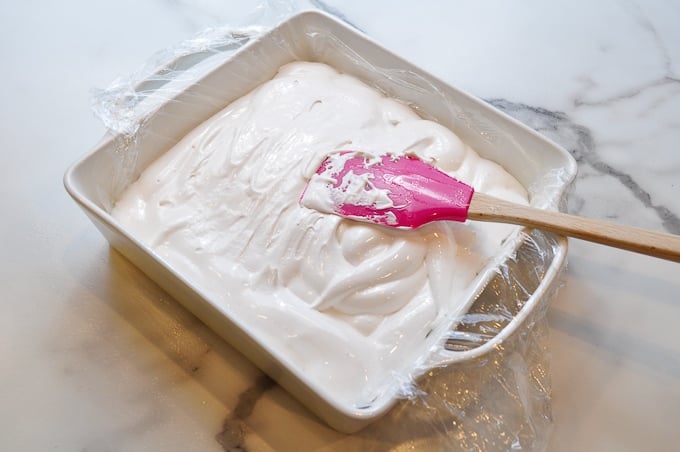
If you decide to make the full recipes, here’s another option for using the rest of the marshmallow mixture. I decided to excess marshmallow in my plastic bag to make regular homemade marshmallows. I took a square pan and sprayed it with – my best friend for this project – non-stick cooking spray. Then I lined the pan with plastic wrap. Then I sprayed the plastic inside the pan with non-stick cooking spray.
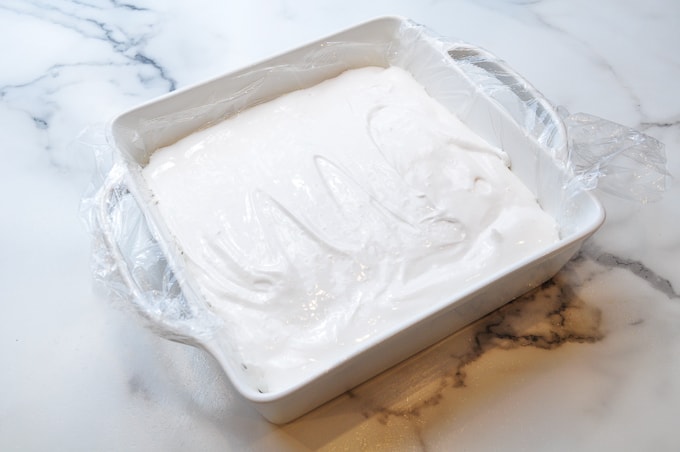
Then I piped the rest of my marshmallow mixture into the pan and smoothed it with a spatula.
Then, you guessed it, I took a piece of plastic wrap, sprayed it with non-stick spray, and covered the marshmallow with the plastic wrap spray side down.
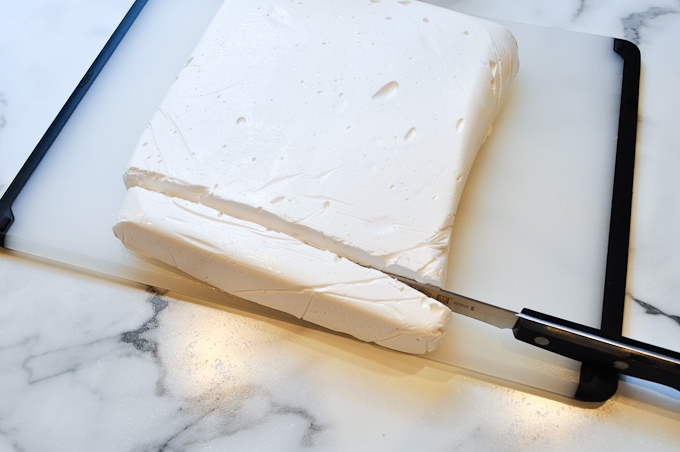
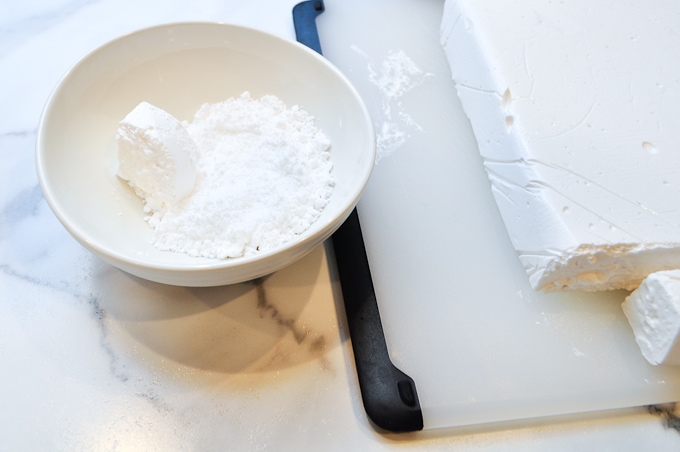
I let this sit for at least 2 hours also to set. After two hours, remove the plastic wrap from the pan and from the marshmallow. Sprinkle powdered sugar onto a knife and slice the marshmallow mixture into squares.
Immediately roll the marshmallows in powdered sugar.
These marshmallows can be eaten just like normal store bought ones. You can add them to your hot chocolate, or wrap some up and give them as a gift. If you want to get creative, you can use cookie cutters dipped in powdered sugar to cut out different shapes of marshmallows. There are so many options you can try out with your giant slab of gooey marshmallow!
Now, back to my homemade peeps! Once the marshmallows have some time to set, they are ready to be covered in sugar. You will need very fine dusting sugar to coat your marshmallows. I found these at Wal-mart and decided on some pastel colors for Easter. You can also find sanding sugar in a bunch of different colors here.
Dump out your sugar into shallow bowls.
Remove the plastic wrap from your bunny mold.
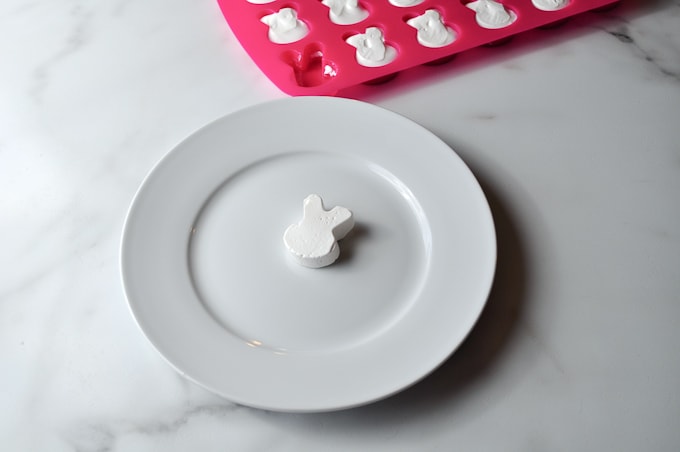
Working one bunny at a time, invert the silicon mold and push the marshmallow out and away from the walls of the mold. Don’t worry if your marshmallow sticks a little or even rips.
You can see in the picture that some of the marshmallow got left behind in the mold. That’s because I didn’t spray the sides of my mold well enough, so take my advice and over-spray your mold. Still, if your marshmallow rips off, you won’t even notice once it’s covered in sugar.
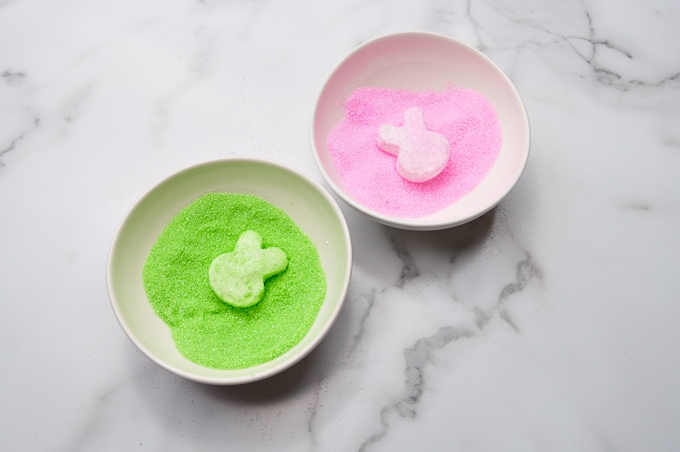
Once the bunny marshmallow is out of the mold, place it directly into a sugar bowl. Toss the marshmallow in the sugar making sure to cover all sticky surfaces completely.
Remove the sugar-covered bunny from the bowl and place to the side. You have now made your first homemade Easter peep! Repeat the process with the remaining marshmallow bunnies, using as many different sugar colors as desired.
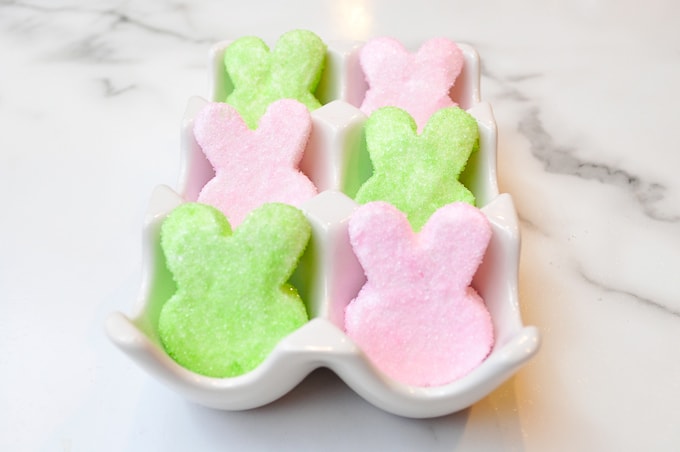
Finished! Don’t these Peeps look great? I opted to not put faces onto mine; I like the look of plain pastel colored bunnies. These marshmallows can be stored in an airtight container for up to 3 days for best results. I have had mine in an airtight container for over a week now and they are still squishy, gooey, and delicious.
These Peeps are the perfect addition to any Easter basket. Just get a clear treat bag and stack a few inside. Tie a bow around the top and you have a cute treat.
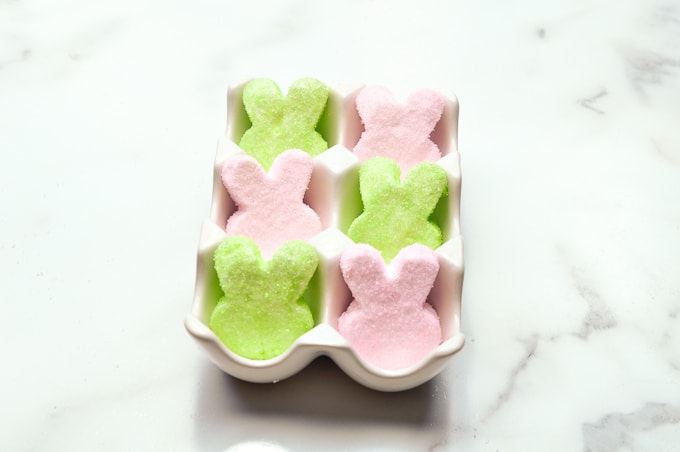 Since I’ve never made homemade marshmallows before, I wasn’t sure how the taste was going to compare to the store bought kind. As I mentioned before, I really don’t enjoy the flavor of Peeps, but I don’t mind the round standard marshmallows from a bag.
I am happy to say that these marshmallows have a much richer taste than the store bought version. I think they are more creamy and decadent than any normal marshmallow. I really want to make myself a mug of hot chocolate and put a nice big homemade marshmallow on the top! They do taste different than what you might be used to from marshmallows in a bag. I prefer the homemade version now.
One last thing to mention, these might be homemade, but that doesn’t mean they are necessarily “healthy.” 🙂 These are still full of sugar, because that’s essentially what a Peep is.
So, have I inspired you to make your own marshmallows? They aren’t really as difficult as they seem and the results are so great!
I made this cute and handy recipe card for you pin for future reference so make sure you add it to your Pinterest board!

Now I’m off to enjoy a Peep!
This Project was Featured on Merry Monday, Bewitchin’ Projects Block Party, & DIY Projects and Recipes
























Peeps are still my favorite Easter treat! Thanks for sharing how we can make our own. I saw your post over at Merry Monday Link Party.
Hi there! Thanks for stopping by! Yes, I feel like nothing says Easter treat like a Peep.
>>Christene
Can corn syrup be substituted with Agave Syrup? Trying to make these corn syrup free. Please help! Thank you!
Hi Donna,
I did not try that, but I have heard that agave can be a good corn syrup substitute. Let me know if the consistency turns out similar.
>> Christene
Thanks for sharing this on Merry Monday! As you noticed, you are my featured pick for this week’s party. I hope you come and link up again with us! 🙂
Thanks Marie! I’m so glad I was your pick – you made my day!
I love all the inspiration for the Merry Monday party, definitely linking up again.
>>Christene
I love Peeps and I love homemade marshmallows, never thought to put them in a shaped mold, but you better believe I will be doing this a lot now 🙂 Thanks! Pinned.
Thanks for the pin Kati! There are tons of different molds out there too so you could make these for lots of different occasions. Just use lots of non-stick spray 🙂
>>Christene
Everyone I know LOVES peeps so this is the perfect idea for this coming weekend!
Thanks so much for sharing this recipe. I bought the PEEPS mold last year but never go around to making them. They look great!
Thanks Sherry! At least you have the mold now for next year 🙂 or even just spring bunnies (not necessarily Easter)
😉
>> Christene
I just made these, they’re currently sitting for the 2 hrs. Mine was very thick and hard to spread in the bunny molds. Any suggrestion?
Hmm… you may have overwhipped them and therefore made them a little too stiff. Maybe mix for slightly less time next time to get a less thick texture
How long do they last after making and how do you store them?
Thanks
I just kept them on the counter under some plastic wrap. They lasted about a week
Is it possible to use parchment paper instead of plastic wrap and the spray?
hi! I would probably still use some sort of spray with the parchment paper – the marshmallows tend to be pretty sticky
>> Christene