Learn how to make a gorgeous felt magnolia Christmas garland using the Cricut Maker. This is a festive and easy project for the holiday season!
Welcome to Have Yourself A Very Cricut Christmas: 25 Days of Homemade Holiday Crafts!
Each day in December, I’ll be sharing a new Christmas project that you can make using your Cricut. It’s going to be a blog version of an advent calendar! Come back every day to get a new “gift.”
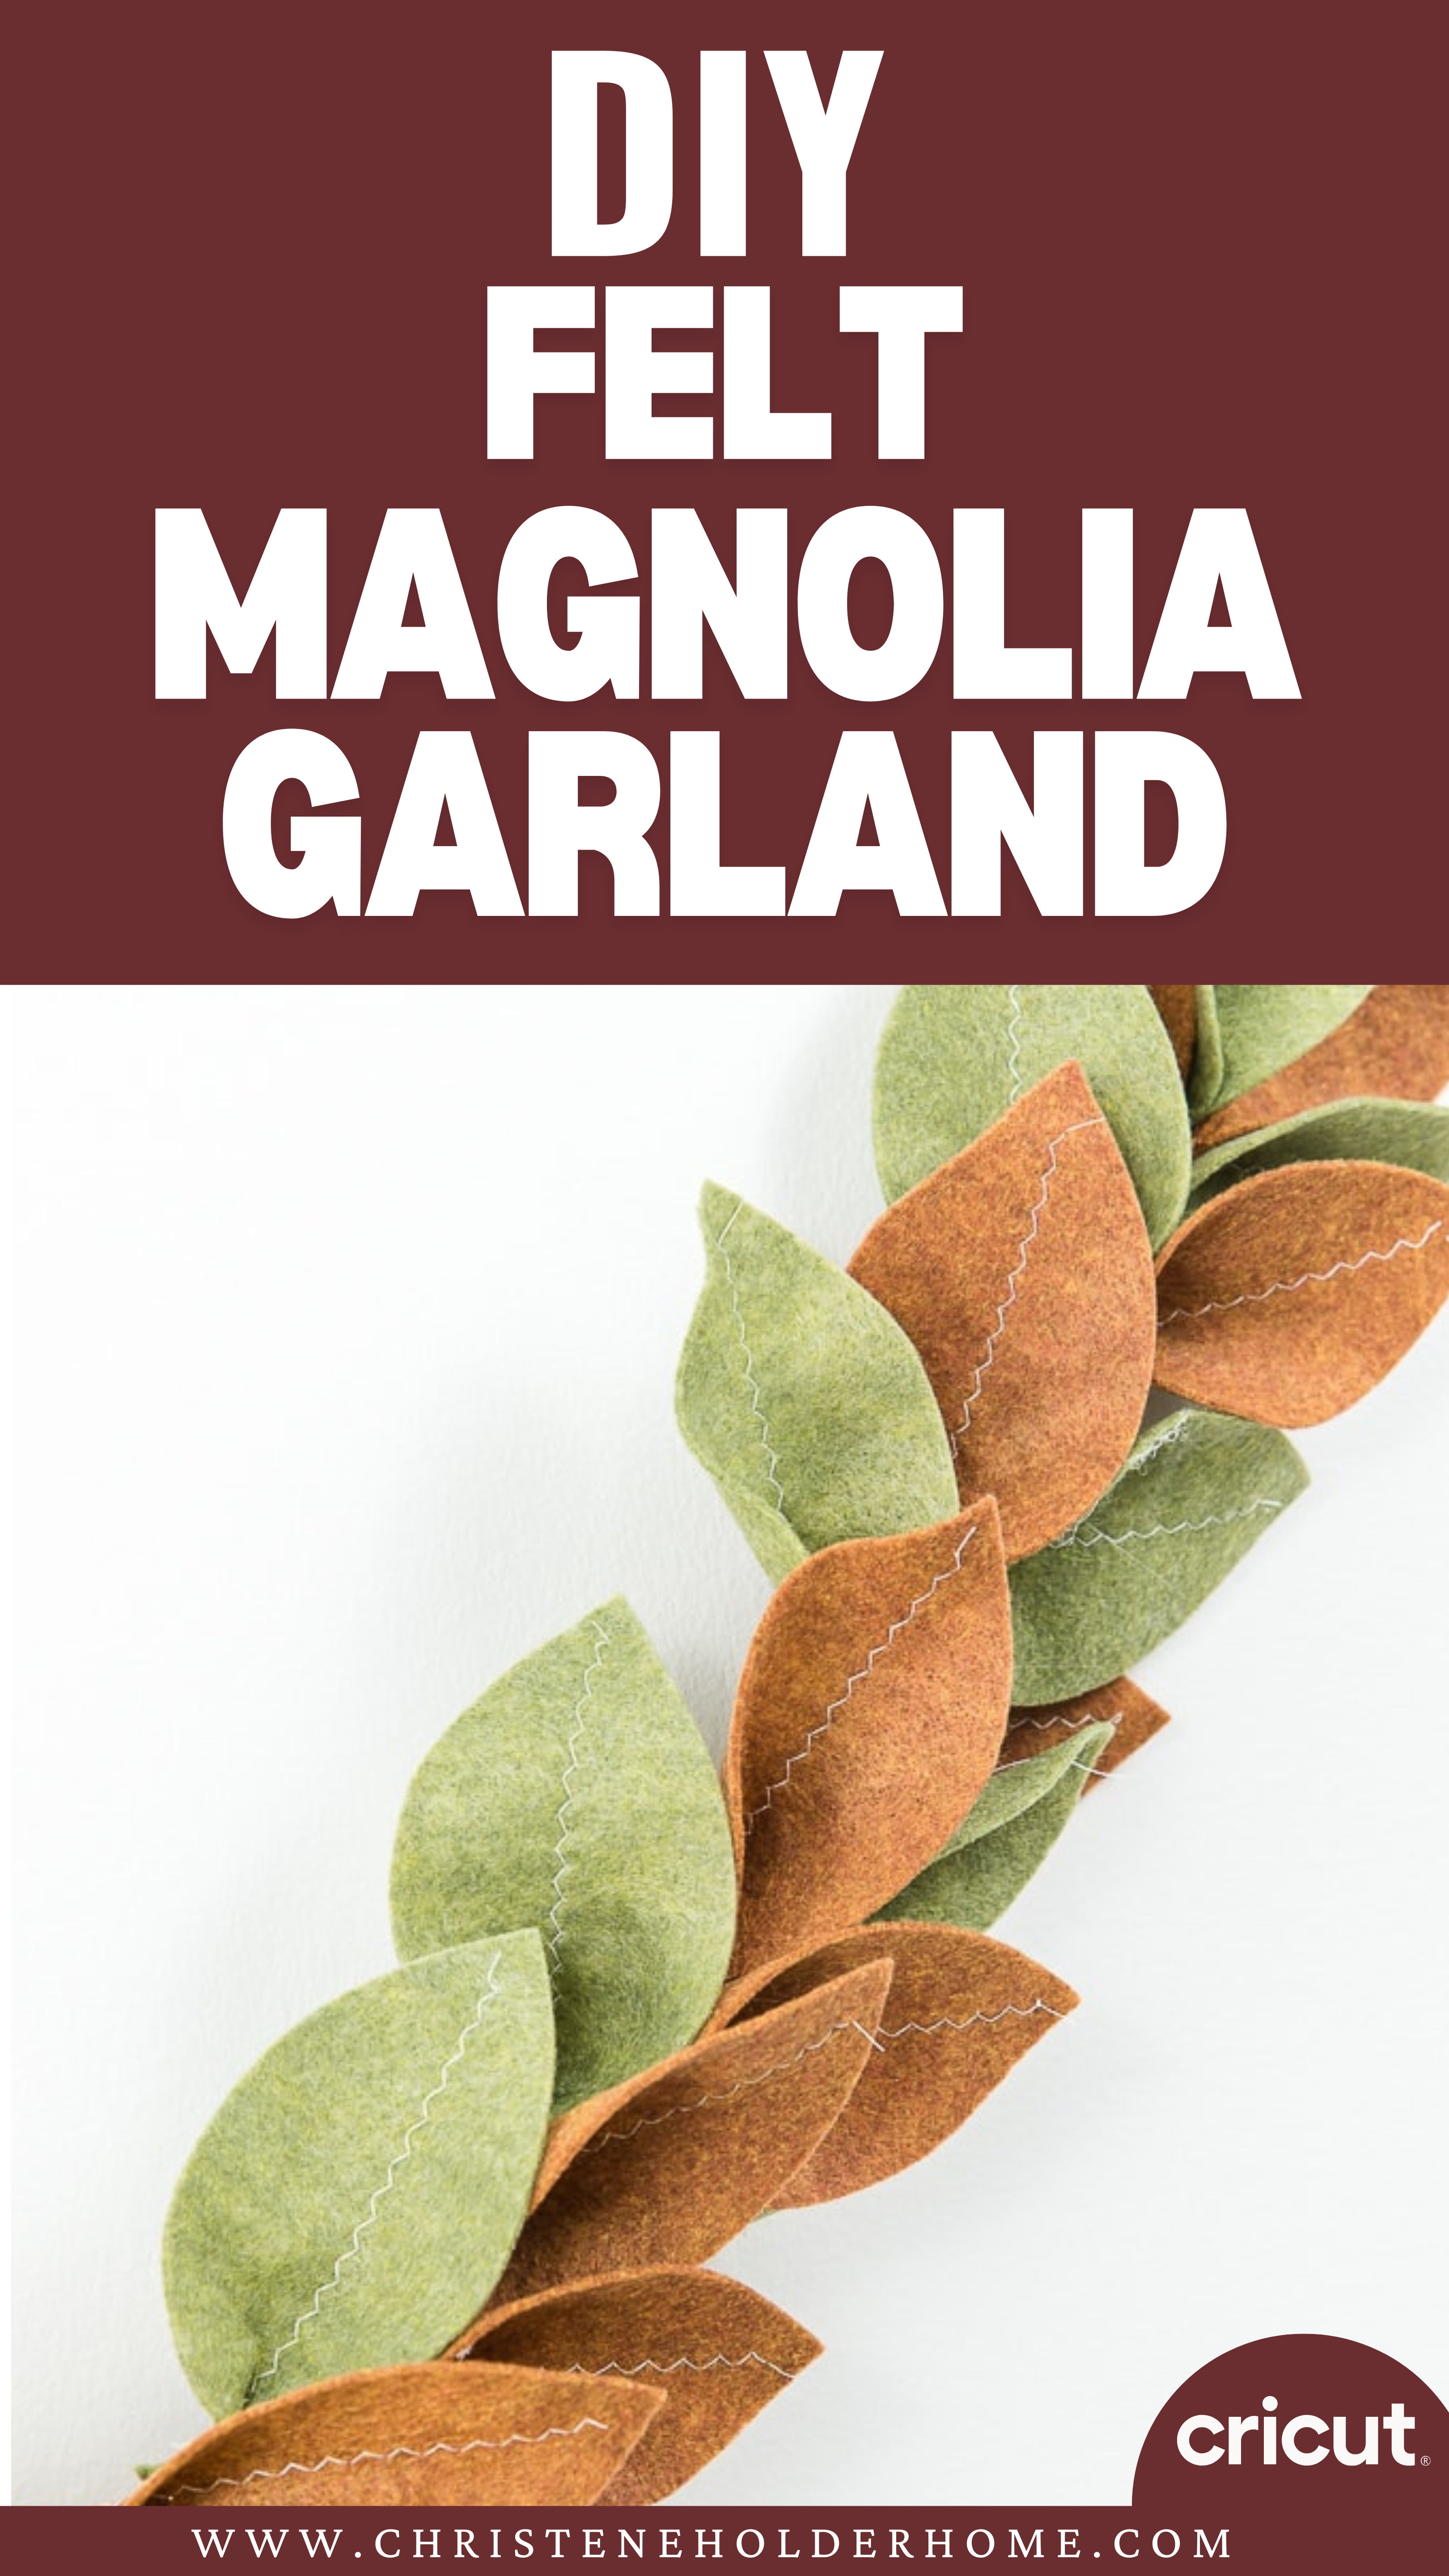
Today’s gift is a Magnolia Christmas Garland.

One of my favorite ways to add a cozy feel to our home during Christmas is to add garlands and greenery. I love the look of mixed greenery. Both faux and fresh can be used to create a cozy vibe in your home.
I decided to design a felt garland that looks like a magnolia garland. It’s made from two colors of felt which is reminiscent of the iconic magnolia leaves. On the front they are green and on the back they are brown.
You’re going to love this Magnolia Christmas Garland. Here’s how to make it!
How to Make a Magnolia Christmas Garland Using The Cricut
This post contains affiliate links for your convenience. For more information, see my disclosures here.
Materials:
- Magnolia Christmas Garland SVG file
- Olive Felt Sheets 9” x 12” (I used 5 sheets for my garland)
- Copper Felt Sheets 9” x 12” (I used 5 sheets for my garland)
- Jute Cord
- White Thread (optional)
Tools:
- Cricut Machine (You will need a Cricut Maker for this project)
- Fabric Grip Cutting Mat
- Cricut Rotary Blade (comes with the Cricut Maker)
- Cricut Brayer Tool
- Sewing Machine (optional)
- Hot Glue Gun and Hot Glue Sticks
How to Cut Out The Project Using The Cricut
First, you will need to download the Magnolia Christmas Garland SVG file.
Get the Free Magnolia Christmas Garland SVG File

Start by opening Cricut Design Space and creating a new project.
Upload the SVG File
Then, upload the SVG file by selecting the Upload button and then Upload Image. Next, drag and drop or select the SVG file you want to upload.
After the SVG is uploaded, add the image to your design canvas.
If you need a little more help uploading SVG files, you can learn more in this post.
The SVG file will already be sized properly for this project.

Cricut Machine Requirement
For this project, you will need to have the Cricut Maker machine. The Cricut Maker comes with a rotary blade that is designed to cut fabric and felt.

I just got this machine and I love it! I feel like I can create so many more things now that I can cut fabrics.
The rotary blade is designed to be used with the fabric grip cutting mat. This mat is the pink one and is made for fabrics.
If you buy a Cricut Maker, you will get the rotary blade and a fabric grip cutting mat in the box. The best part is, you don’t need any backing for the Cricut Maker to cut fabrics. It just cuts out the pieces perfectly using the rotary blade!
Make It
Now it’s time to make your project!
Click on the Make It button in the upper right of the screen.
The first screen you will see is the Mat Preview Screen. This will show you all of the different mats needed for your project. Each mat represents another piece of material.
For this project, there are only 2 mats with the leaves design. To get enough leaves for your garland, you will need 5 sheets of olive felt and 5 sheets of copper felt. So, you will need to cut out each mat design 5 times.
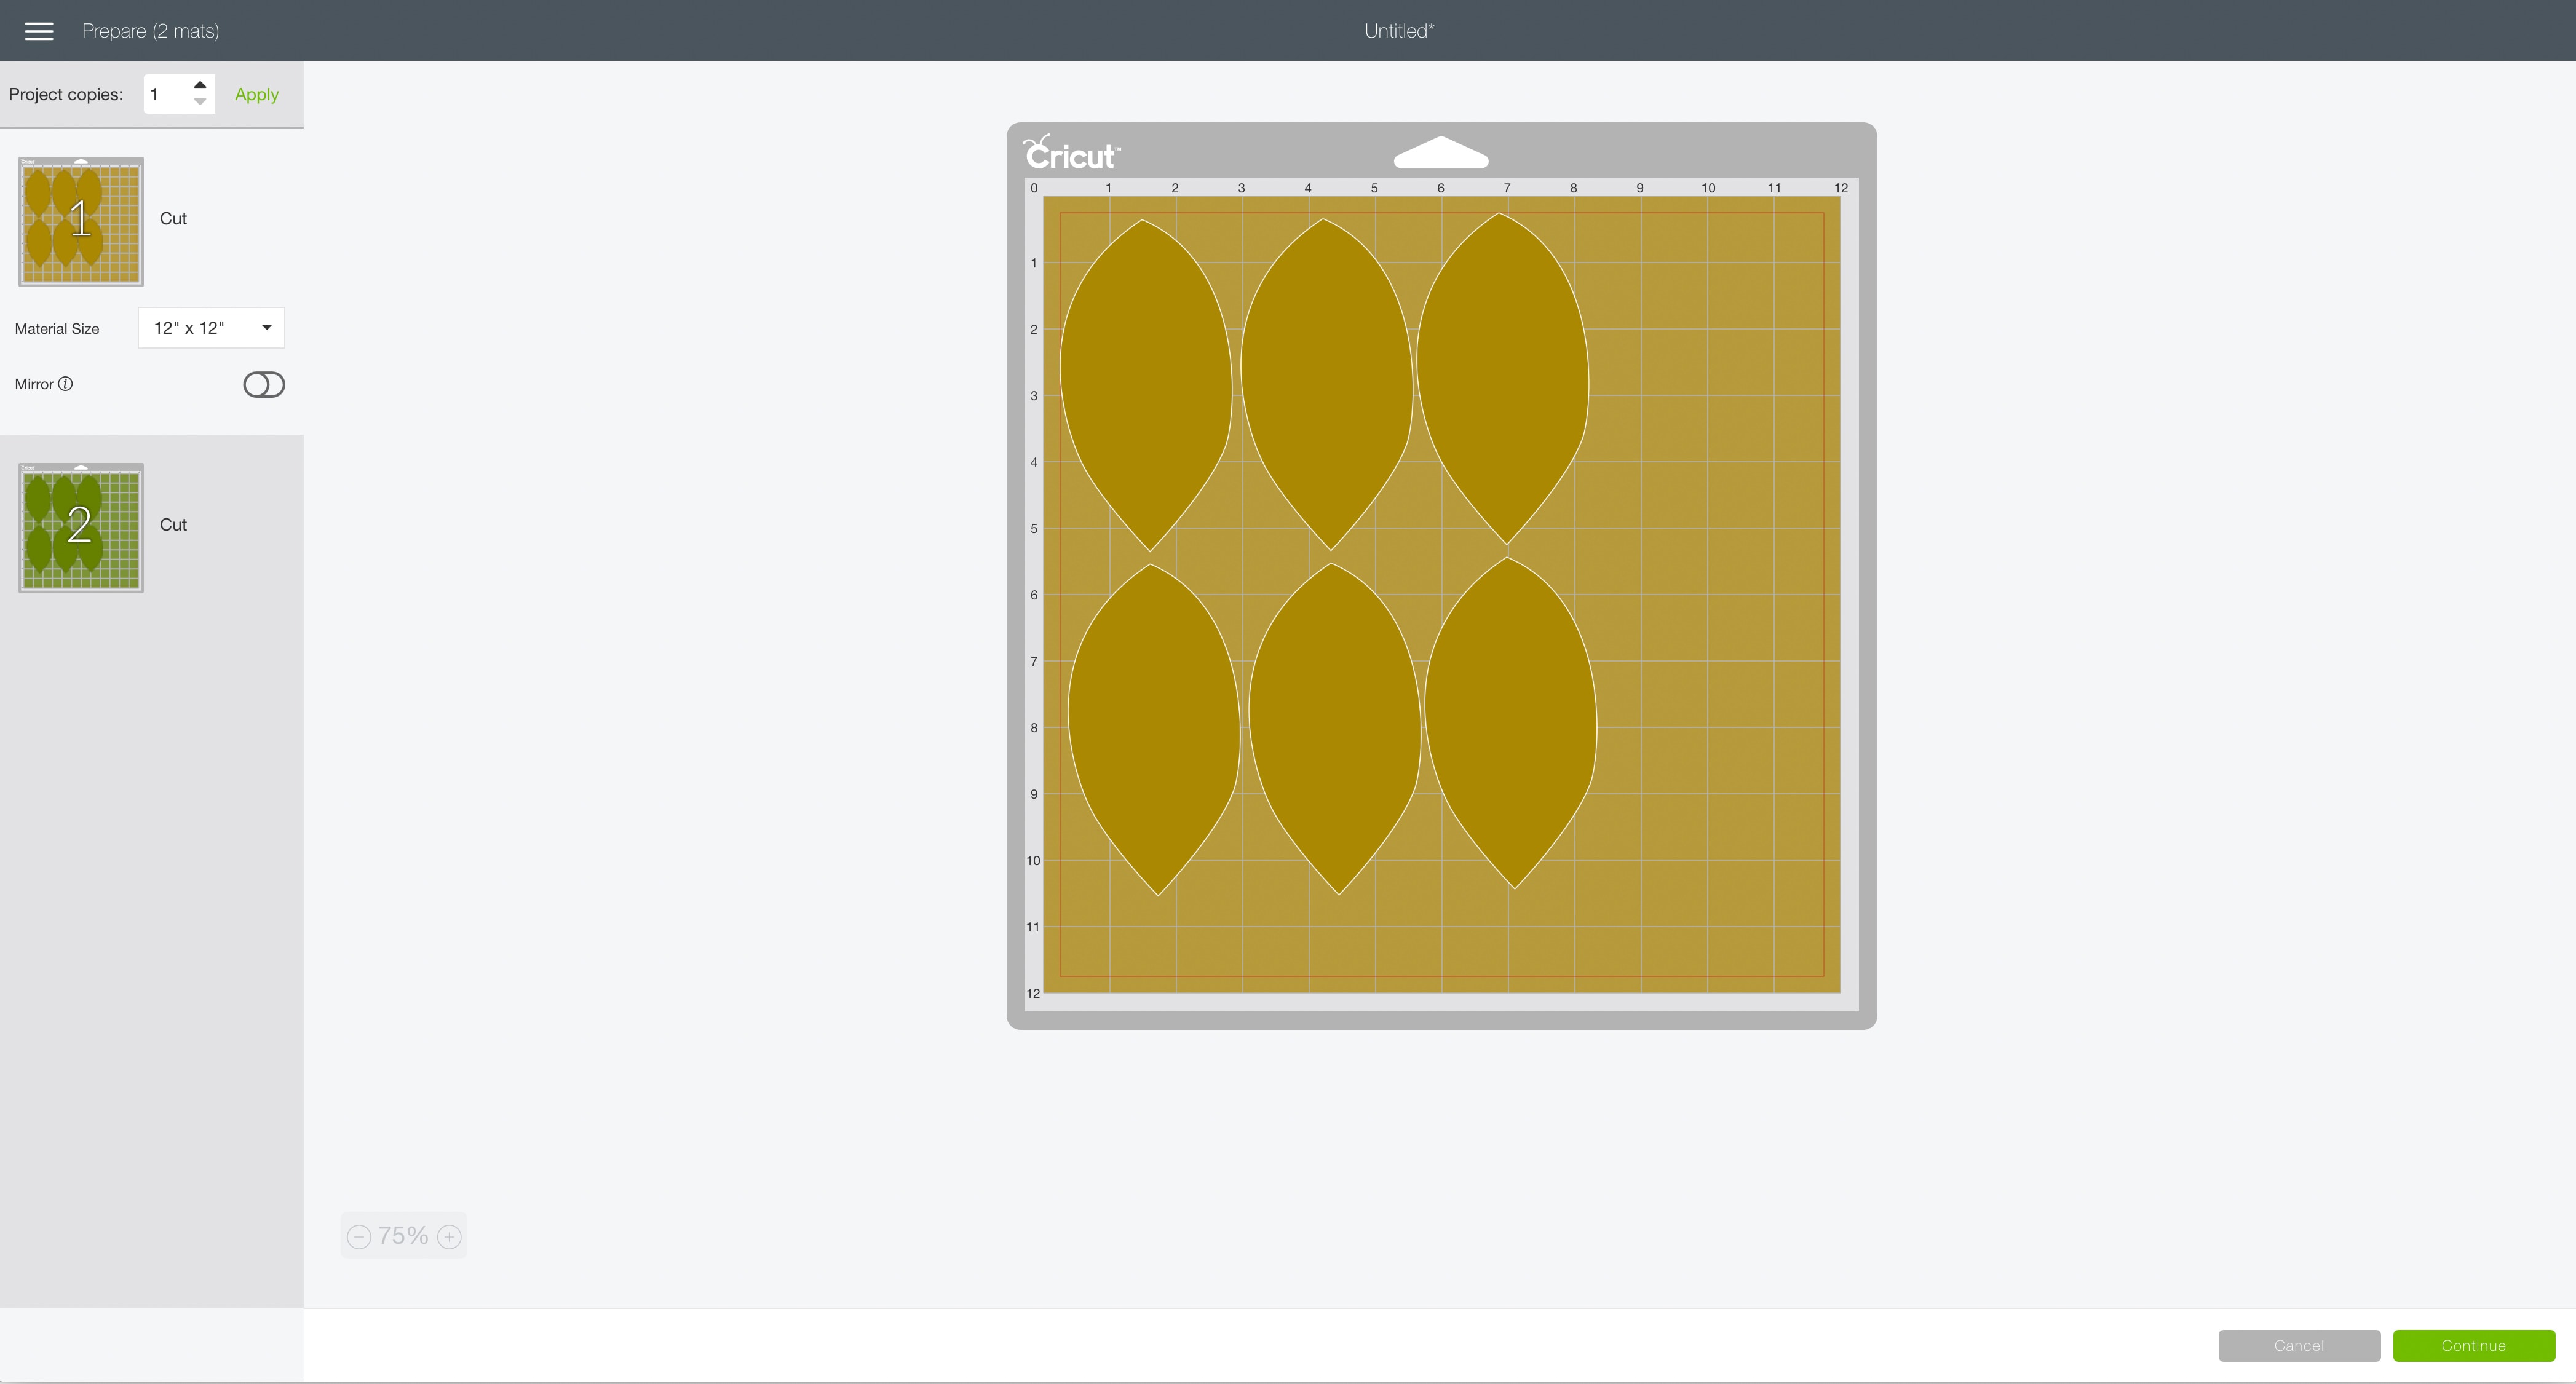

Click on the Continue button in the lower right of the screen.
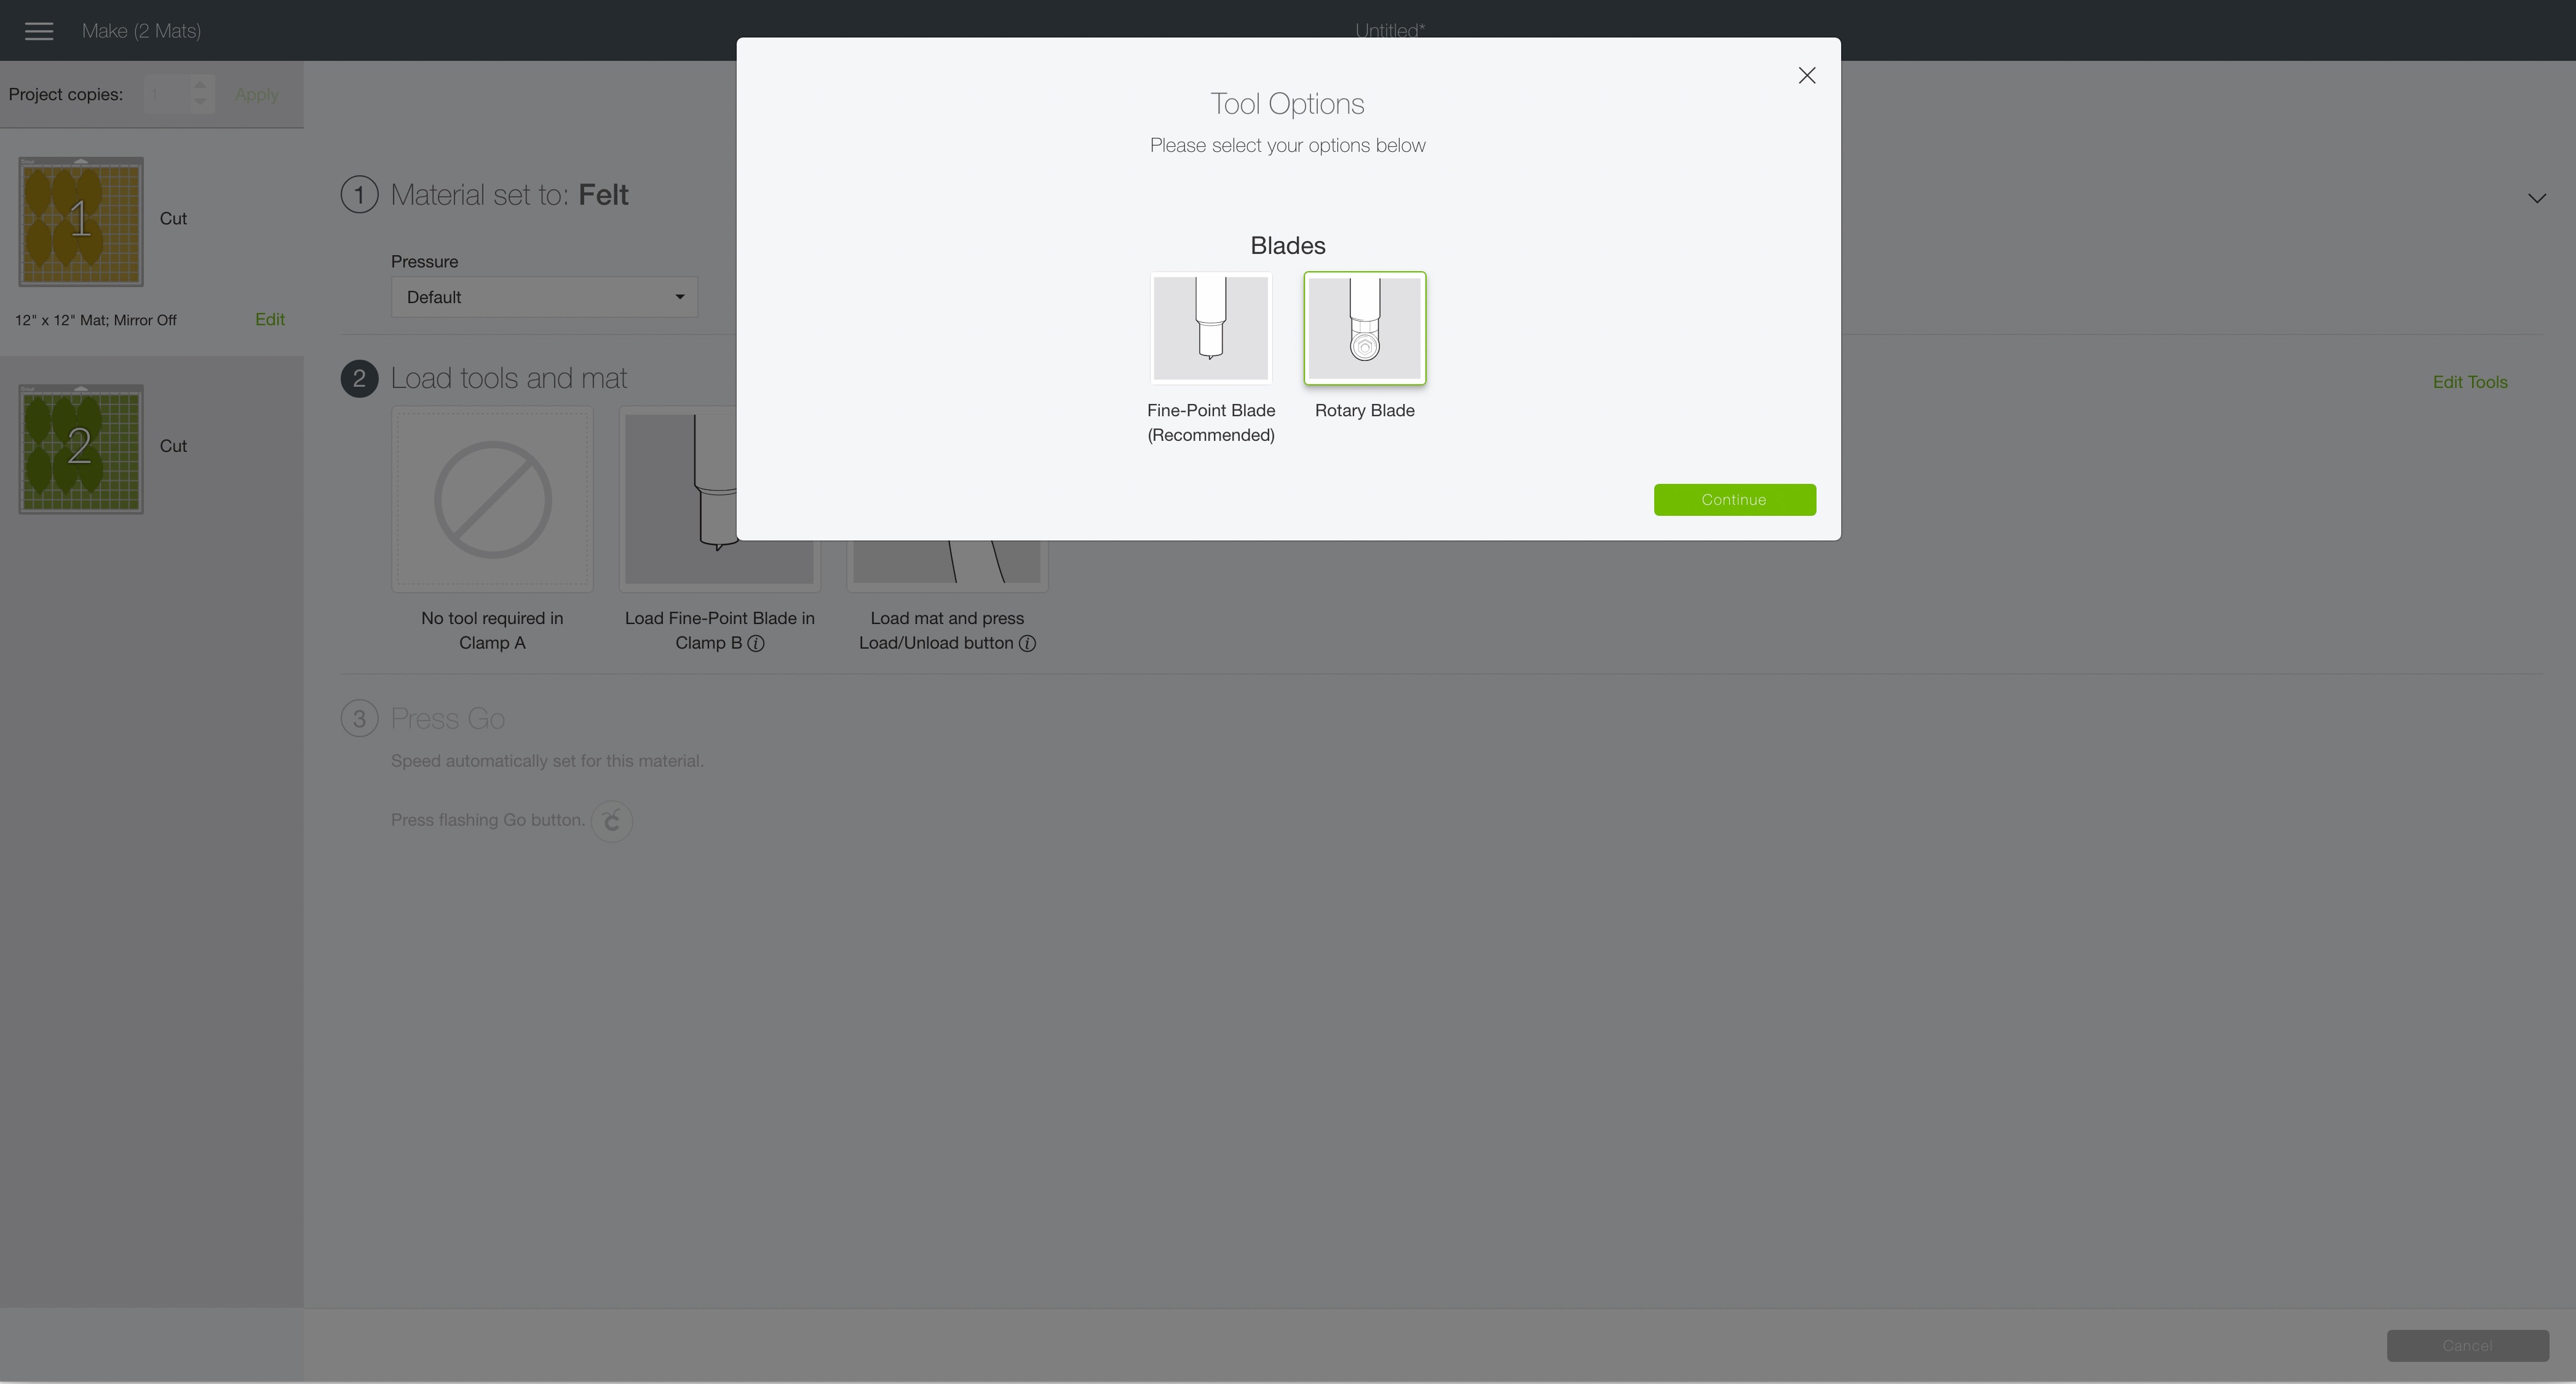
Connect your Cricut machine. Then, adjust the settings as follows.
Material: Felt
Pressure: Default
Tools: Rotary Blade
Click on Edit Tools to adjust which tools you are using.
Load the fabric grip cutting mat with your first material into the machine. Then, press the flashing Go button to begin the cutting process.

Load each new piece of felt and press the flashing Go button to duplicate the cut until all of your leaves are cut out.
Cricut Tip: Use the Cricut Brayer tool to get fabric and felt to stick to the fabric grip cutting mat in the best way. I love this tool because it really helps me to smooth down any material onto the cutting mats.
How to Assemble The Project
Once all of your pieces are cut out, it’s time to assemble the project.
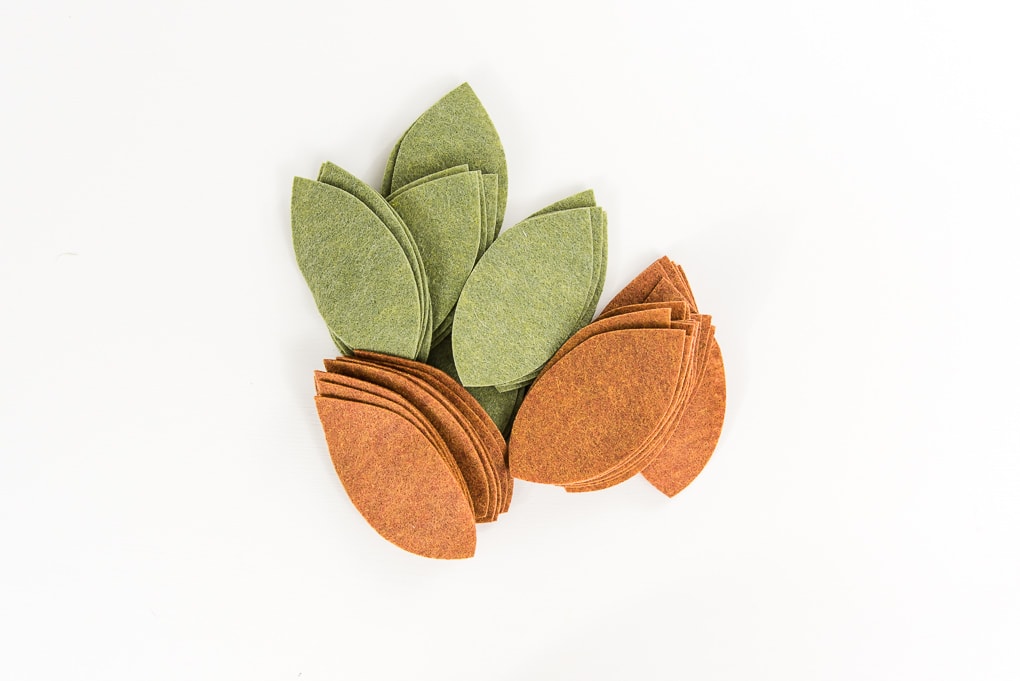
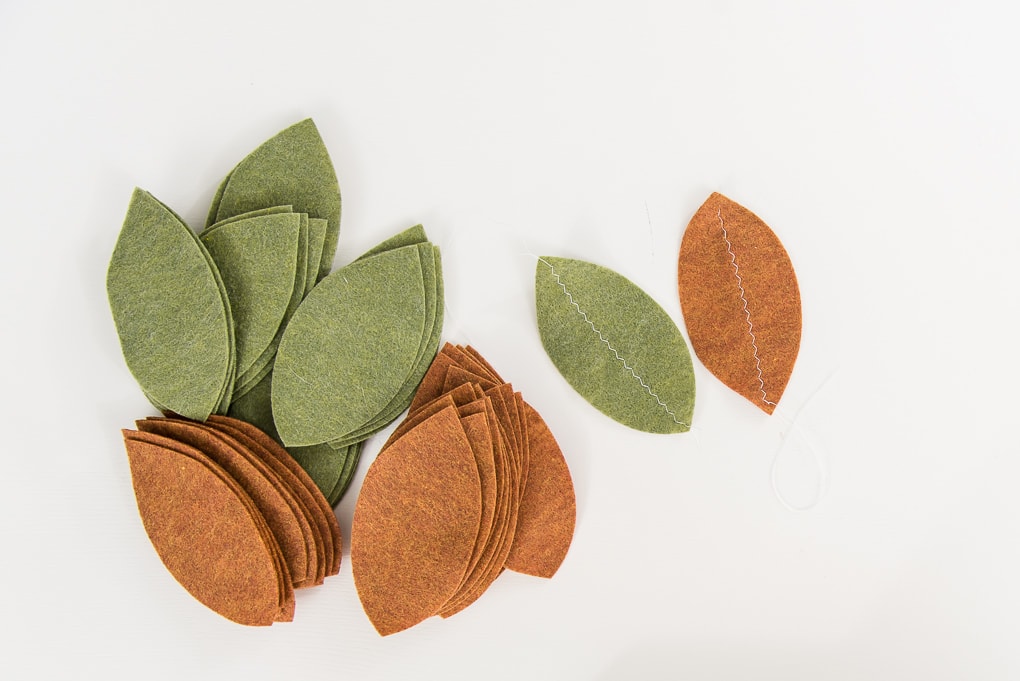
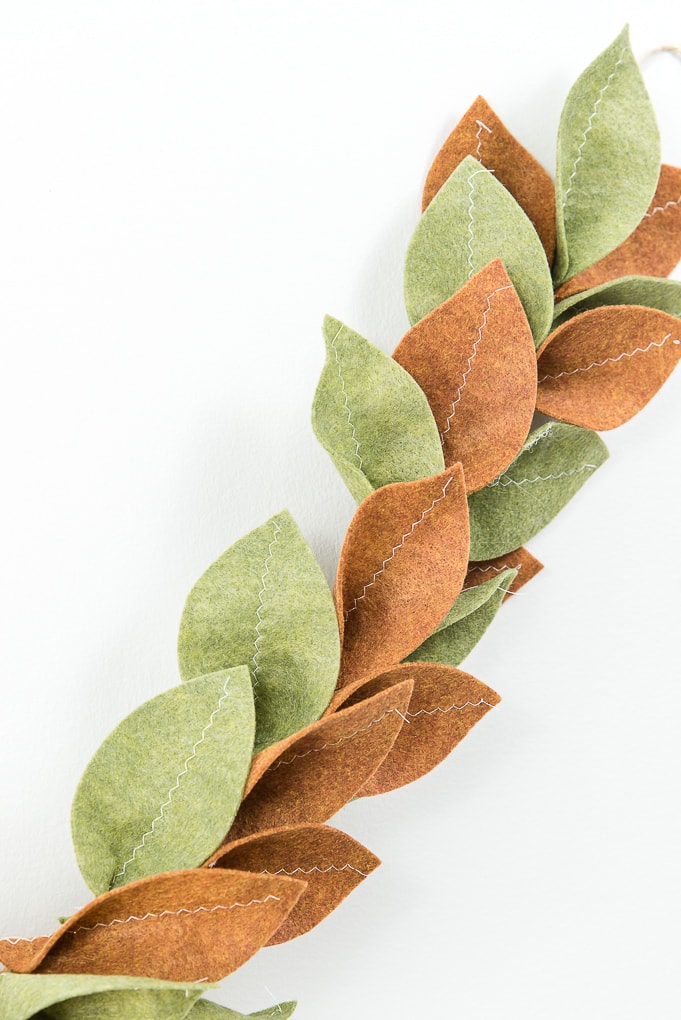
To give the leaves a more realistic or stylized look, you can add a spine down the center using a sewing machine and some white thread.
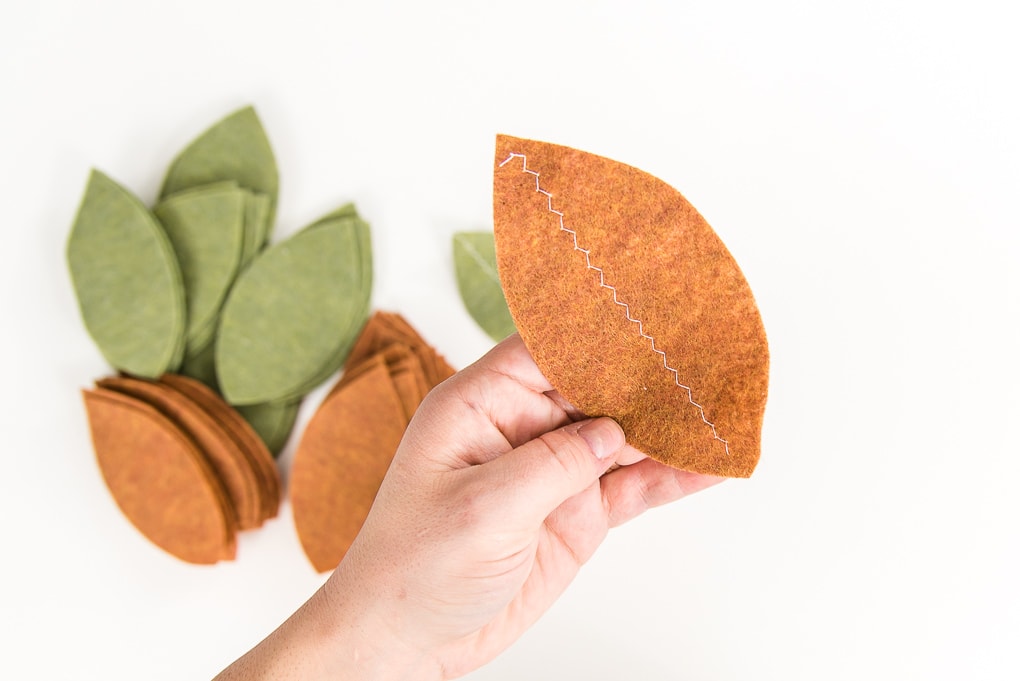
This is optional, but I really love the detail that it gave to each leaf. I used a zig-zag type sewing pattern to create some interest.

After you have added the leaf spine detail, it’s time to shape the leaves. To give the garland a three-dimensional look, you will need to shape each of the leaves.
Take a leaf and place a small circle of hot glue in the bottom section (the part that’s slightly less pointed, but it really doesn’t matter very much).
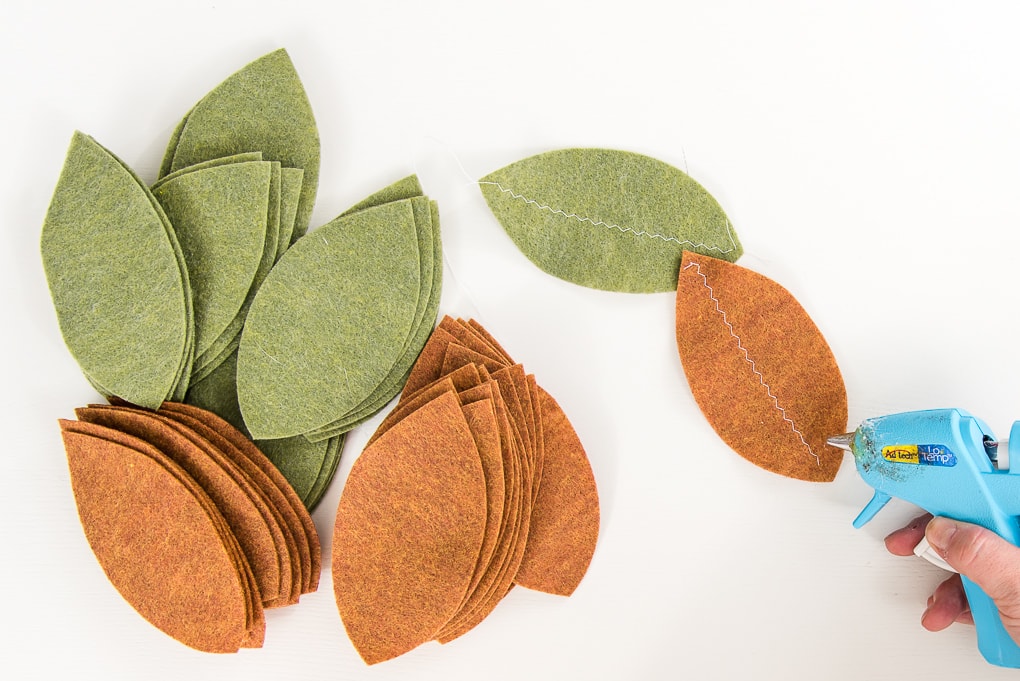
Then, pinch the two sides of the leaf together to create a fold. This gives the leaves a more realistic, 3D look.
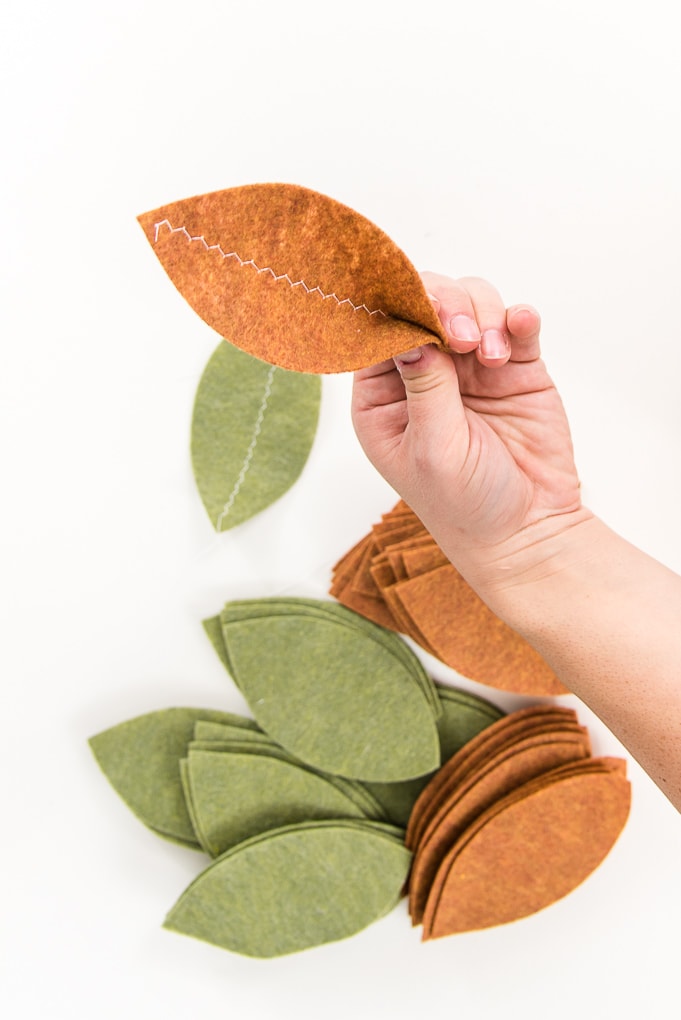
Repeat this process until all of your leaves have been shaped. This is not hard, but it does take some time. It’s the perfect activity to do while watching a movie!

After your leaves are ready, it’s time to create the garland. As the base of the garland, I decided to use a jute cord.
To attach the leaves to the jute cord, I found the best method was to sandwich the cord between two leaves. Take one green leaf and one tan leaf and add some hot glue to the sides. Position the leaves to either side of the jute cord, and glue the leaves together with the jute cord in between them.
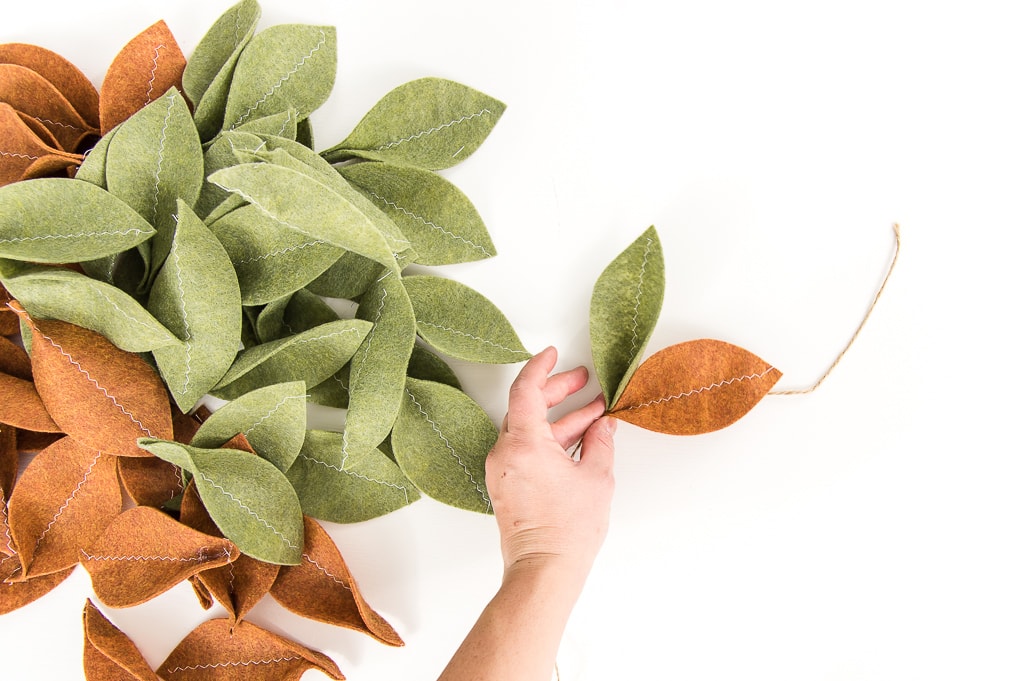
Repeat this process alternating which side each color leaf goes on as you attach each new set to the jute cord. Keep attaching leaves to give the garland a full look.
I also tried to vary the location and direction of the leaves to give the garland a more natural look. Here are a few pictures of the “in-process” leaf attaching so you can see how I placed the leaves.


After all of the leaves are attached your garland is complete.
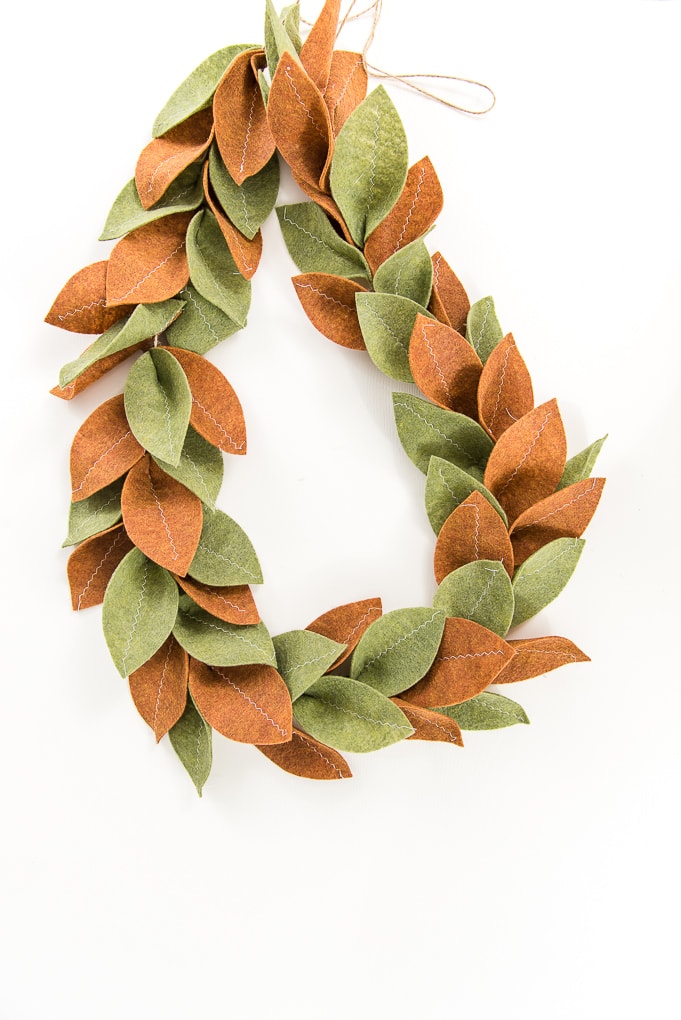
If you want to create a longer garland, just cut out more sheets of felt and continue adding to the cord. Once you are happy with the length, you can cut the jute cord and hang up your garland.
I love how this project turned out. I think it’s simple but creates such a big impact.

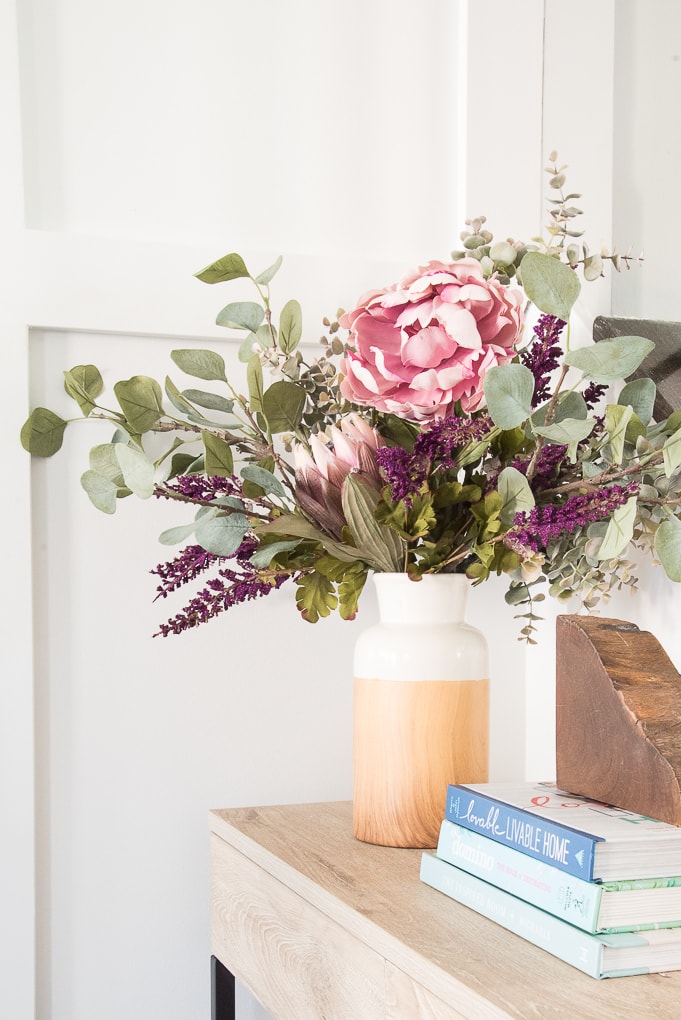
To give this garland an extra Christmas touch, you could add some berries or other greenery which will give the entire garland more texture.

I hope you love this Magnolia Christmas Garland.
If you decide to make this project, I would love to see!
Tag me on Instagram. Use the hashtag #25daysofcricut so that we can all see each other’s projects too!
To see more projects from Have Yourself A Very Cricut Christmas: 25 Days of Homemade Holiday Crafts!, click here!
If you want to follow along and see all of the projects for Have Yourself A Very Cricut Christmas: 25 Days of Homemade Holiday Crafts!, you can bookmark this blog post and visit it each day to see the newest project.


Hello! I love this project! How long is your garland? I want to get enough materials for my banister. Thank you!
I think it’s approx 4 feet long. I actually have it stored away somewhere in a decor box. I would buy extra materials just to be safe and then return what you don’t use.
Christene
I do not have a cricut maker machine and wondered if you could tell me the length and width of the leaves? This is really pretty – thank you!
I wondered the same!
Do you have a printable pattern as I don’t have a circuit and going to attempt to cut them out
Hi Rachel,
Yes if you click on the image to download – it’s a zip file. I’ve included both a PDF printable and an svg file.
Hope this helps.
>> Christene
Thank you very much!