Welcome back to our Kitchen Organization Overhaul! In this series, I’ve been sharing ideas, tips, and projects as we finally get our kitchen organized.
In the last post of the series, I shared all about the process of getting rid of things in your kitchen. If you don’t take the time to get rid of anything, then you are just going to be rearranging instead of actually organizing.
If you missed that post, just click here to read more — 7 Things You Need to Get Rid of When Organizing Your Kitchen
This week, I’m excited to share one of the first spaces that I tackled in the kitchen — the cabinet under the kitchen sink.
I don’t know about you, but the cabinet under our kitchen sink has always been one of the most difficult spaces for me to keep organized. It’s sort of a “catch-all” cabinet for cleaning supplies and other maintenance items for the kitchen. Over time, this cabinet ended up accumulating way too many items and became a complete mess!
Here’s a before photo for you to see what I’m talking about.
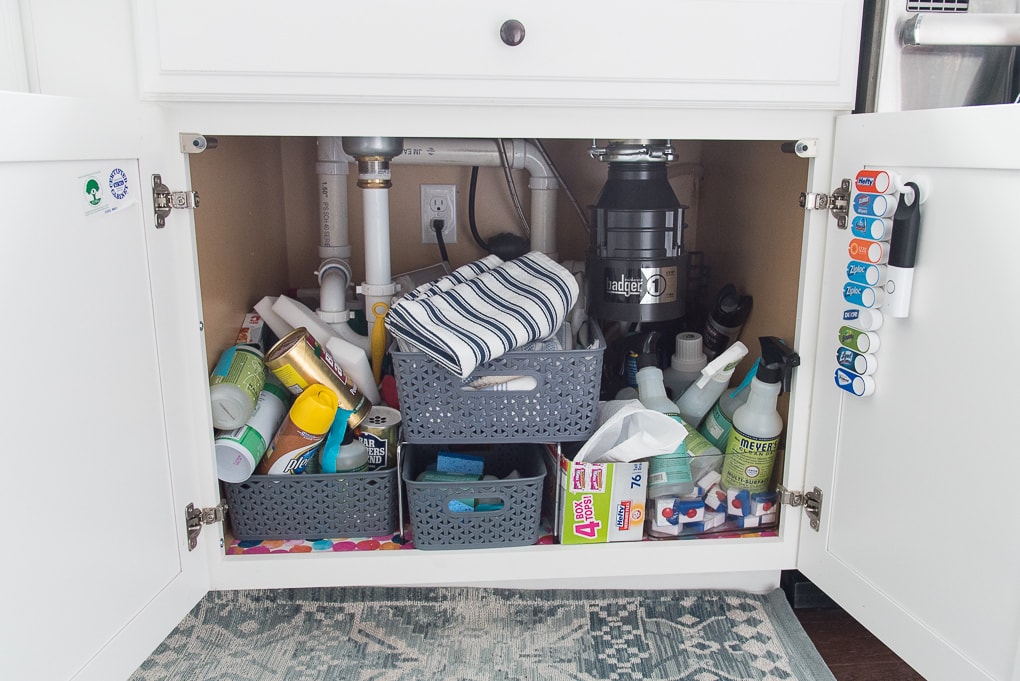
I’ve tried to organize this cabinet in the past, as you can tell by the different bins. But, over time I ended up putting way too many things in here without updating my organizational system.
Whenever I needed something out of the cabinet, I dreaded opening it up and pushing through the unorganized mess. And that was pretty frustrating considering I had to go in this cabinet pretty much daily to keep our kitchen clean.
I decided it was time to finally tackle this cabinet and turn it into a functional and organized space.
Here’s what this cabinet looks like now!
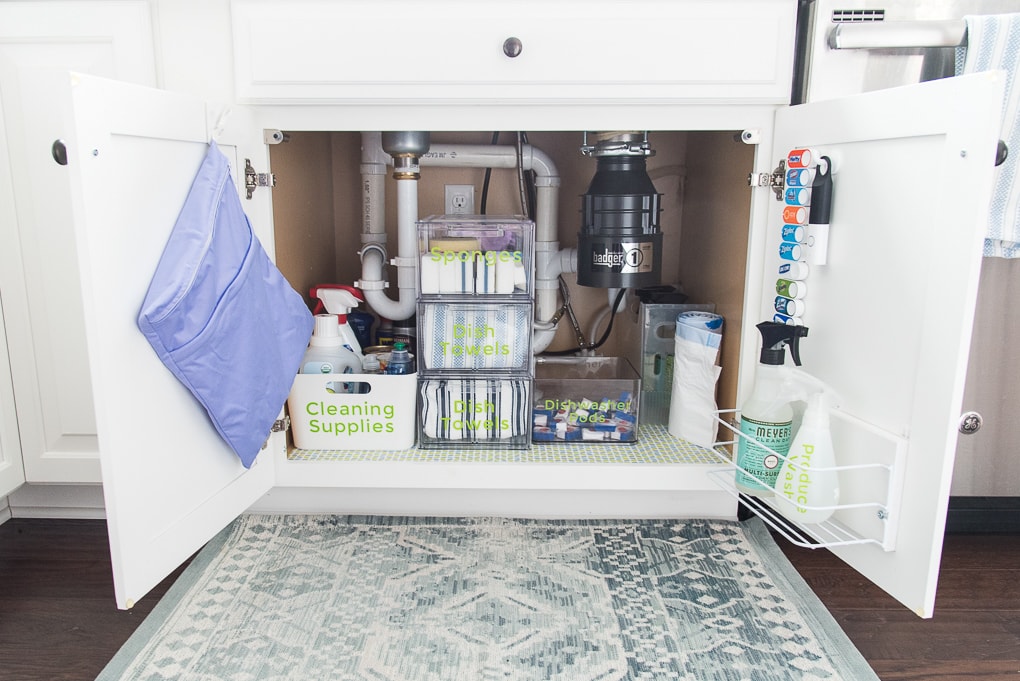
Sooooo much better than before! Now I can actually see what’s inside of the space and find exactly what I’m looking for. It took a little bit of time to get this cabinet exactly how I wanted it, but the results were so worth it.
Let me show you exactly how I got this space organized.
How to Organize Under the Kitchen Sink
This post contains affiliate links for your convenience. For more information, see my disclosures here.
First, I took everything out of the cabinet. I had so many things in this cabinet that I didn’t even know exactly what was in there. Once it was completely cleaned out, I wiped down the surfaces to get rid of any dirt or dust.
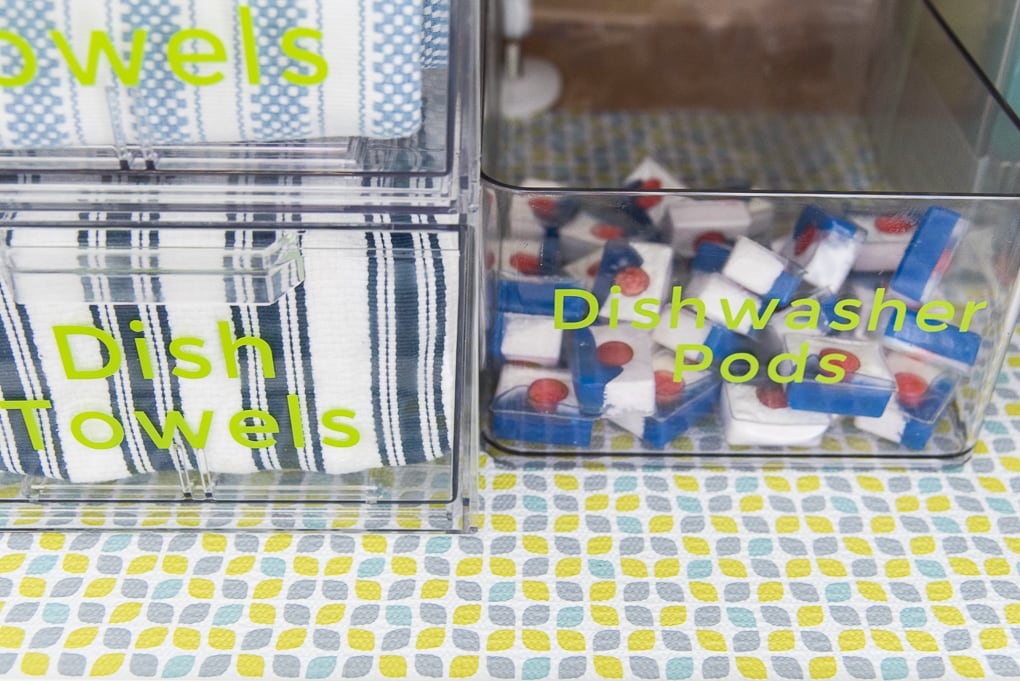
Then, I put down this pretty shelf liner that I found at the Dollar Tree. I only needed two rolls to cover the entire cabinet. The liner is water resistant so it will help with any spills and will protect the cabinet base. And, it looks super cute as a little pop of color and pattern in the cabinet!
Cabinets under the kitchen sink are normally large spaces, so you can store a lot in there. Unfortunately, they also normally have a bunch of pipes or other plumbing items interfering with the space. So, it’s a little difficult to get standard shelves into a space like this.
I wanted to utilize the vertical space that I had in this cabinet, but I couldn’t find normal shelves that would fit around all the pipes the garbage disposer.
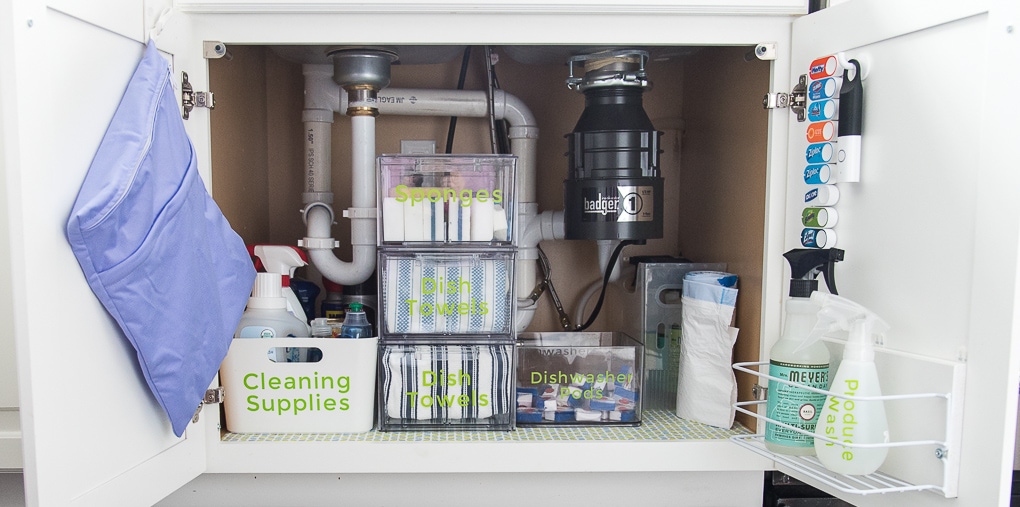
Instead, I decided to use these pretty acrylic drawers that I found at the Container Store. These drawers are actually made for storing shoes in a closet, but I thought they were the perfect size for organizing my dish towels and sponges.
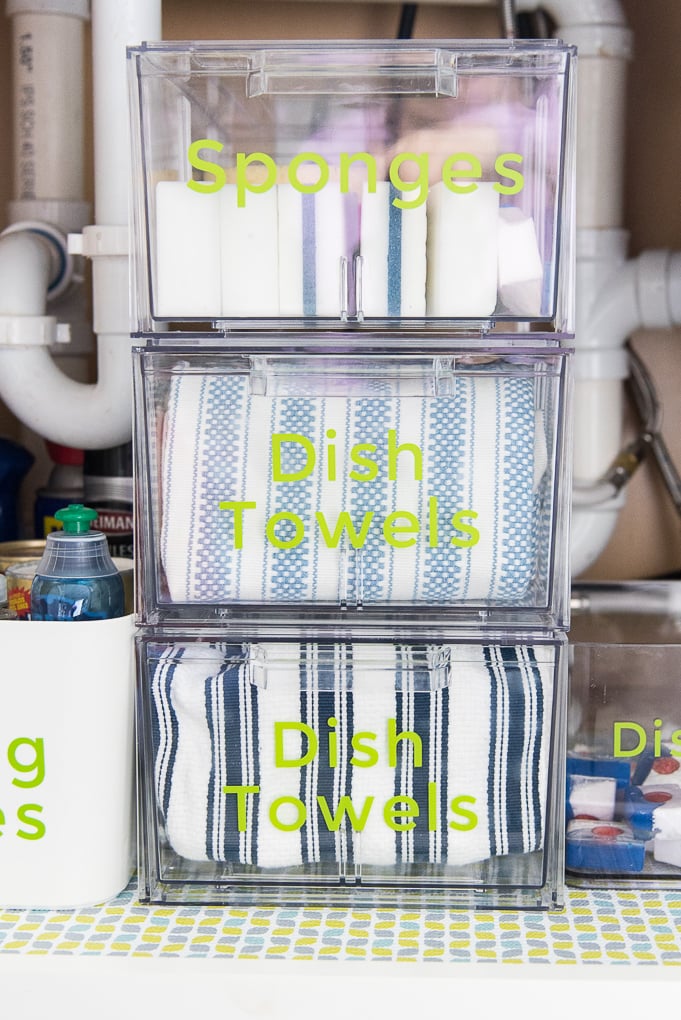
I bought three of them and they fit perfectly in the middle section of the cabinet. There was just enough room between two of the pipes to fit these in and utilize the vertical space.
I decided to store extra sponges and things like magic erasers in the top drawer for easy access.

The bottom two drawers I decided would both be for dish towels. They look so organized folded nicely in each of the drawers. And, they are really easy to access whenever I need a fresh towel.
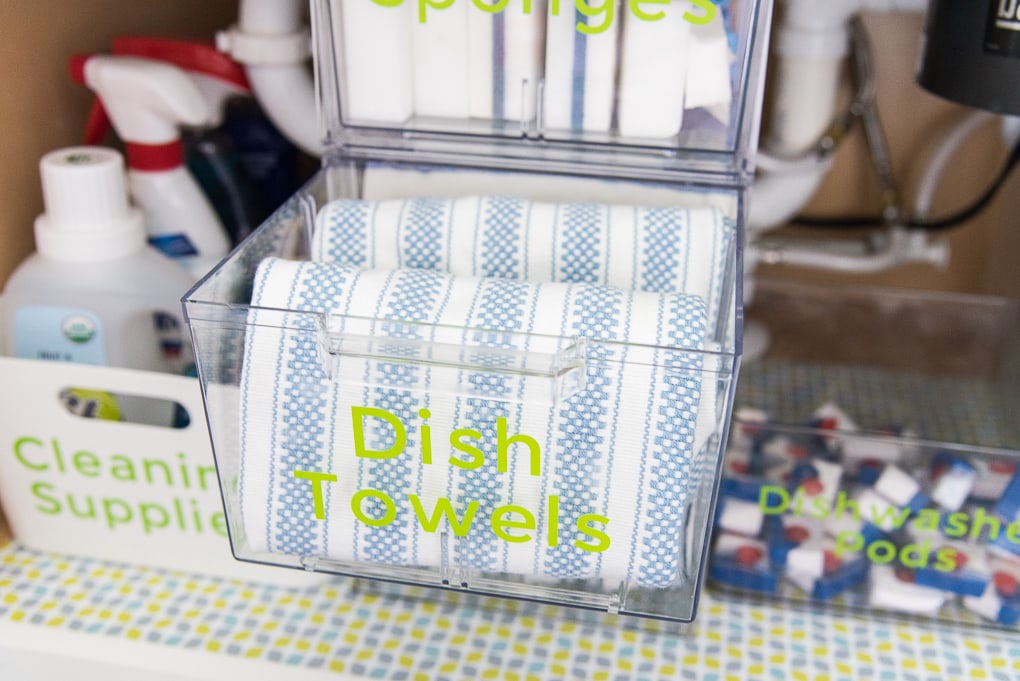
I decided to create labels for all of the containers in this cabinet using some bright green vinyl and my Cricut Explore. To design them, all I had to do was measure the space where I was going to stick the label. Then, I used Cricut Design Space to design some simple labels.
It only took a few minutes to create them and I think they look really pretty in this organized space. And the best part is, if I take something out of the cabinet, I’ll know exactly where it goes when I need to put it back.

You can learn all about creating vinyl labels using the Cricut Explore in this post.
For these labels, I decided to use a simple san serif font called Montserrat.
To the left, I decided to corral all of my extra cleaning supplies in a simple white bin from the Container Store (similar option here).
You guys, I think that these bins are my new FAVORITES. They are simple, inexpensive, and perfect for organizing. I bought a few of them in different sizes, but this one is the medium size.
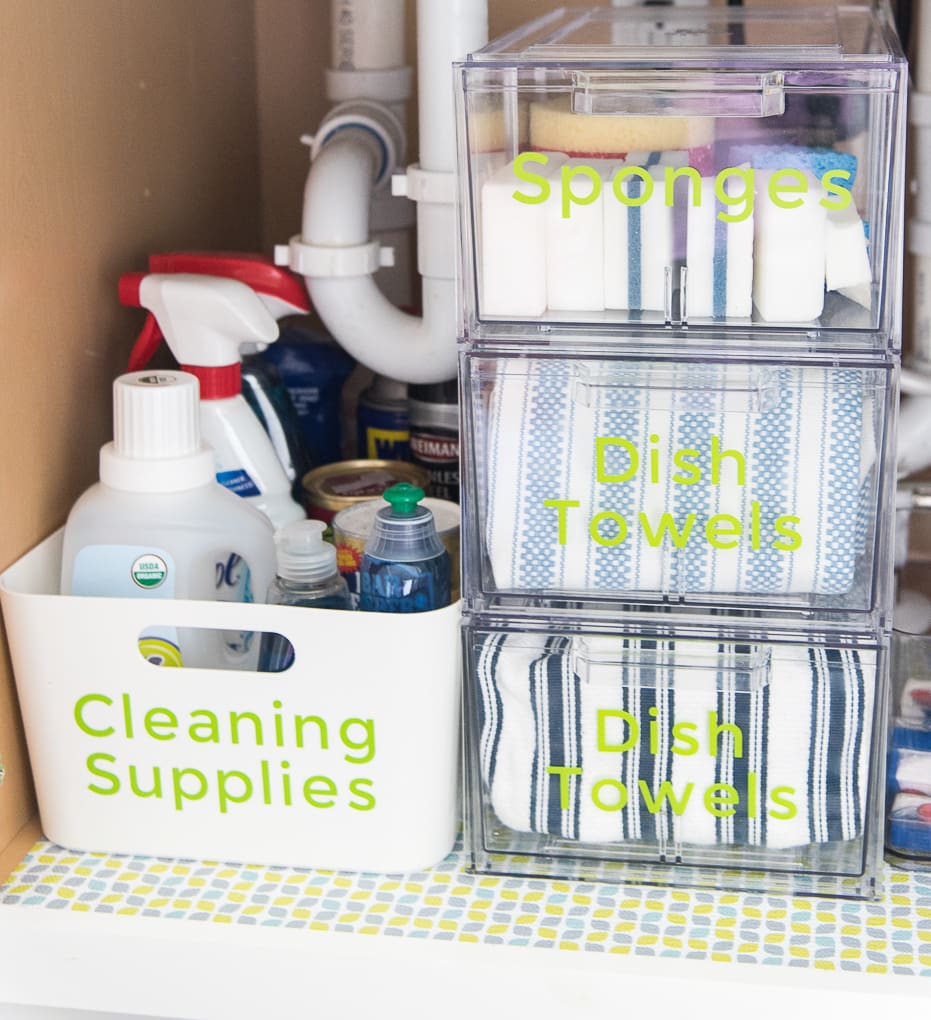
Now, before I filled this up with supplies, I did a major purge of all of the cleaning items that were previously in this space. I got rid of anything that was old or almost empty. Then, I sorted what was left.
Any items that were for kitchen cleaning were kept and grouped into this bin.

Any other cleaning items that were for other areas of our house went to our cleaning closet. That way they were cluttering up the space under the kitchen sink.

On the other side of the cabinet, I had room for items that we use most frequently. I grouped them all together on one side so that when we need to access them, we only have to open one cabinet door.

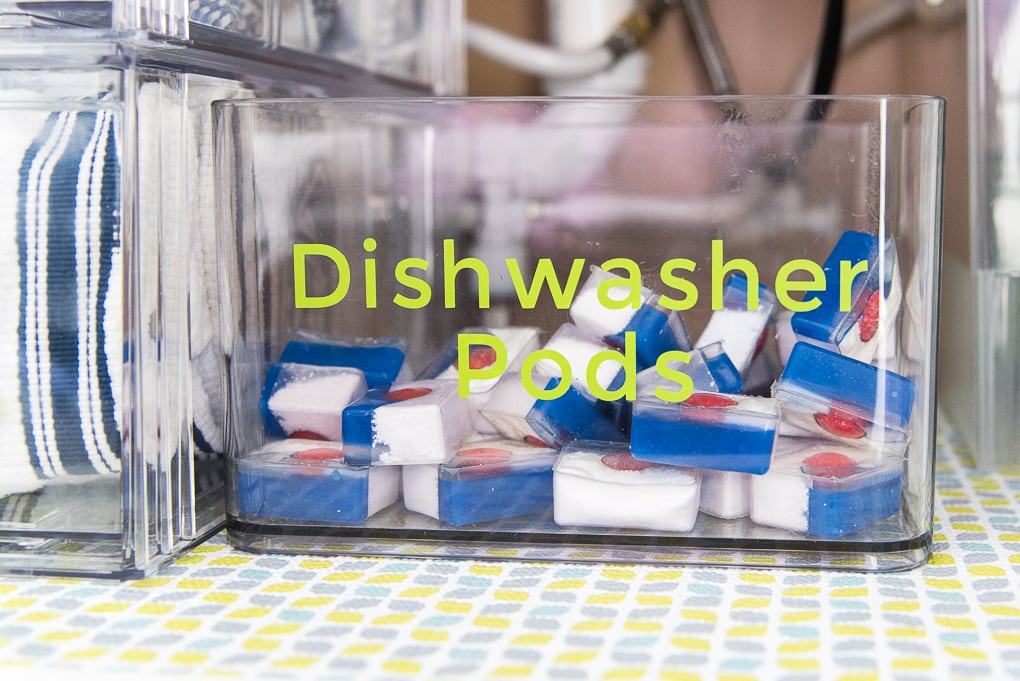
This clear bin was perfect for holding all of our dishwasher soap pods. I actually found it on clearance because the lid was broken. But that was perfect because I wanted a container without a lid so that we could easily grab a soap pod when loading the dishwasher.
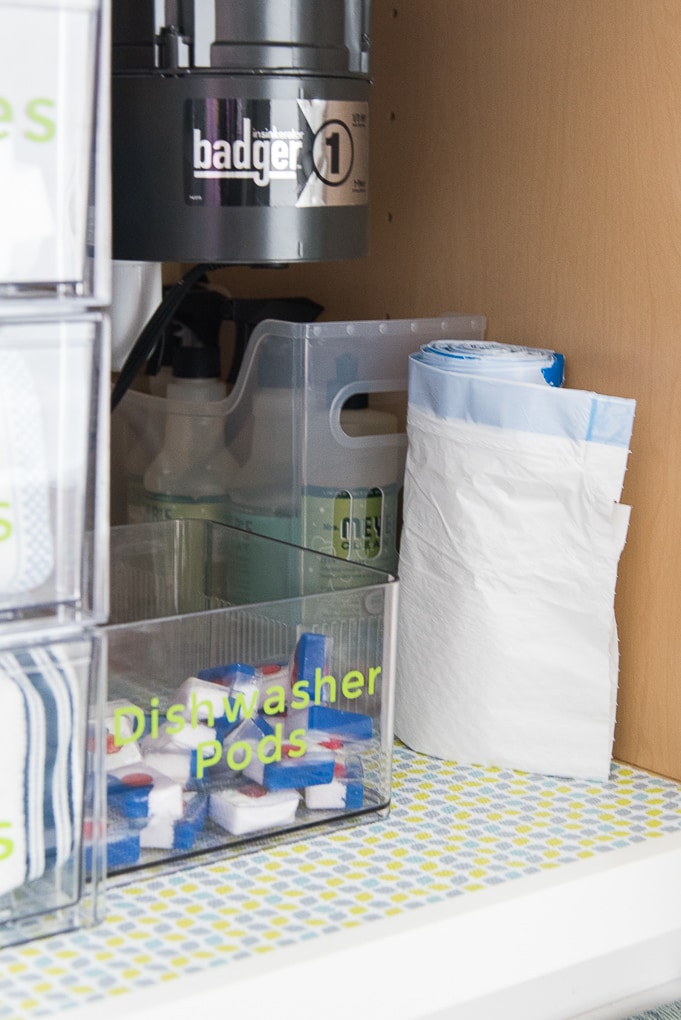
I also have a roll of trash bags near the front of the cabinet for easy access when we need to switch the trash in the kitchen. Behind that, I had some extra cabinet space that was perfect for storing taller items. I decided to use a medium bin from the Container Store to hold all of our extra multi-surface cleaning spray products.
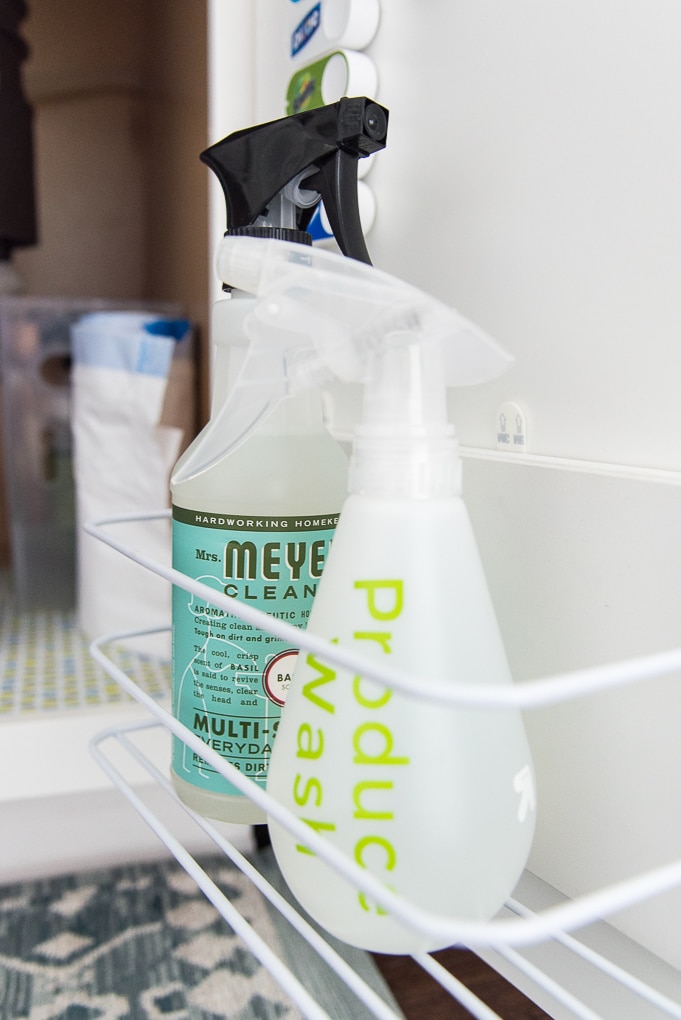
I’m a big fan of the Mrs. Meyers brand. My favorite scents are Basil for everyday use and Iowa Pine during the Christmas season. I also use their dish soaps!
The best way to get these items at a discount is to sign up for Grove Collaborative – a subscription service for cleaning products. Every month, your favorite cleaning products will be shipped right to your door. It’s super convenient and a great way to never run out of your favorite products.
If you want to learn more about Grove.co and get $10 off your first purchase, click here!
On the right cabinet door, I decided to utilize the space and store everyday cleaning items for quick access. I attached this cabinet door organizer to a piece of wood using screws. Then, I attached the piece of wood to the door using 3M strips.
I had to use the extra piece of wood so that I wouldn’t have to drill holes through my cabinet door.
I keep one multi-surface cleaning spray and one bottle of produce wash in this organizer. I like to use the Fit Vegetable Spray when washing our product items. We buy it in the large container, so I found a small spray bottle (similar) that I can refill for everyday use. And, I created a cute label using my Cricut Explore so we know exactly what’s in the spray bottle.
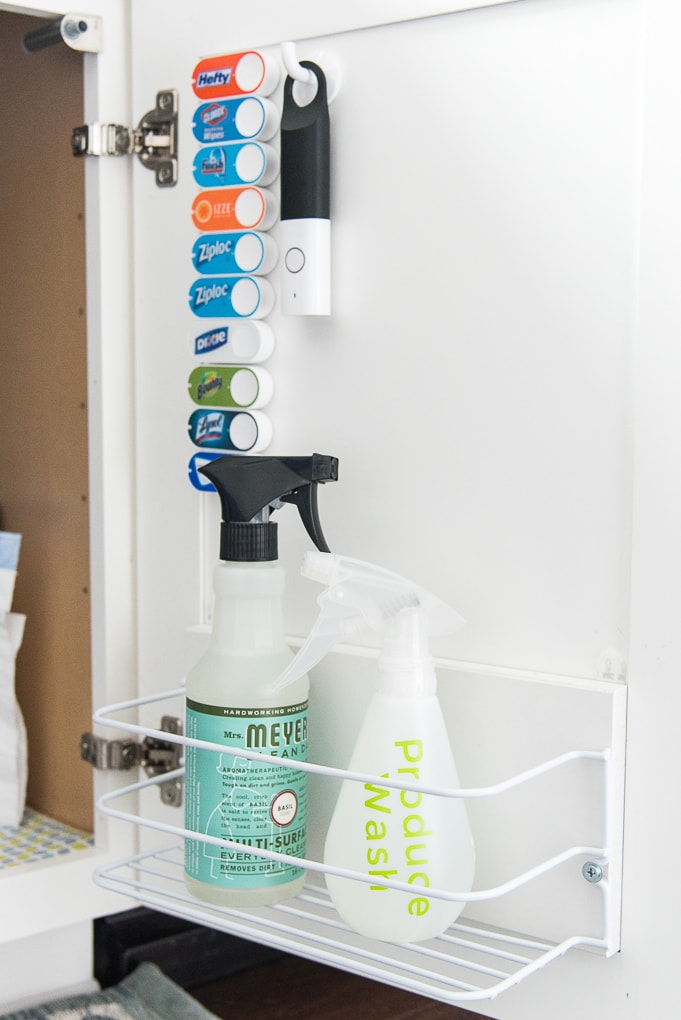
I know you are probably wondering what all of those buttons are on the door. We may or may not have an obsession with Amazon Dash buttons. Each of these buttons is linked to a product that we frequently use in our home. Whenever we run out of the product, we just press the button and Amazon ships the item to our door. It’s so easy and convenient! We like keeping all of the kitchen related buttons on this cabinet door for easy access.
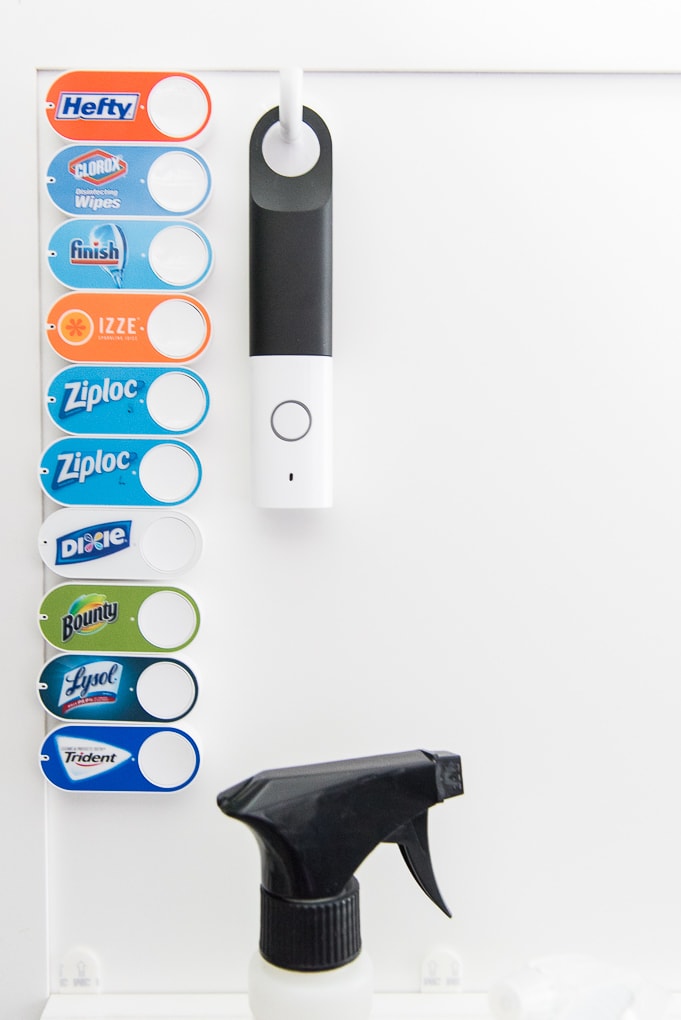
The black and white device is actually called the Amazon Dash Wand. It’s actually a handheld scanner that you can use to scan barcodes of items in your home. So, when we need to buy new pantry staples, all we have to do is use the wand to scan the barcode, and it automatically gets added to our Amazon cart. Then, we can place an order using Amazon Prime Pantry.
If you want to learn more about the Amazon Dash buttons, check out this post.
And, if you want to learn about the Amazon Dash Wand, click here!

Over on the other cabinet door, I have a hanging wet bag. These bags are actually made for cloth diapers so that you have a place to put dirty diapers when you are on the go. But they also make the perfect wet bags for kitchen towels.
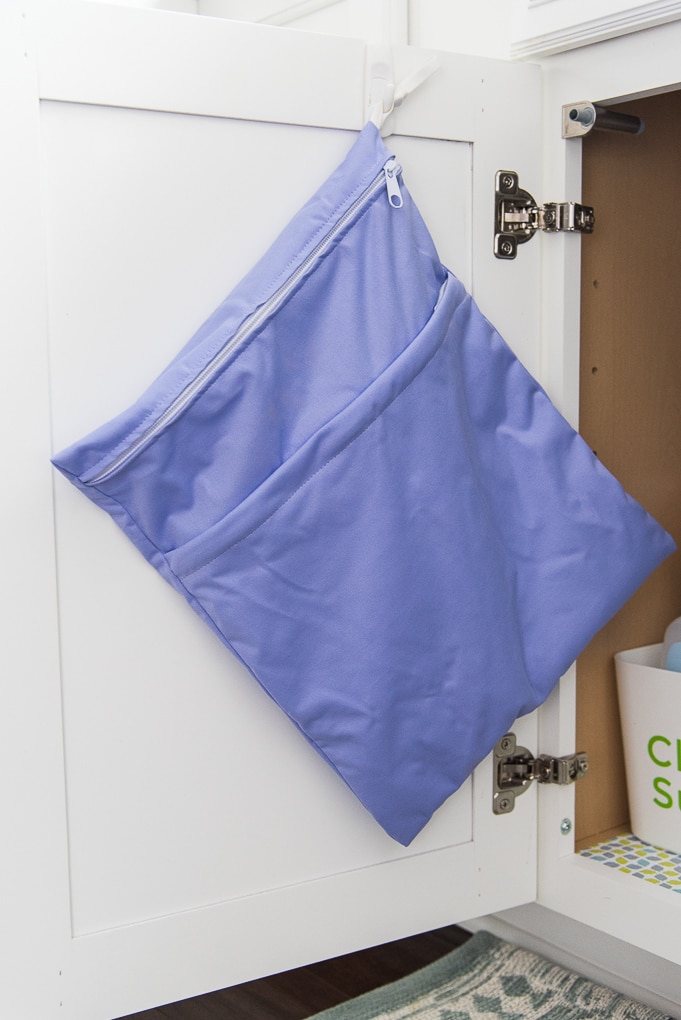
I used a 3M hook to hang this from the door. Any time we have a wet kitchen towel that needs to be washed, we can drop it into this bag. Then, when I go to do laundry, I grab this bag and take it up to the washing machine to clean the kitchen towels. That way, we don’t have wet or dirty towels sitting out on the counter or waiting on the stairs to go up to the laundry.

So that’s my quick tour of how I organized the cabinet under the kitchen sink. This space used to be packed with items and I could never find what I needed. Now everything has a place and there’s a lot more breathing room.
I hope this inspires you to tackle the cabinet under your kitchen sink. With a few creative organizing solutions, you’ll have an organized, functional space in no time!
Let’s take one more look at the before and after photos.

Click on the slider below to see some of the organizational products used in this space.
Stay tuned for more updates on our Kitchen Organization Overhaul.
Kitchen Organization Overhaul
How to Get Organized When You Are Overwhelmed
How to Plan a Kitchen Organization Overhaul in 3 Easy Steps
7 Things You Need to Get Rid of When Organizing Your Kitchen
How to Organize Under the Kitchen Sink (You’re here)
Organized Kitchen Cabinets and Drawers {Part 1}





I love the neat and well, ‘under the sink’, organized and clean space . A space in our home, everytime I clean, my husband messes it up, because he says, ” I can’t find anything without taking everything out.” That’s ok, but he never put anything back after he takes it all out. However, with the clear storages, he would not be able to say that. Thank you, I got to get some.
I like your kitchen sink cleaning tips. Your tips are really important for the kitchen sink. The kitchen sink very essential thing for a kitchen. Thank you for shear a useful tip about kitchen sink.
What size shoe drawer did you use The regular or large drawer.? Thanks I’m in the process of organizing my kitchen, and appreciate your ideas.
Hi Marlene! I used the large size shoe drawer for my cabinet. Hope the organization project goes well!
>> Christene
One of the bests! In addition, take everything out of the cabinet. See what you have on hand, and toss anything that’s expired, leaking, worn out (so long shriveled up sponges), or nearly empty. Then, categorize whatever you have left by sorting and grouping similar items.
I keep my dishwasher tabs and sos scrub pads in recycled quart jars with lid under the sink cabinet so they dont get wet/soft. Clear so I can see when supply is low.
I keep my extra garbage bags in the bottom of the kitchen garbage can. When you empty garbage can the new bag is right there to replace the old one.
What is the container was on the right behind the garbage bags? It looks like it holds larger spray bottles.
Hi Lisa,
That’s a medium multipurpose container from the Container Store. Here’s a link: https://rstyle.me/+YnHYJhY-WofHqZh26_Wayg
Hope this helps
>> Christene
I’m trying to reorganize my house after covid, pneumonia and broken shoulder. You can imagine what it looks like after hubby and daughter took care of me and the house. This seems very easy and doable. Thanks.