Welcome back to our Kitchen Organization Overhaul! In this series, I’ve been sharing ideas, tips, and projects as we finally get our kitchen organized.
Last week I shared a little about the beginnings of our kitchen organization overhaul and the feelings of overwhelm that comes with tackling such a large project. If you missed that post, just click here to read more –> How to Get Organized When You are Overwhelmed.
This week is all about making a solid plan. Because in reality, if you don’t have a plan before you start your organization project, it’s going to be really difficult to stay on track and actually accomplish your goal of getting the space organized.
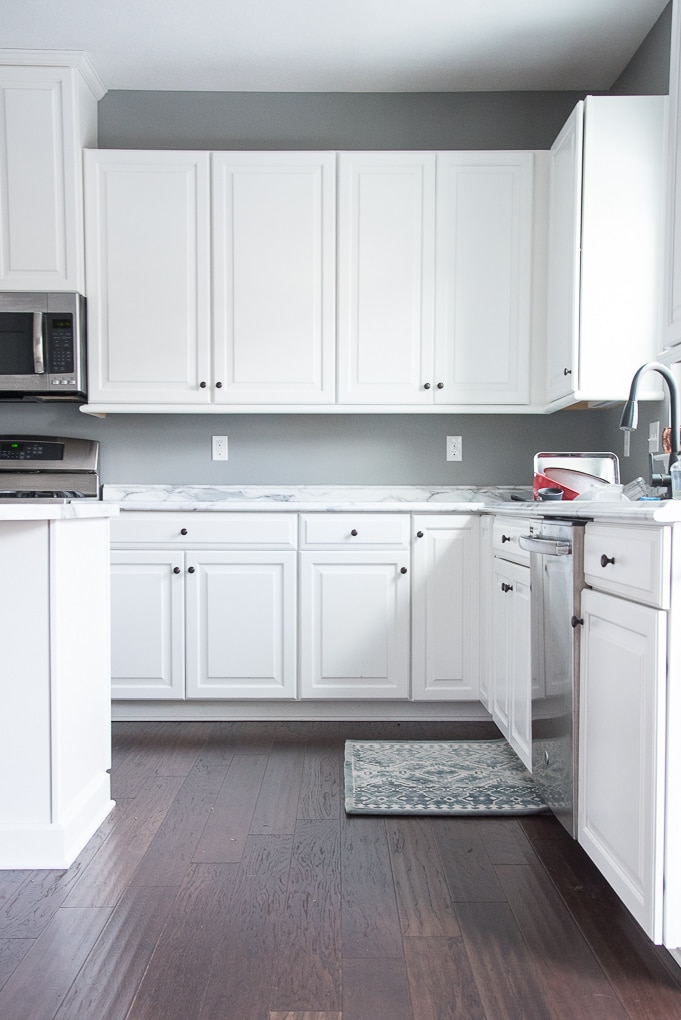
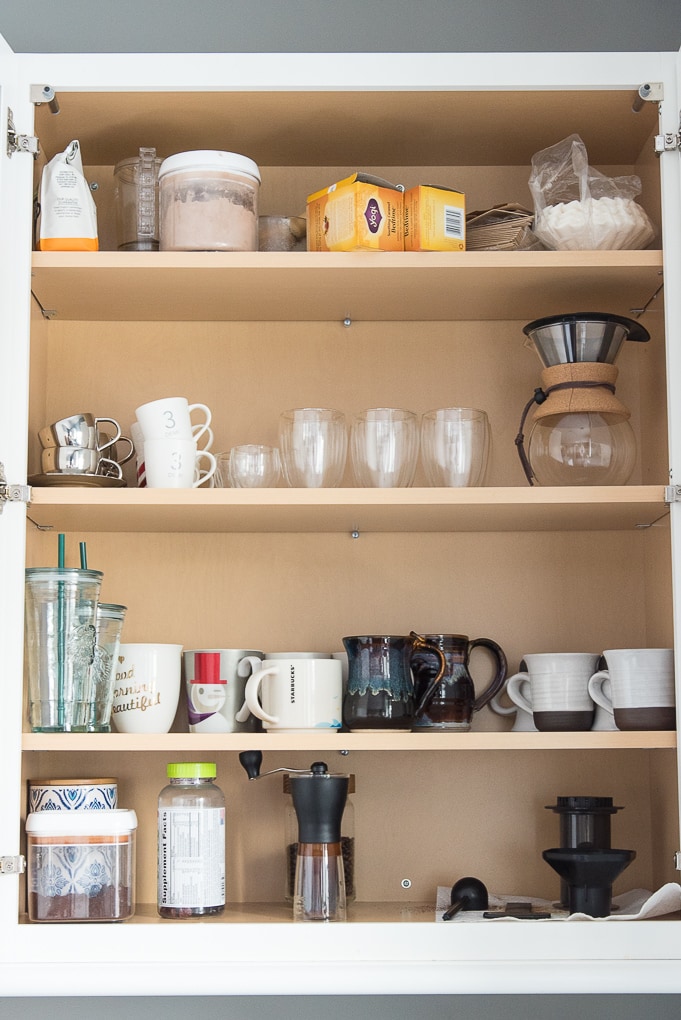
In this post, I’m sharing a few before photos of our kitchen cabinet and drawers. At this point in the organization overhaul, I removed everything from our counters, so they look unusually clear. But, as you can see I didn’t even have all the dishes cleaned when I took these photos — just trying to keep it real!

Remember how I said that I was overwhelmed before I even started our kitchen organization overhaul? Well, part of that overwhelm was because I was making the planning process way more difficult than it needed to be.
When I was first trying to figure out what to do with the kitchen, I grabbed a notebook and started sketching out the cabinets and drawers and trying to make a layout of the spaces that I had to work with. In my sketch, I gave each cabinet and drawer a number. Then, I started trying to list all the items in I had in the kitchen and attempted to put a number by those items which corresponded to where that item was located.
Have I lost you yet? Because at this point I was totally lost and confused at what I was even trying to accomplish!
Sometimes our attempts to plan before a project can end up being counterproductive. And while I’m all for planning, it doesn’t help if you over plan and make a project more complicated than it needs to be.
As you can probably guess, my original plan left me confused, overwhelmed, and stuck – not knowing where to even start. I was getting frustrated with trying to make this “grand plan” for the kitchen and was annoyed that I hadn’t even started organizing yet.
And that was my ultimate goal — to get just organized!
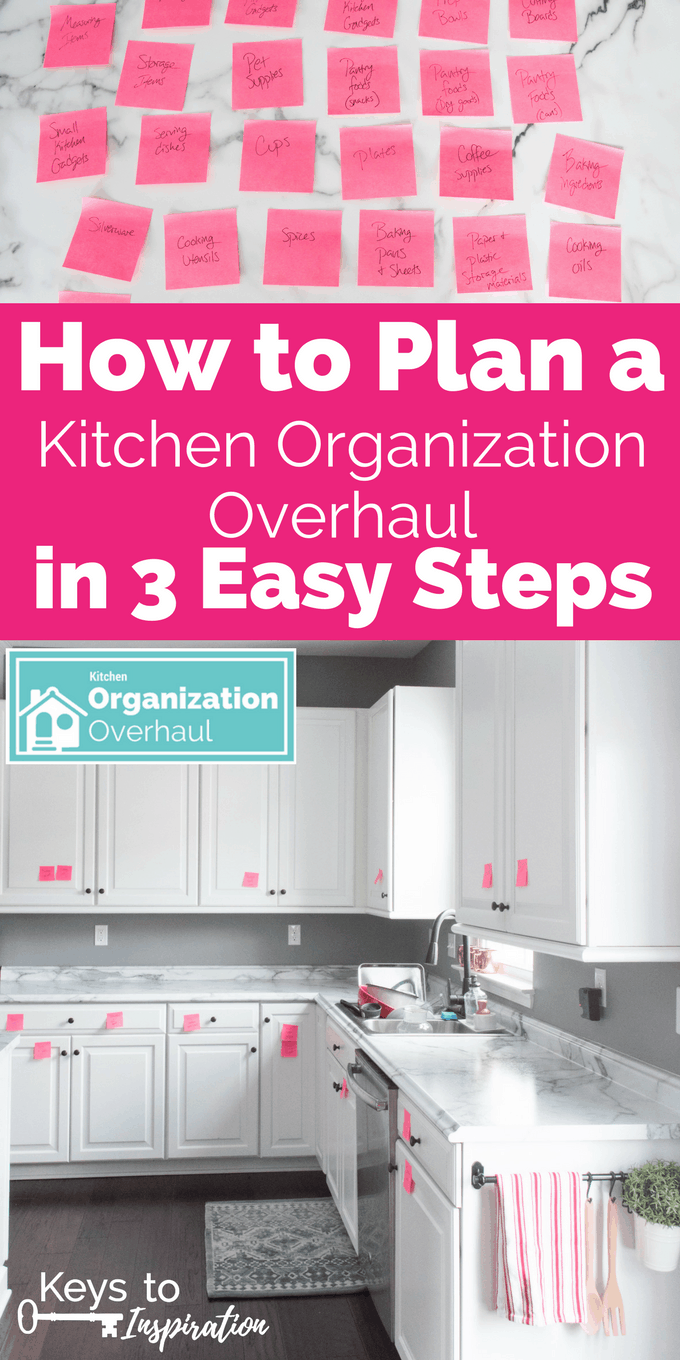
So, instead of waiting around to come up with the perfect plan, I decided to go into my kitchen and just start. That’s when I came up with the easiest way ever to plan a kitchen organization overhaul. Let me take you through my 3 step process.
How to Plan a Kitchen Organization Overhaul in 3 Easy Steps
Step 1 – Take Inventory of Everything and Categorize
First, open up your cabinets and drawers and start taking an inventory of everything that you have.

This doesn’t need to be a really specific inventory or list, it just needs to be general categories. This will help you see what items you are currently storing in your kitchen.

Don’t worry about this being perfect. All you need is a list of things that makes sense to you.
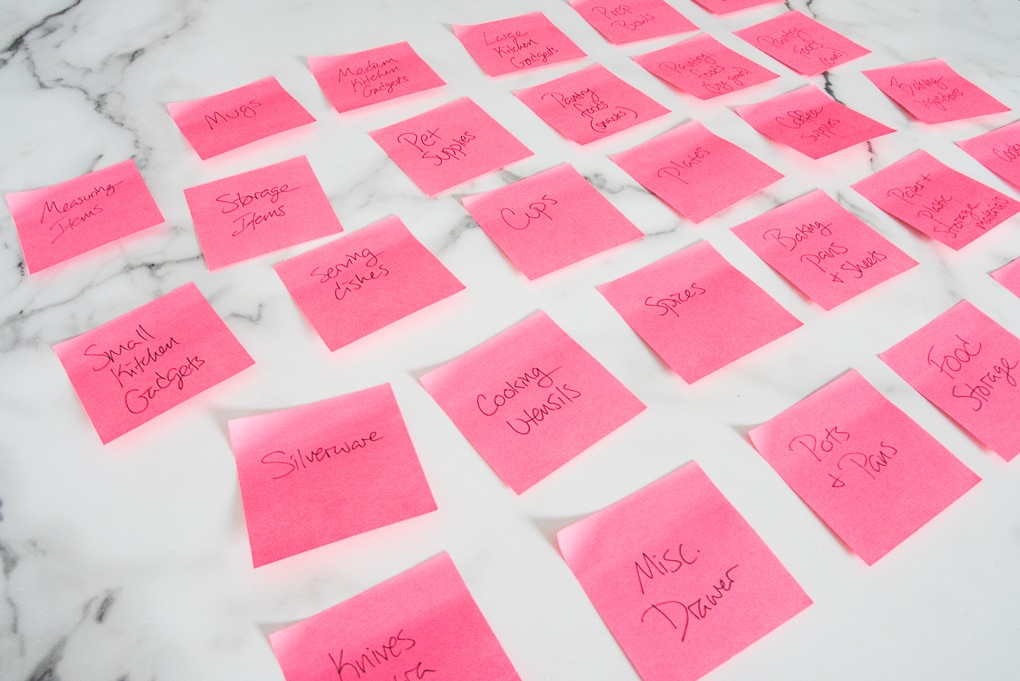
In my kitchen, I came up with the following categories. This is just to give you some ideas — your categories might be totally different.
- Plates
- Cups
- Serving Dishes
- Silverware
- Mugs
- Cooking Utensils
- Pots and Pans
- Baking Pans and Sheets
- Cutting Boards
- Prep Bowls
- Measuring Items
- Knives and Extra Utensils
- Small Kitchen Gadgets
- Medium Kitchen Gadgets
- Large Kitchen Gadgets
- Misc Kitchen Tools Small
- Paper and Plastic Storage Materials
- Cooking Oils
- Spices
- Baking Ingredients
- Coffee Supplies
- Pantry Foods (Cans)
- Pantry Foods (Dry Goods)
- Pantry Foods (Snacks)
- Storage Items
- Food Storage
- Pet Supplies
- Cleaning Supplies
- Misc. Drawer
Step 2 – Give Each Category a Sticky Note
Next, you will need two simple tools — a pack of sticky notes and a pen.

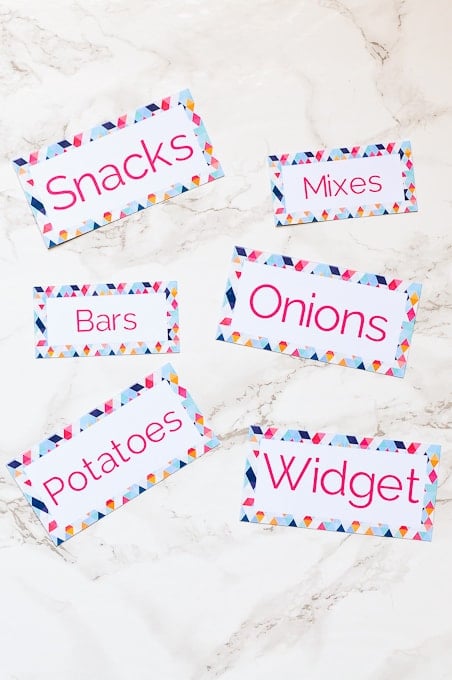
Write out one category from your inventory list on each sticky note. Then, place all of the sticky notes in front of you so you can see them all easily. I did this on my kitchen island.

Our kitchen organization overhaul involves moving some of our items to different cabinets and rethinking where food and other items are located. This type of rearranging can be difficult when you have everything pulled out of the cabinets and cluttering up your kitchen.
Instead, I decided to plan where things were going to go ahead of time using this sticky note method. And while everything was still in the original cabinet and drawer locations.
Step 3 – Determine New Locations Based on Proximity
After all of the items had been categorized and assigned a sticky note, I started planning where things were going to go. Working one sticky note at a time, I started thinking of which cabinet or drawer that I wanted the items to be moved to.
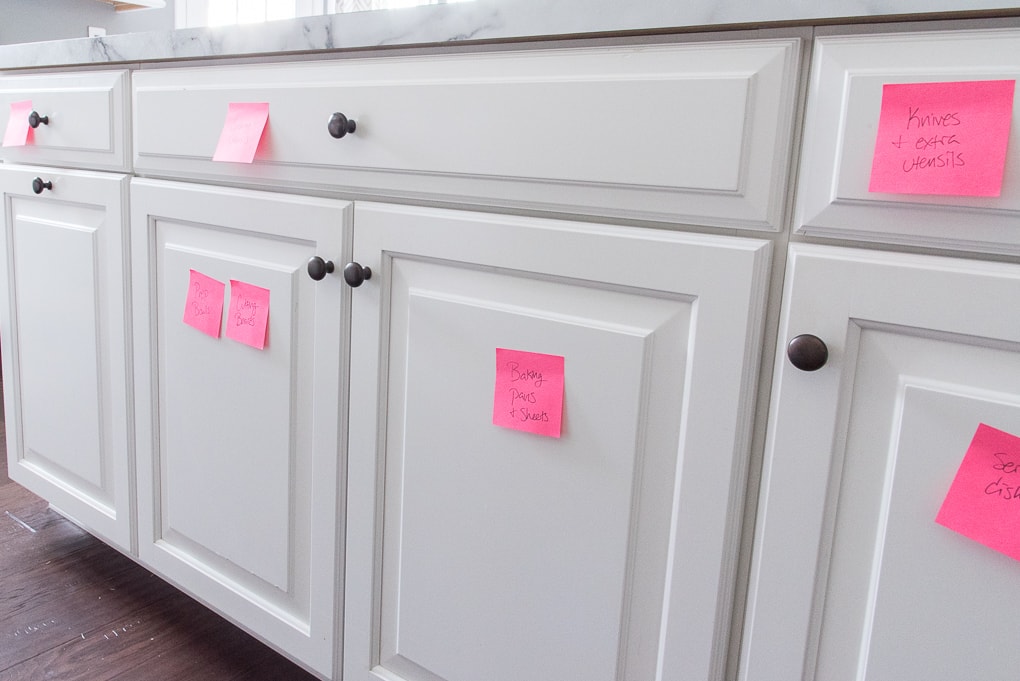
Remember, this was all during the planning phase of the project. I wasn’t actually moving any items or taking things out of cabinets. I was just moving the sticky note around so I could visualize where things were going to go.
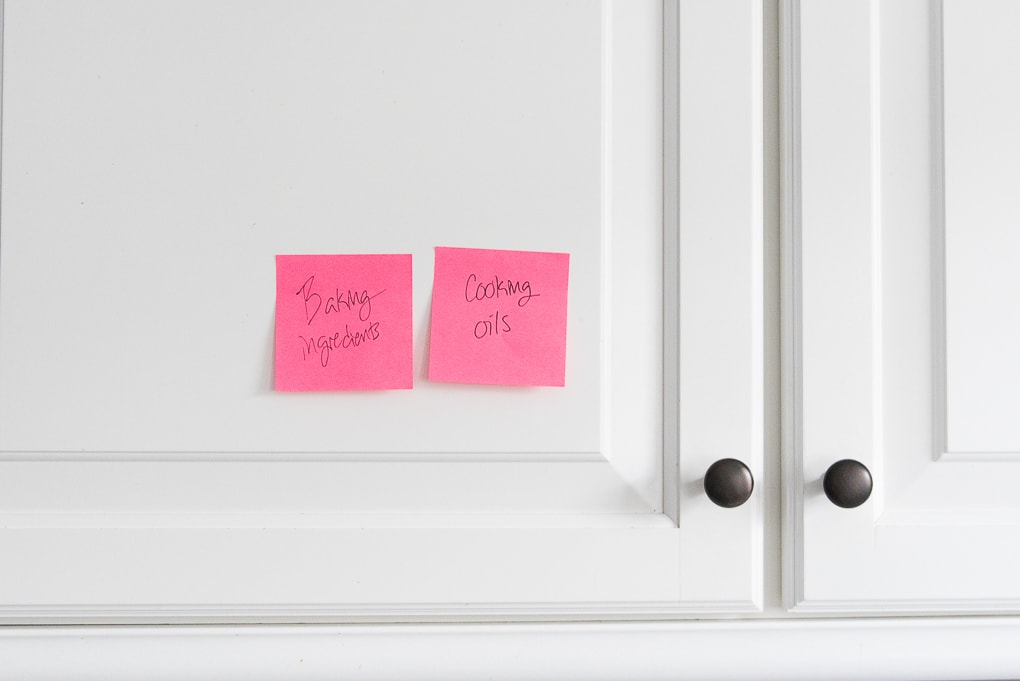
When trying to figure out where something should go, try to think about general zones in your kitchen. Zones help you to group items in locations where they will be used the most, or they make the most sense.
In our kitchen, I have a variety of different zones. Here are a few examples of how I grouped things.
Plates, cups, and silverware are all part of the “serving zone”, so they should probably be close to one another and also close to the dishwasher so they’re easier to put away.
Food storage containers, lunch boxes, and plastic storage materials like plastic bags and foils should all be part of the “food storage zone.” This zone should probably be near the refrigerator because that’s where leftover food normally goes.
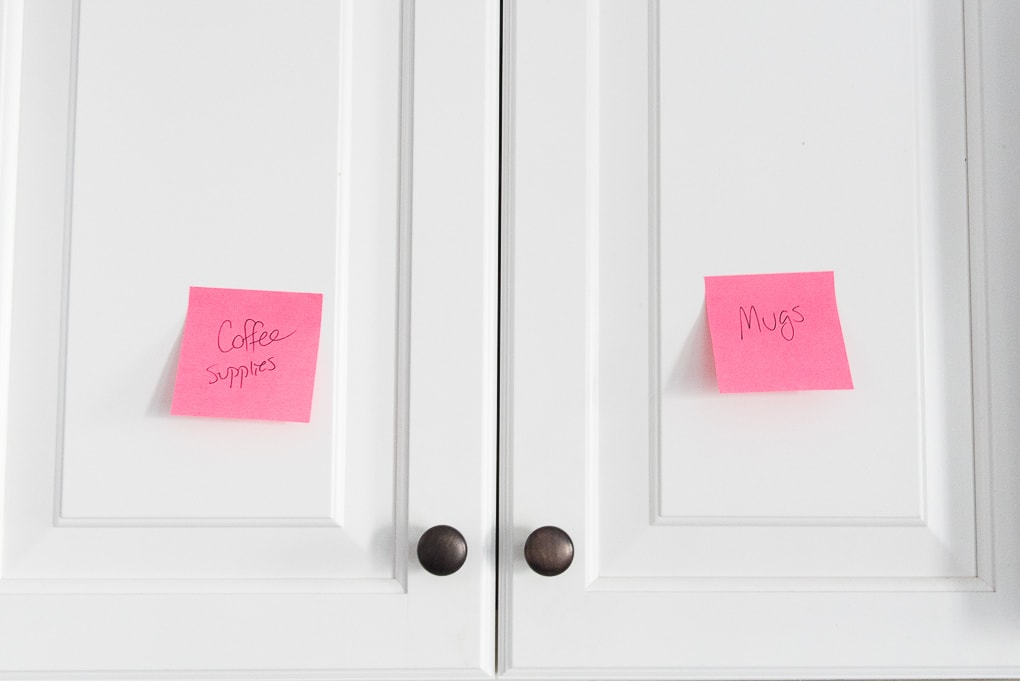
Coffee mugs, supplies, and the water boiler are all part of the “coffee zone.” So the cabinet storing these items should be close to the water boiler on the counter.
Pots and Pans, Spices, and Cooking Oils are all a part of the “cooking zone.” These items should all be stored within reach of the range and oven so that they are easy to access when cooking.

As you start creating zones, place the sticky notes on the cabinets or drawers where you think the items will fit best. Repeat this process until all of your sticky notes have been placed in the kitchen.
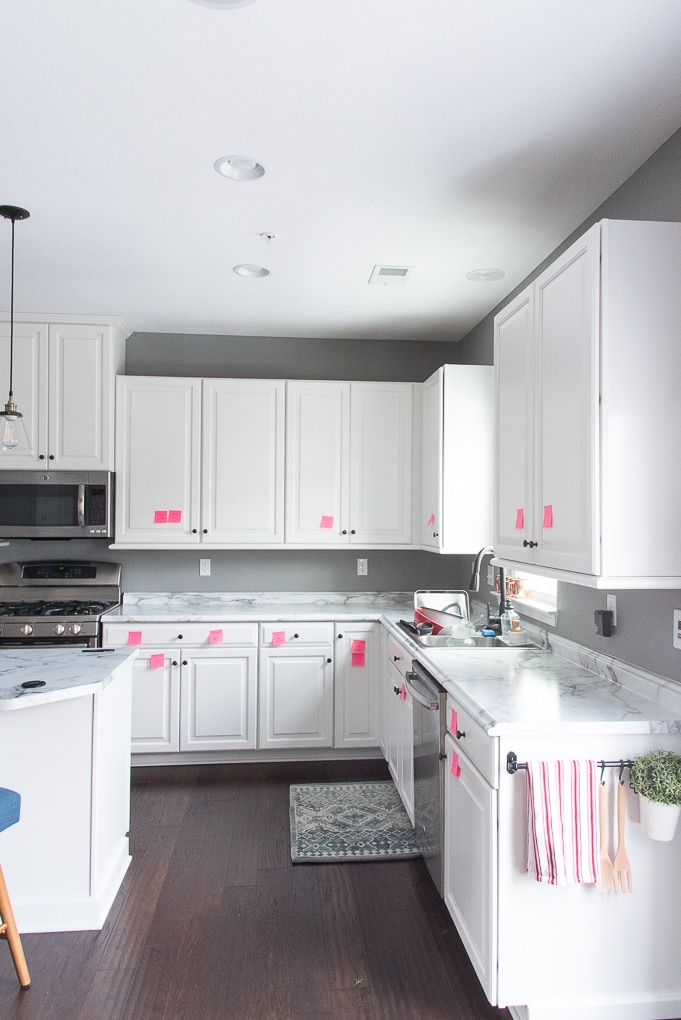
The nice part of this method is that you can easily adjust or change your mind. If you think an item might work better somewhere else, it’s simple to change your plan. All you have to do is move the sticky note!
After you have all the sticky notes in place, you’ll have a solid plan for moving forward with your organizing project. Leave the sticky notes on the cabinets and drawers throughout your project so that you know where everything needs end up.
I hope that this method will help you make a solid plan and get off to a great start with your organizing project.
Stay tuned for more updates on our Kitchen Organization Overhaul.
Kitchen Organization Overhaul
How to Get Organized When You Are Overwhelmed
How to Plan a Kitchen Organization Overhaul in 3 Easy Steps (You’re here)
7 Things You Need to Get Rid of When Organizing Your Kitchen
How to Organize Under the Kitchen Sink
Organized Kitchen Cabinets and Drawers {Part 1}





My house is completely messed up with unnecessary stuff. I want to clear all the clutters. This guide is so helpful. I liked the idea of making sticky notes.
Thanks Stephanie! So glad that you found it helpful. Sometimes the easiest things can help the most with something like a big organization overhaul. It really helped me figure out where all our stuff should go because I like to be able to see things in a space.
I hope you are having a great week!
>> Christene
This organizing is absolutely mind blowing. Something really very instructive & valuable. Thanks for your lovely article. Keep going.
Thank you so much for this great idea. We just moved into a new home and I have been stuck on where things should go. This really helps ????
I love your idea about putting sticky notes in every part of the kitchen. Even your kids will be able to identify where they should put and get things. I’m glad for this post, so worth reading. Thank you for sharing this post.
Placing the sticky notes on the cabinets first is a really great idea! I always organize my kitchen every month. I am looking for a more efficient way to organize my kitchen.
“Zones help you to group items in locations where they will be used the most, or they make the most sense.” -You
Such a simple idea, but it gave me a new perspective that really helped.
I love the sticky note idea. It takes some time, but it makes everything more efficient later on. Thanks for the tip.
I’m just about to start a minor kitchen remodel and ran across this idea. It’s GENIUS!!!! THank you so much