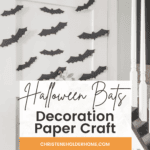
How to Make Easy Bat Crafts Using the Cricut
It’s that time of year again – Halloween is just around the corner, and many of us want to add some fun and quirky decorations to our homes.
Now, let’s be honest, Halloween isn’t my favorite holiday. While I love the fall season, the spooky and dark side of Halloween never really appealed to me.
But things changed for me last year when I stumbled upon some fun Halloween decoration ideas on Instagram.
These were far from the usual creepy stuff – they were all about adding a playful and modern touch to Halloween.
It got me thinking, maybe I could make our home more festive without making it scary.
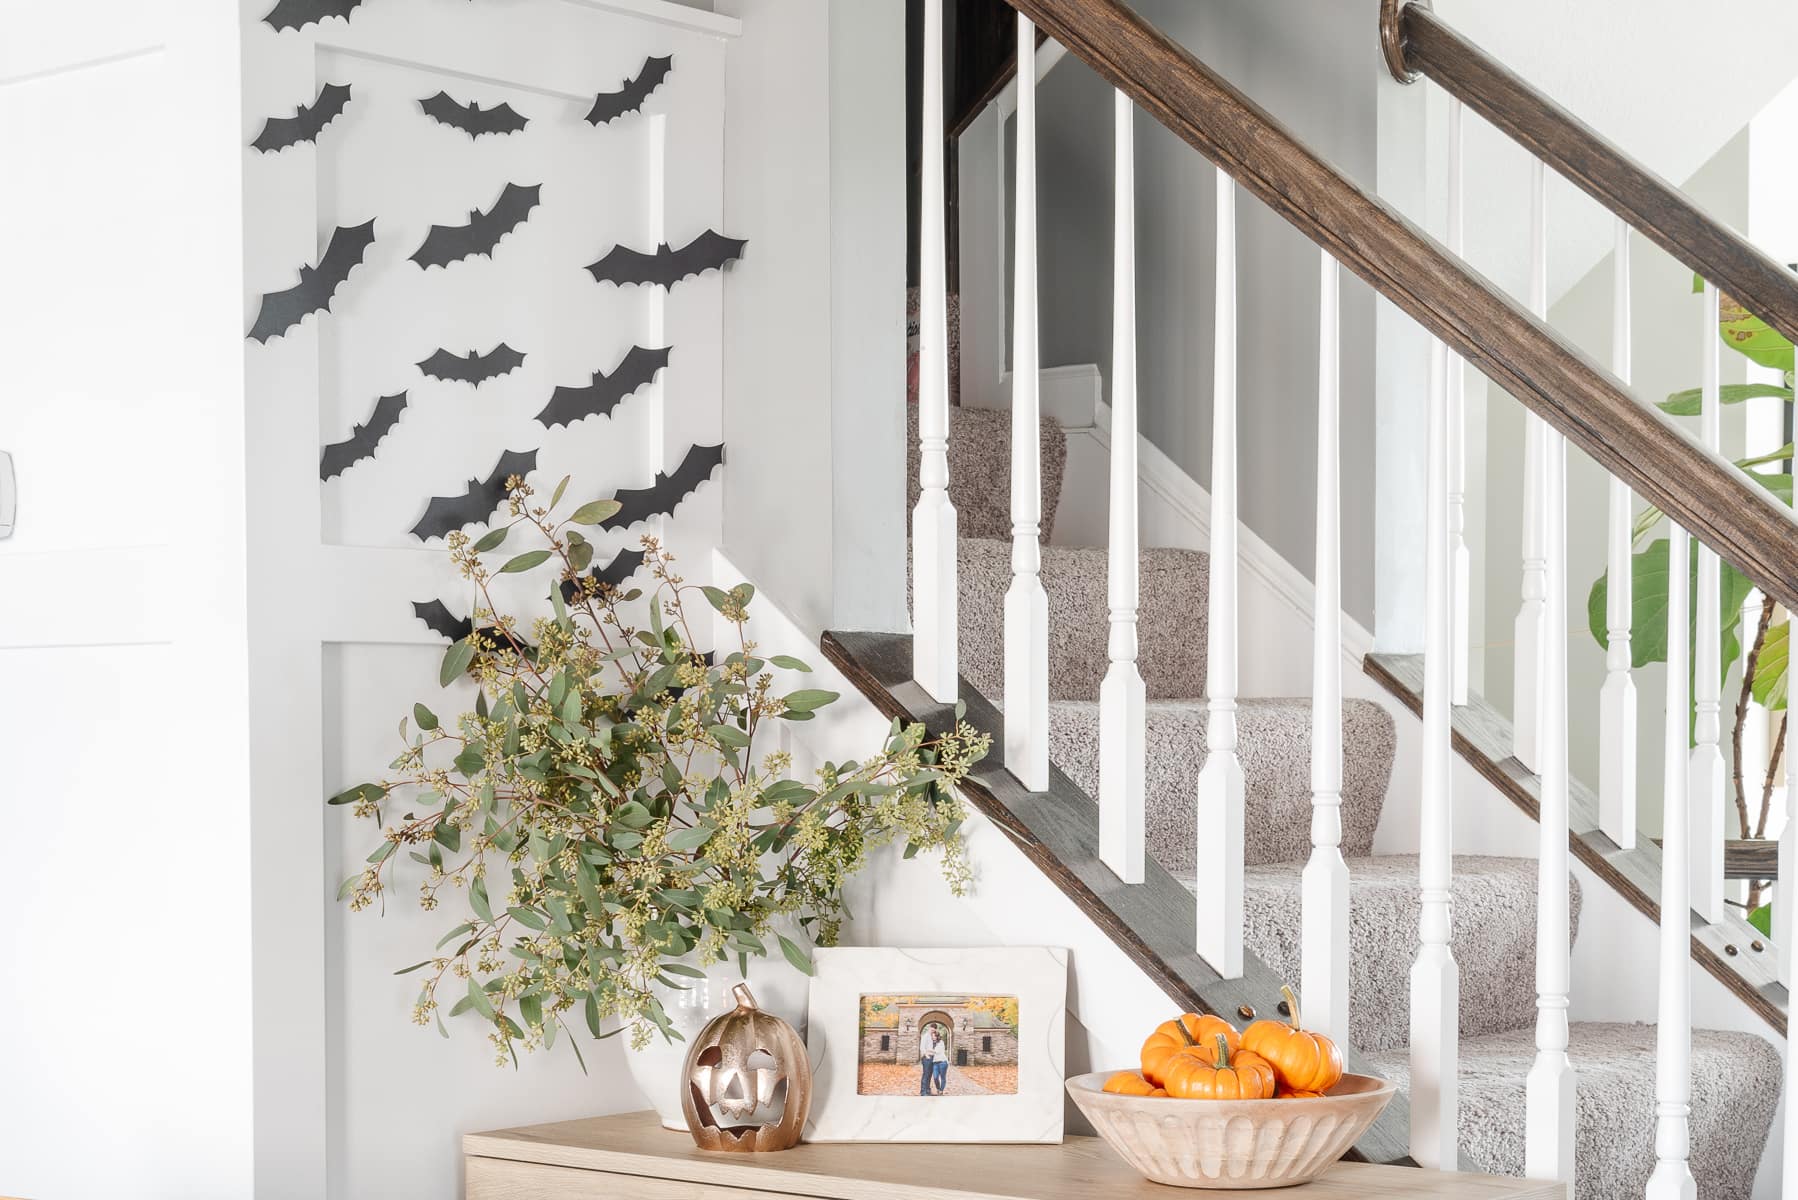
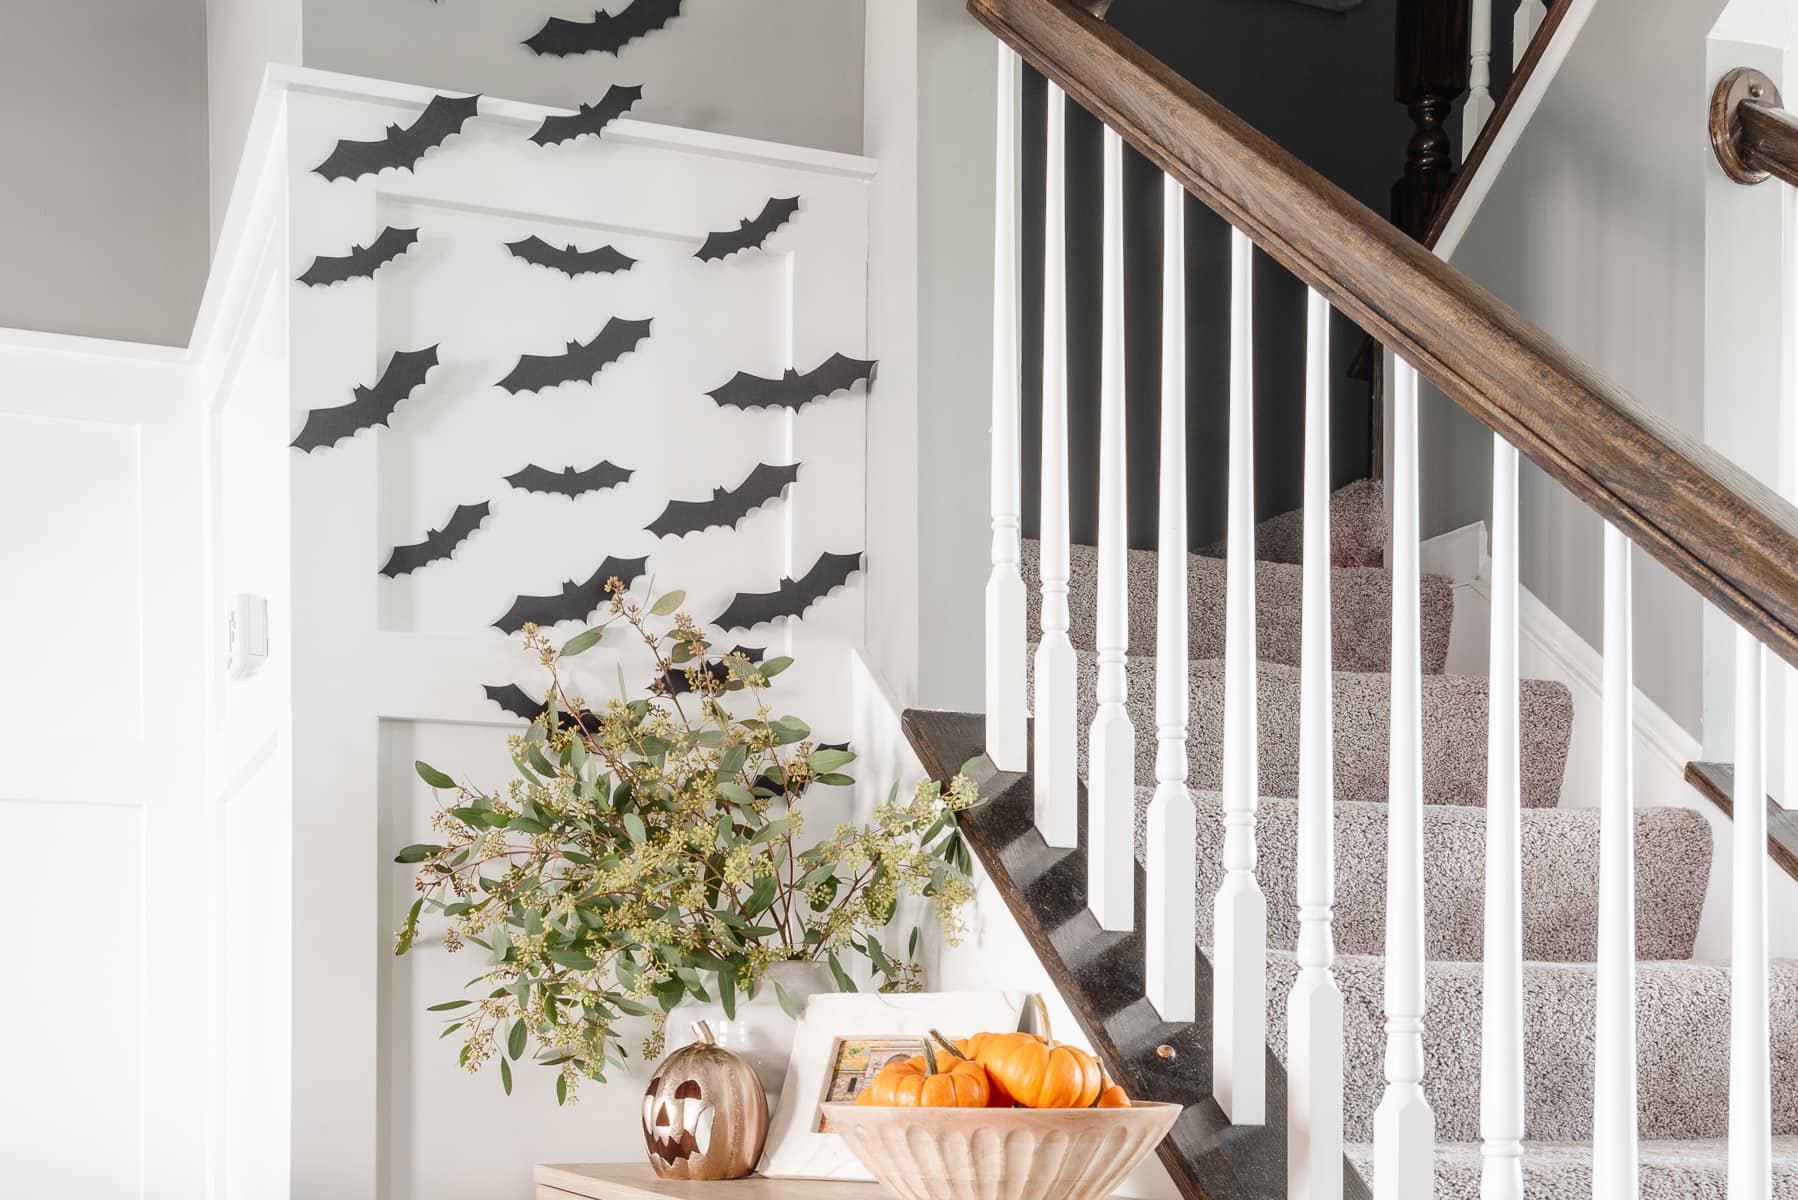
So, inspired by all the creative ideas I found, I decided to take on a project – creating a bat-themed display for our home.
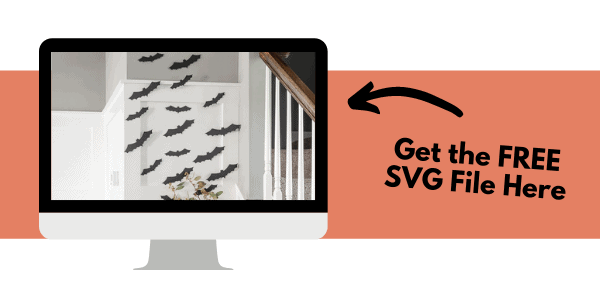
The result? A spooky, yet not too scary, bat display that I’m excited to share with you.

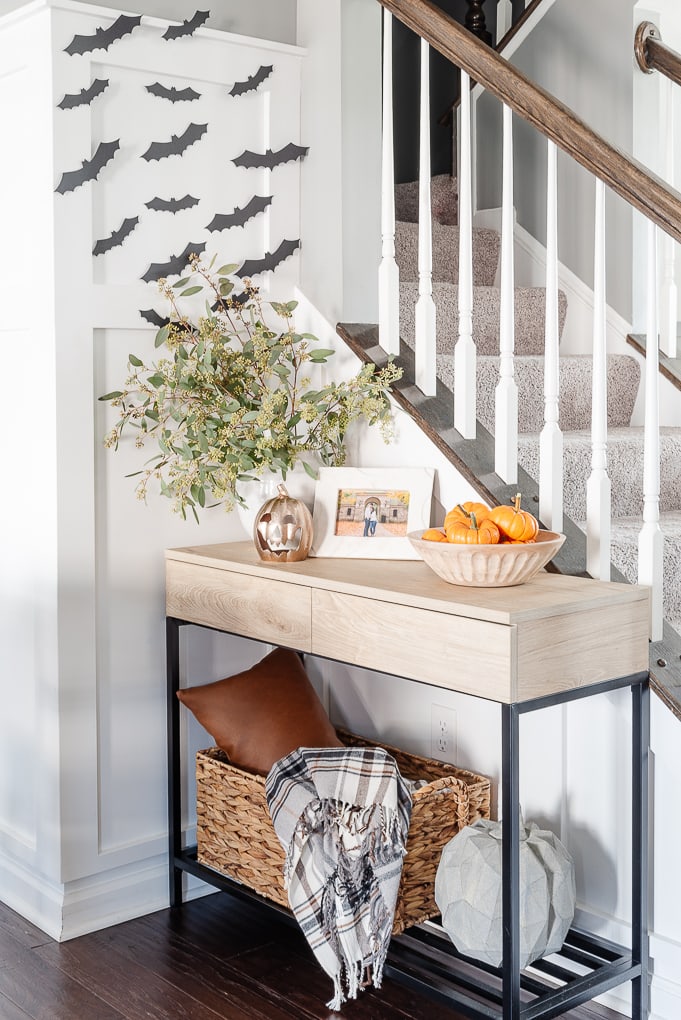
Isn’t it just adorable? And here’s the surprising part – it’s also one of the easiest Halloween crafts I’ve ever tried. We all know those are the best kind of projects, right?
So, if you want to bring some Halloween season charm into your space without going overboard on the fright factor, here’s how you can make your very own DIY Halloween bat decor.
This is one of the easiest Halloween activities you can do to decorate your home. This is also one of the most kid-friendly Halloween projects. Making this together is a great way to get young children or older kids involved.
This post contains affiliate links for your convenience. For more information, see my disclosures here.
How to Make Halloween Bats Decor
Materials
- Bat SVG file: You can find free templates here.
- Black Cardstock: Also known as black paper or black construction paper, this will be the material you cut your black bats out of.
- Adhesive Squares: These will help attach your paper bats to the wall. You could also use simple masking tape.
- Cricut Machine: You can use a Cricut Explore or a Cricut Maker for this project.
- Standard Grip Cutting Mat
- Cricut Fine-Point Blade: This comes standard with all Cricut Machines.
Cutting Out Your Bat Decor
For this project, I used my Cricut machine to cut out the bats for me.
But if you don’t have a Cricut, you can print out the Halloween bat template. Then you can cut out the bat printables yourself with scissors.
You will need to print the different bat templates out in a variety of sizes.
This is an easy way to create the same look.

1. Download Link for the Bat SVG File
First, you will need to download the Bat SVG file.
Click here to download the free bat template for your project.
2. Upload the SVG File
Open Cricut Design Space and create a new project.
Then, select the Upload button and select Upload Image. Next, drag and drop or select the bat shape file to upload into the Design Space software.
After the SVG is uploaded, add the image to your design canvas.
If you need a little more help uploading SVG files, you can learn more in this post.
3. Adjust The Size of the Bats
Create multiple copies of the file within the design canvas and resize them to different sizes.
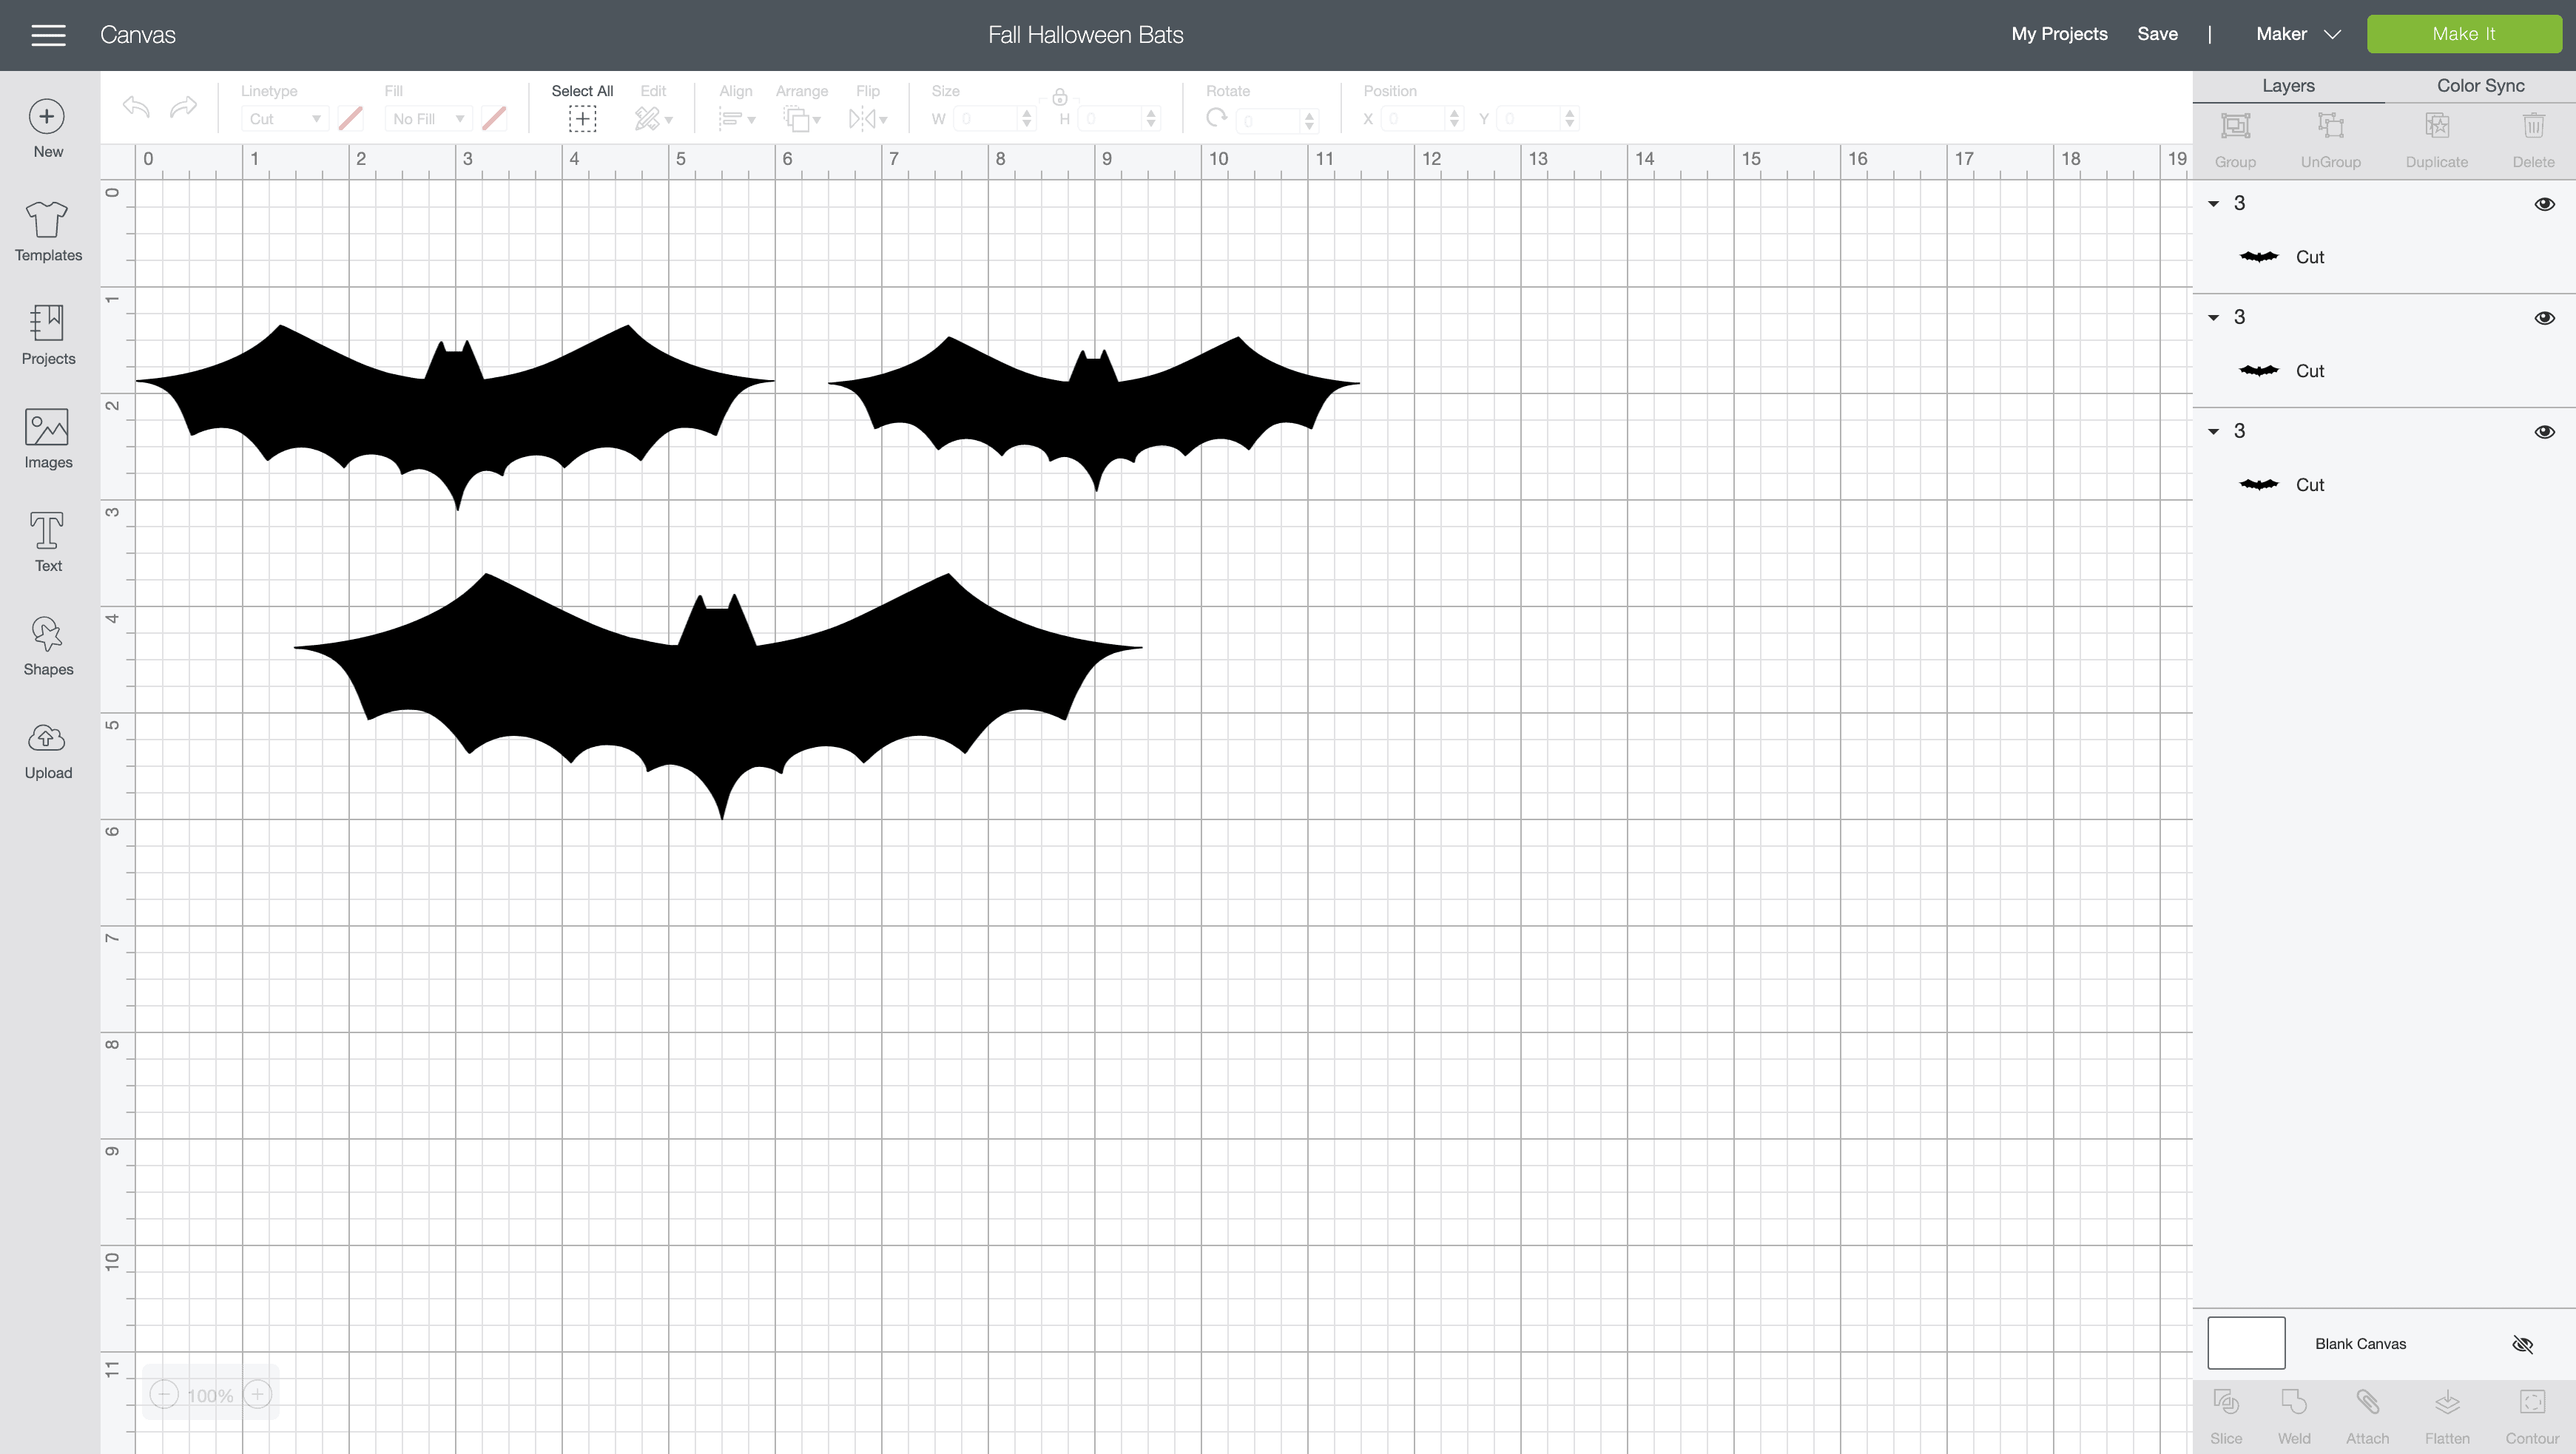
I made three copies of the bat template and then I resized the width of each image to the different sizes.
Small Bat Template: 5 wide
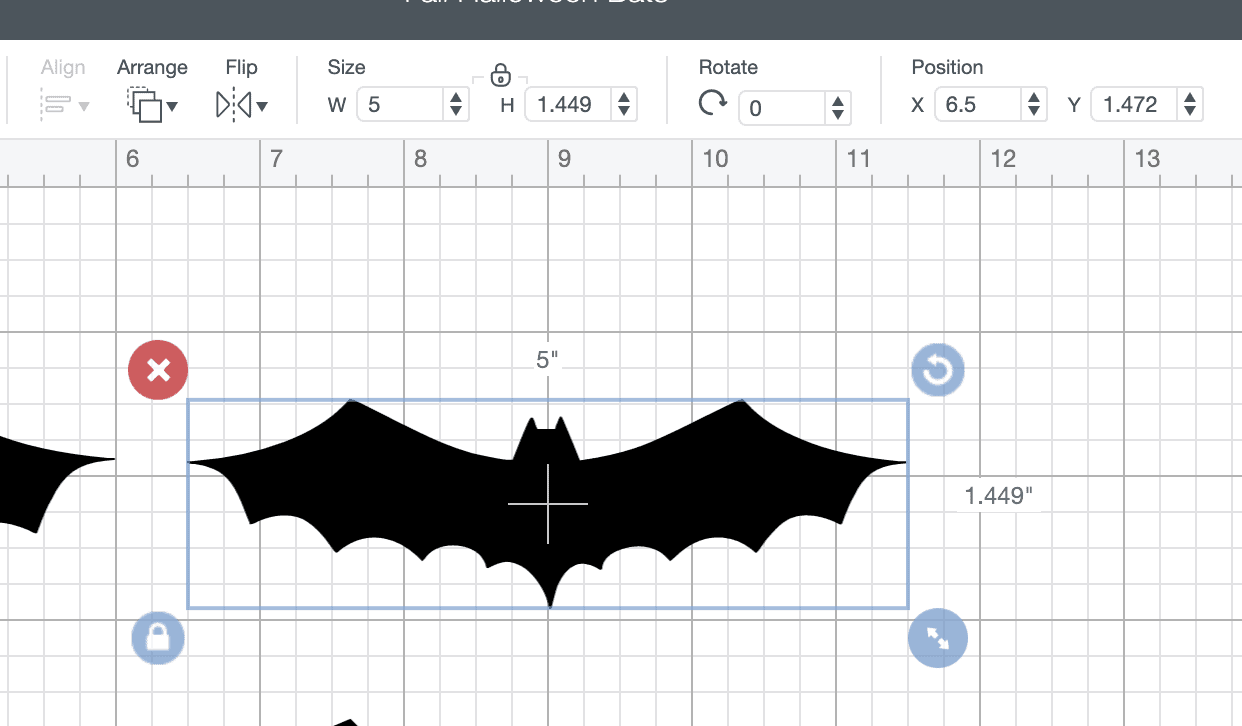
Medium Bat Templates: 6″ wide
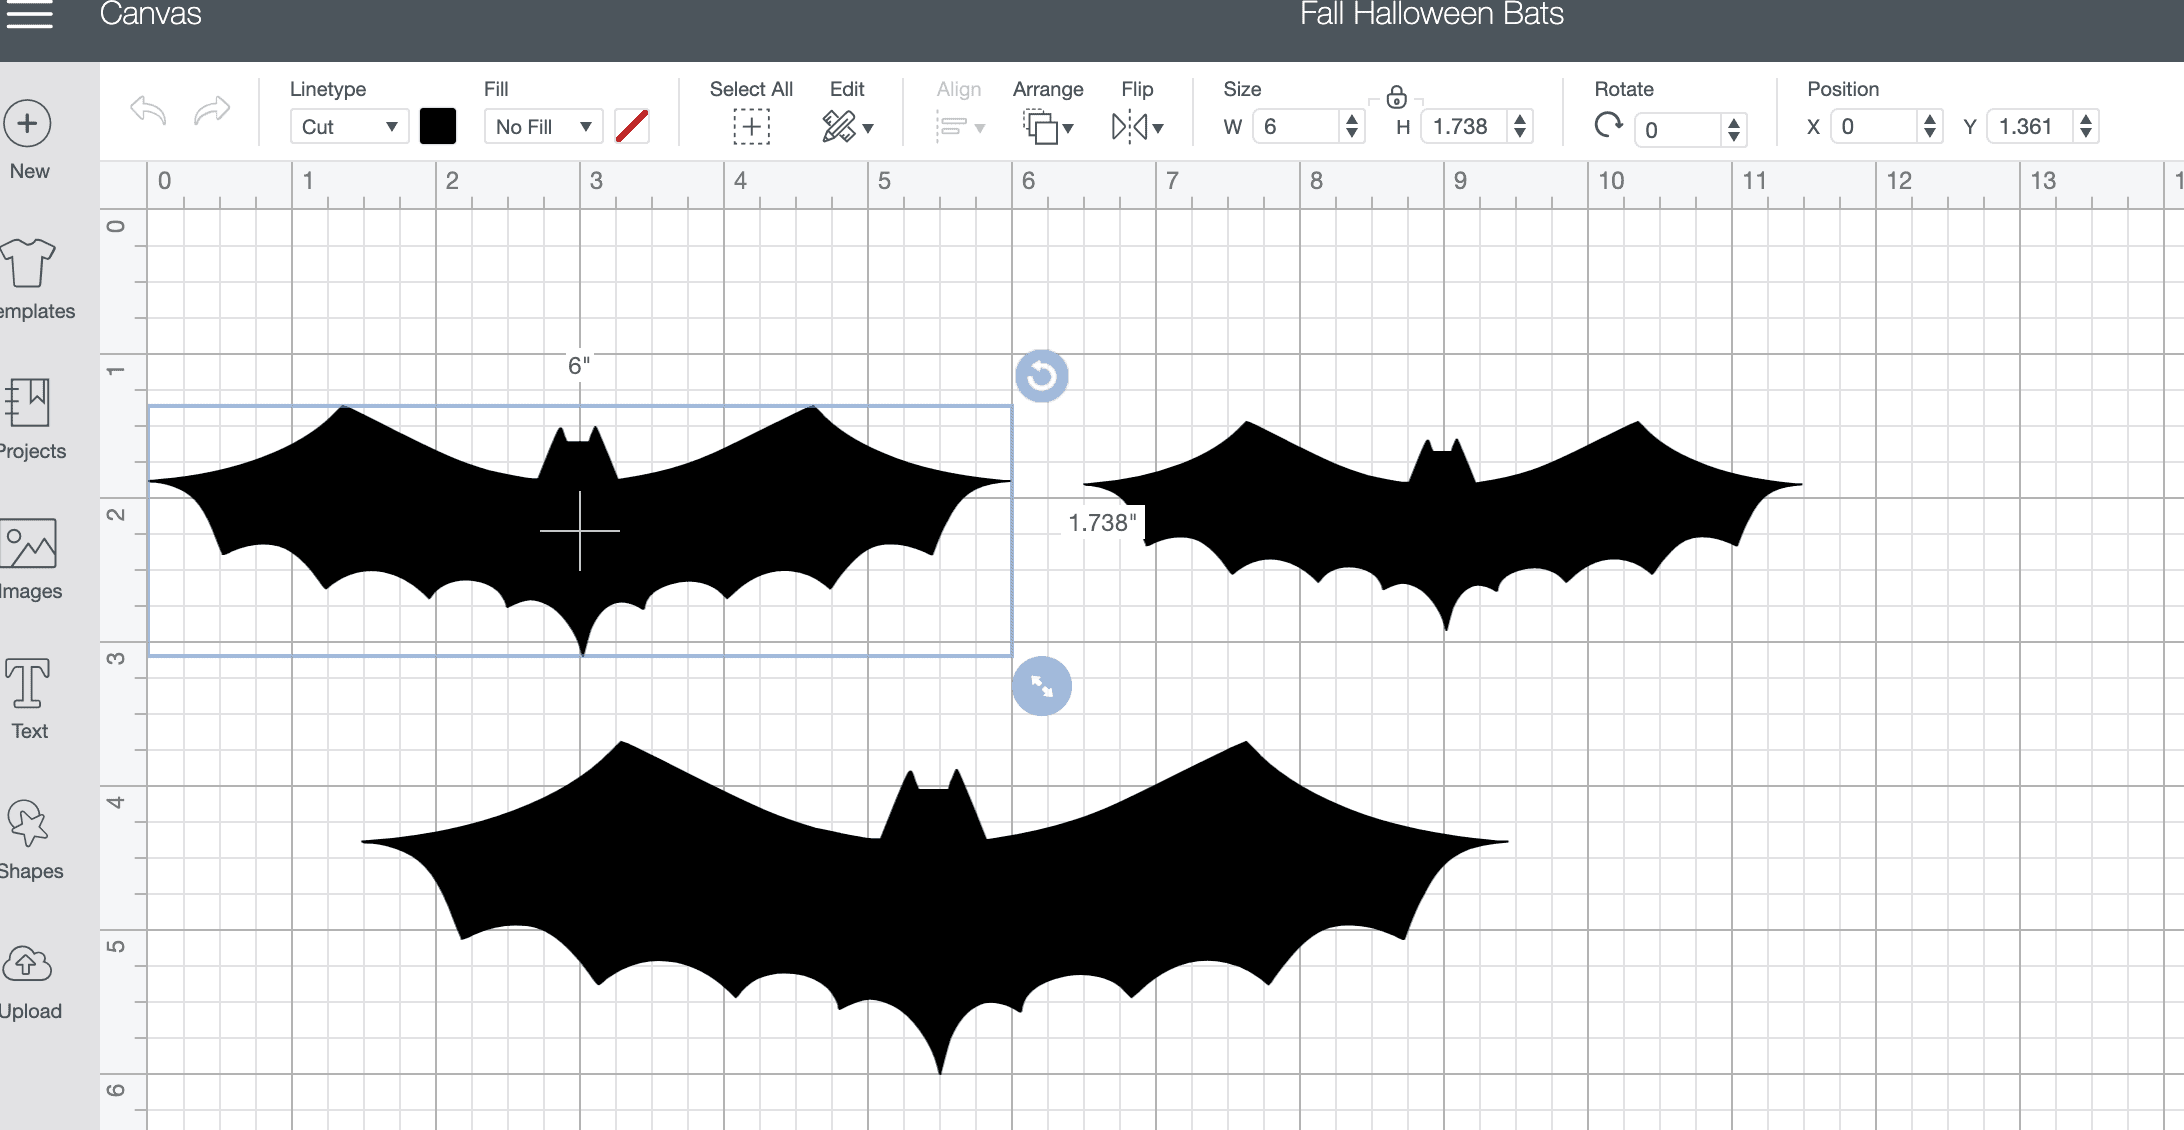
Large Bat Template: 8″ wide

4. Mat Preview
Now it’s time to make your project using the Cricut machine.
Click on the Make It button in the upper right corner.
You will then see the Mat Preview Screen. This will show you all of the mats needed for your project.
Each mat represents another piece of material. But for this project, there is only one material.
I wanted to cut out a variety of bats for my Halloween bat decor display. So I adjusted the quantity of my project to 10.
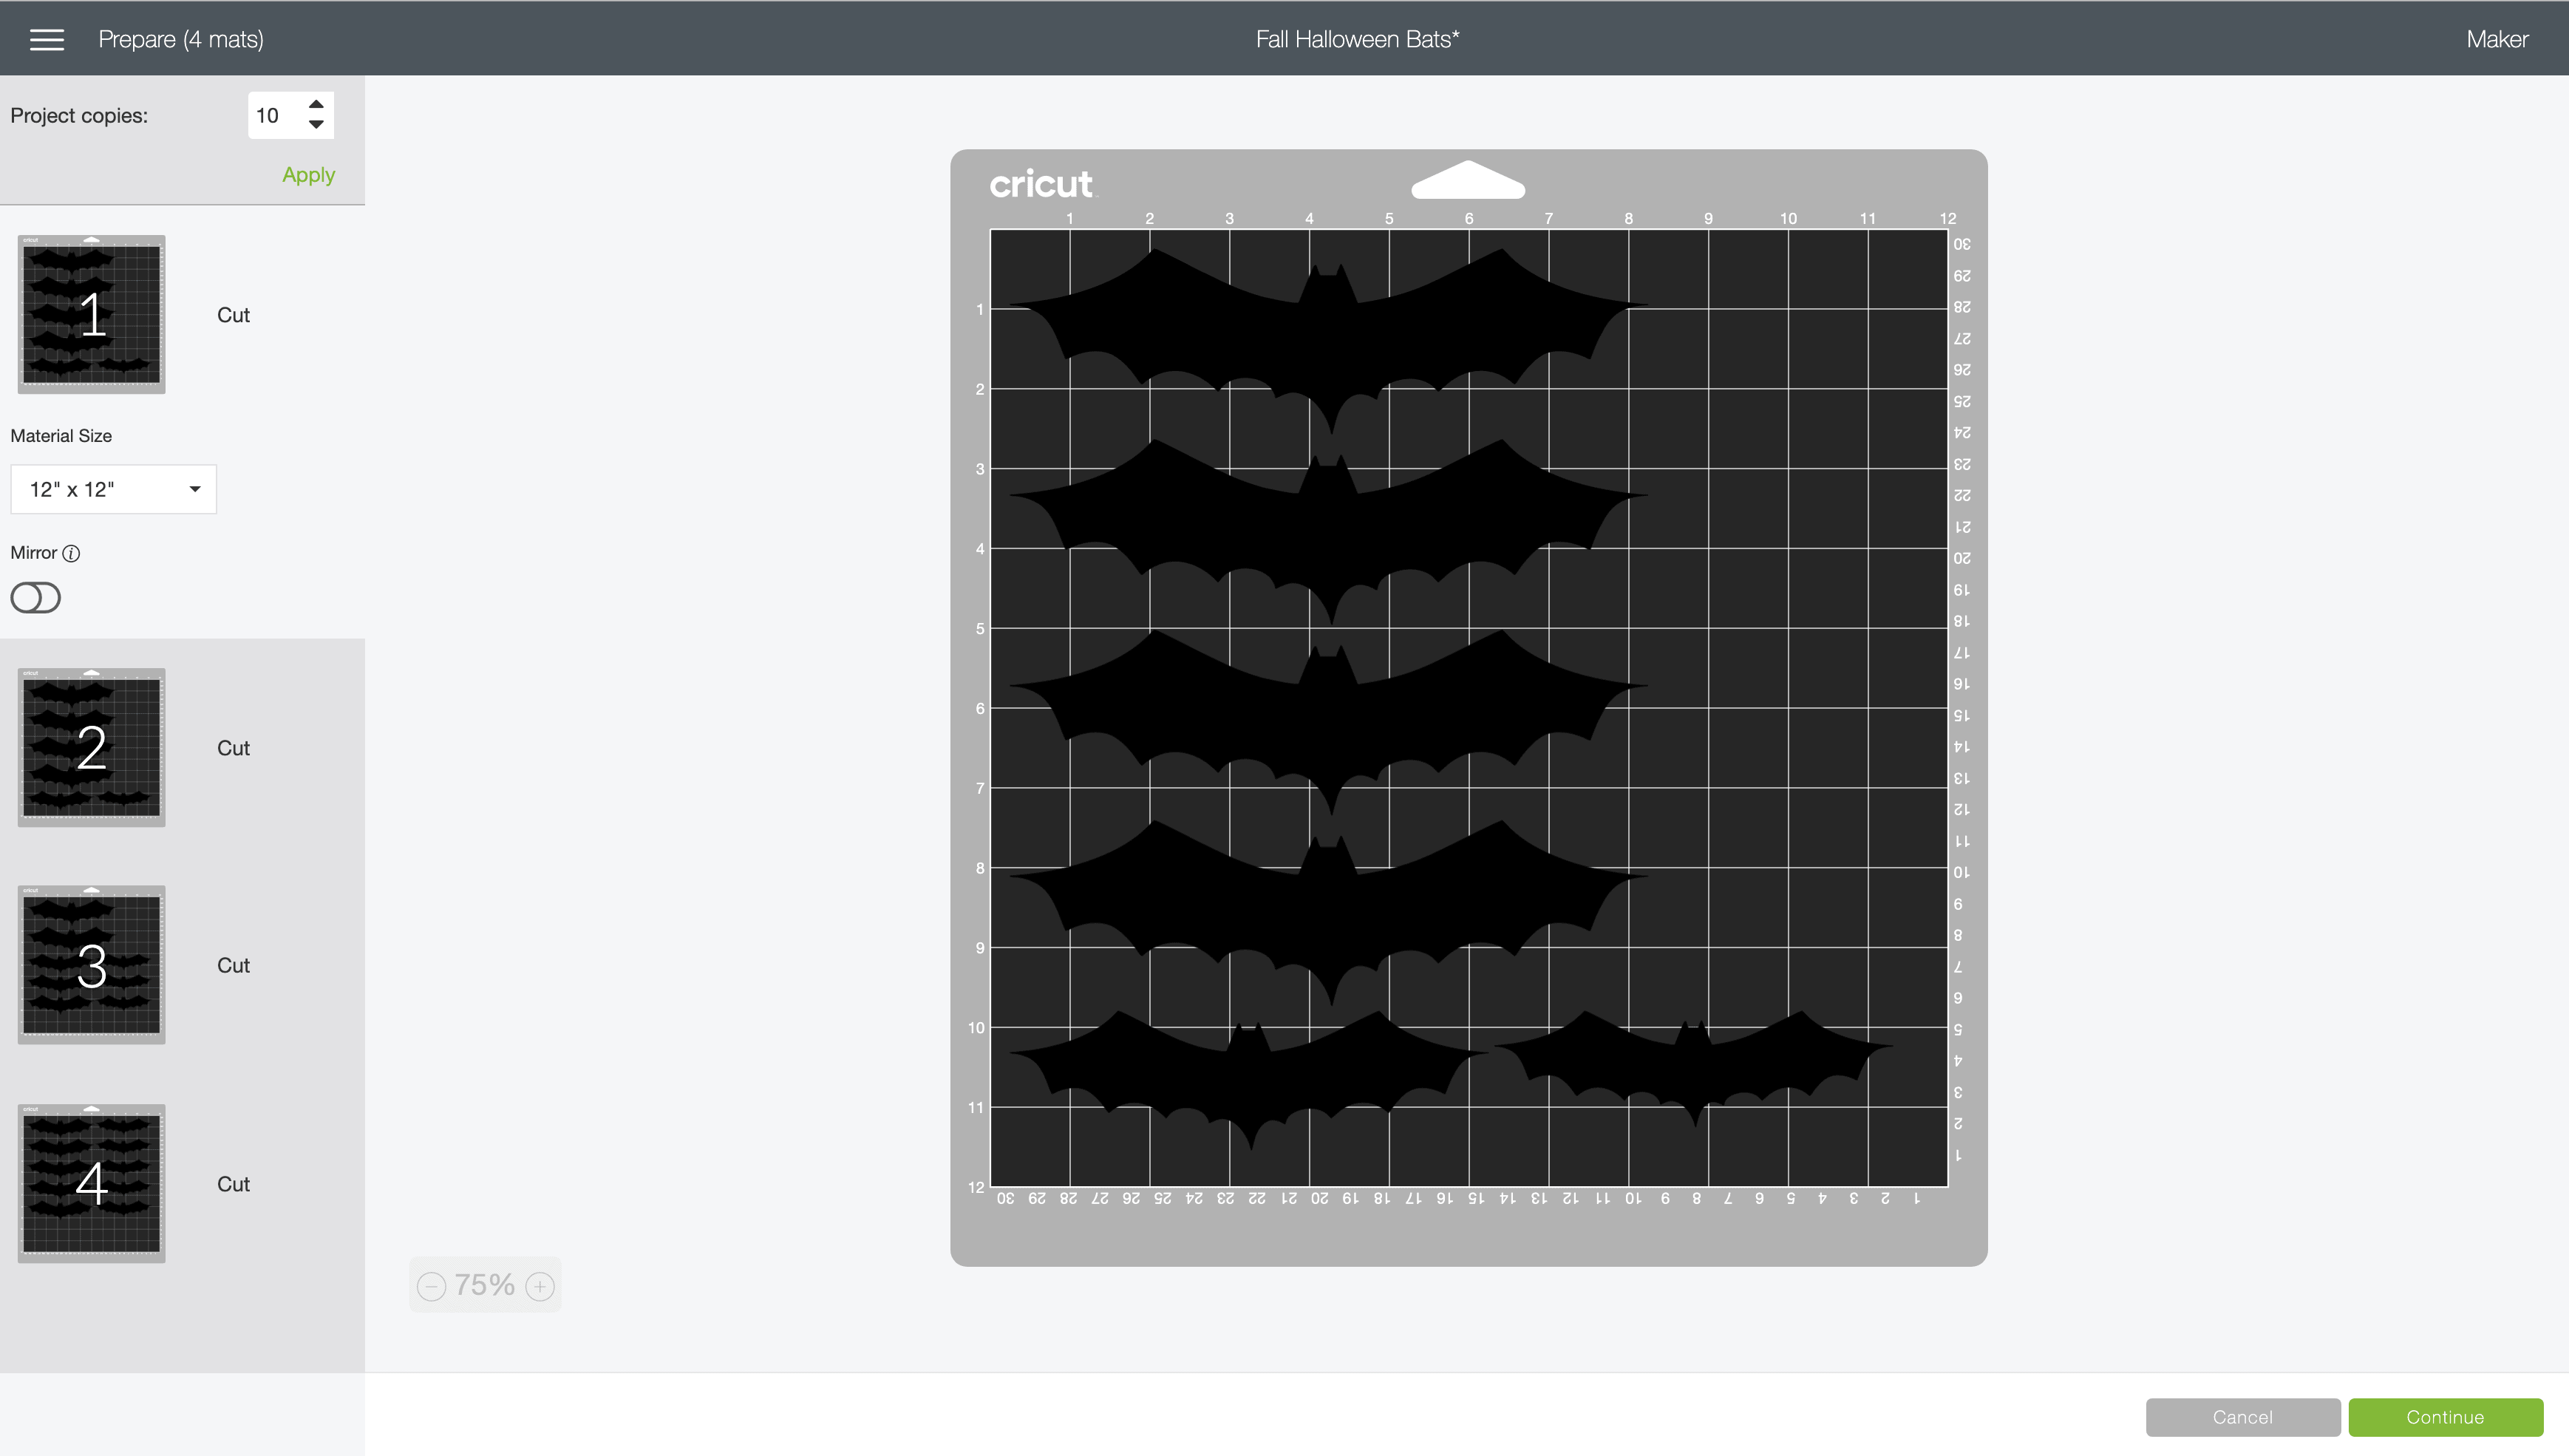
At the top of the Mat Preview Screen, under Project Copies, change the number from 1 to 10 and select Apply. This will duplicate the images.
5. Cut Out the Paper Bats
Click on the Continue button in the lower right of the screen.
Connect your Cricut machine. Then, adjust the settings as follows:
- Material: Medium Cardstock – 80 lb
- Pressure: Default
- Tools: Fine-Point Blade
Load your black cardstock onto the standard grip cutting mat, then hit the Go button to start the cutting process.
Repeat for each piece of cardstock paper until all your bats are cut out.
Assembling Your Paper Halloween Bat Decor
With all your pieces cut out and ready to go, it’s time to bring your bat display to life. Here’s how:
1. Sort by Size
First, sort all of the bat cut outs by size. This will help you stay organized.
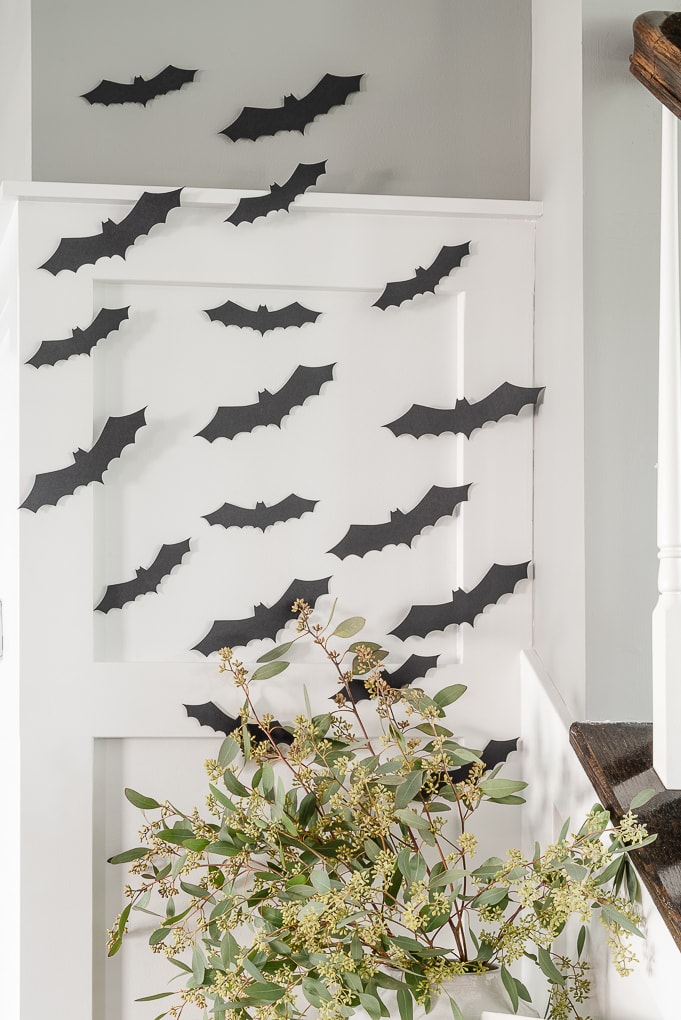
2. Create Your Display
Use adhesive squares to attach the bats to the wall.
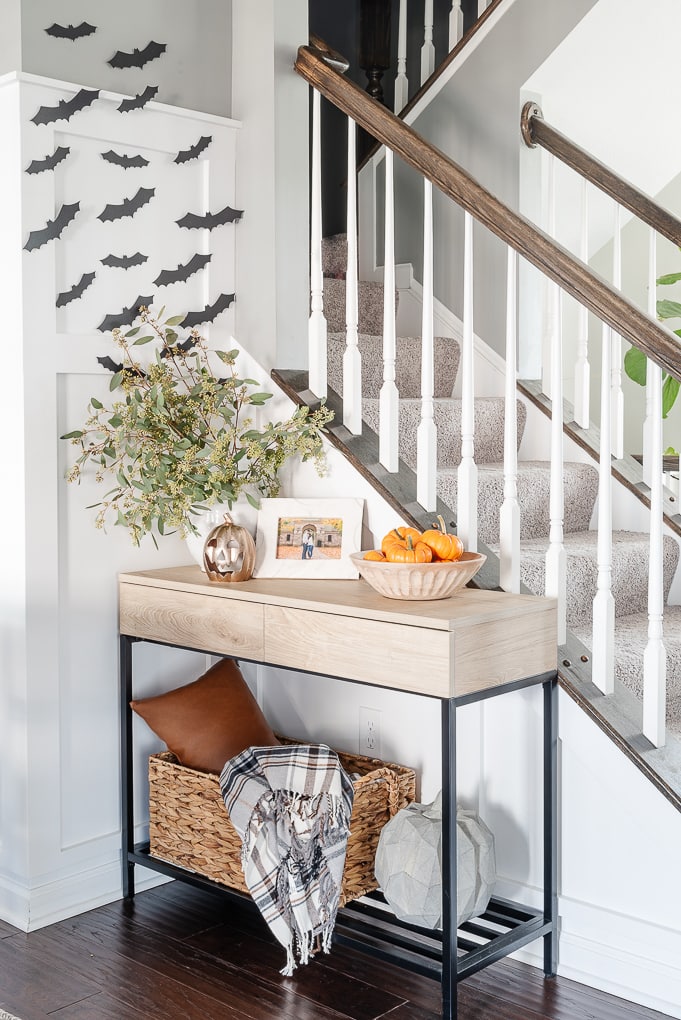
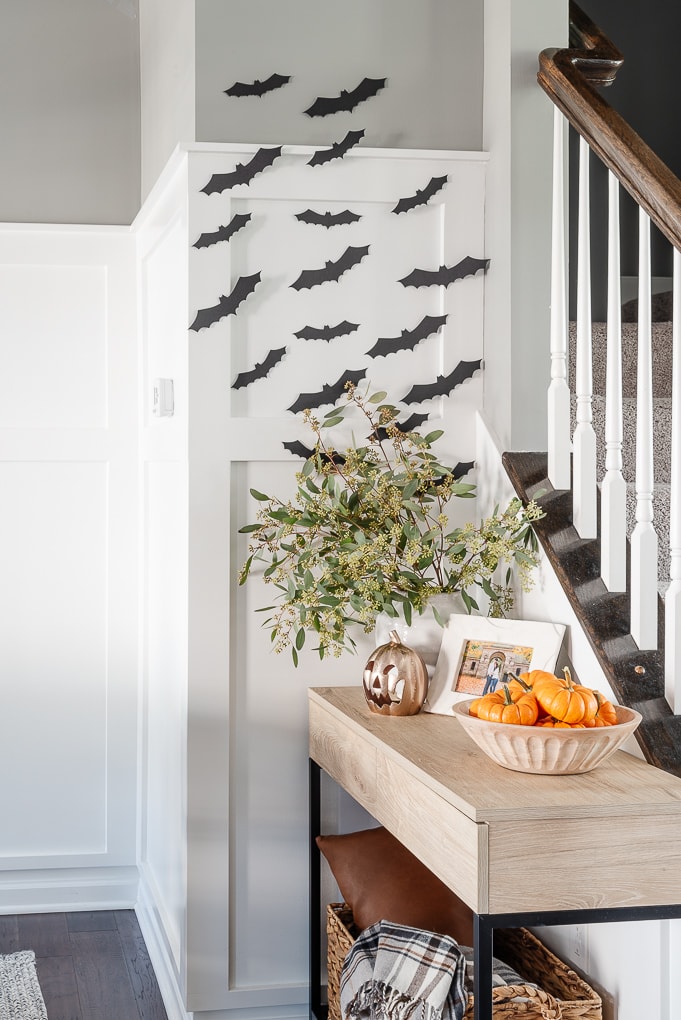
There’s no real science to arranging the bats. I tried to make it look like they were flying from the console table upward towards the ceiling.
Overall I tried to make them follow an arched path.
Make sure to mix and match the bat sizes for variety. Alternate using small bats and large bats to get a more natural look.
3. Step Back and Assess
Take a few steps back to view your display from a distance. Sometimes, what looks right up close may need a fresh perspective.
4. Use Only What You Need
You don’t have to use every bat you cut out; use as many as you like to achieve your desired look.
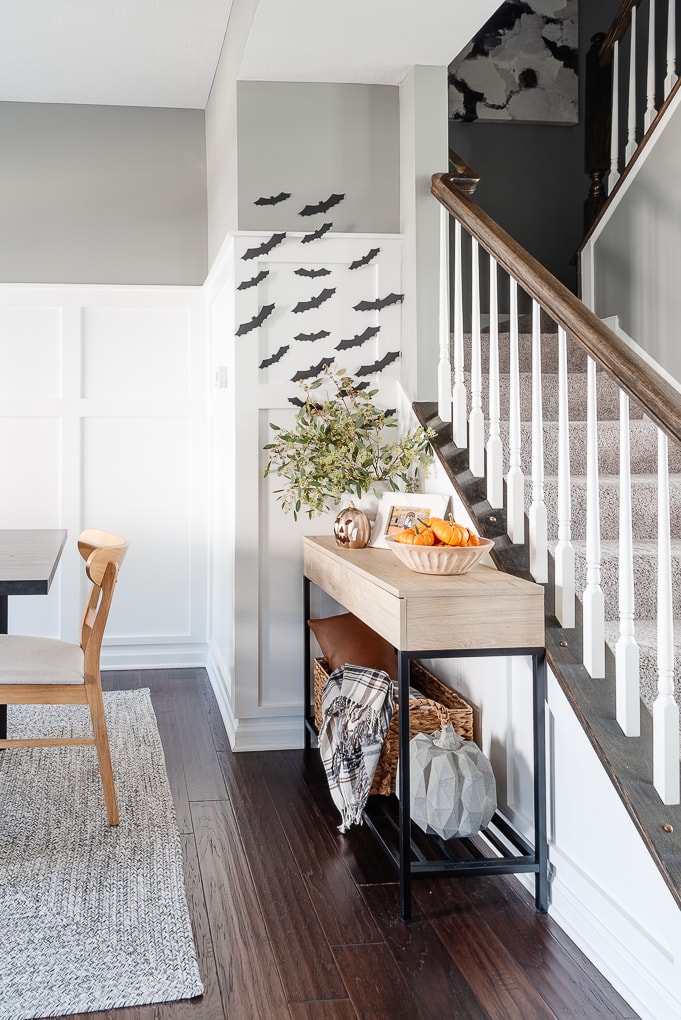
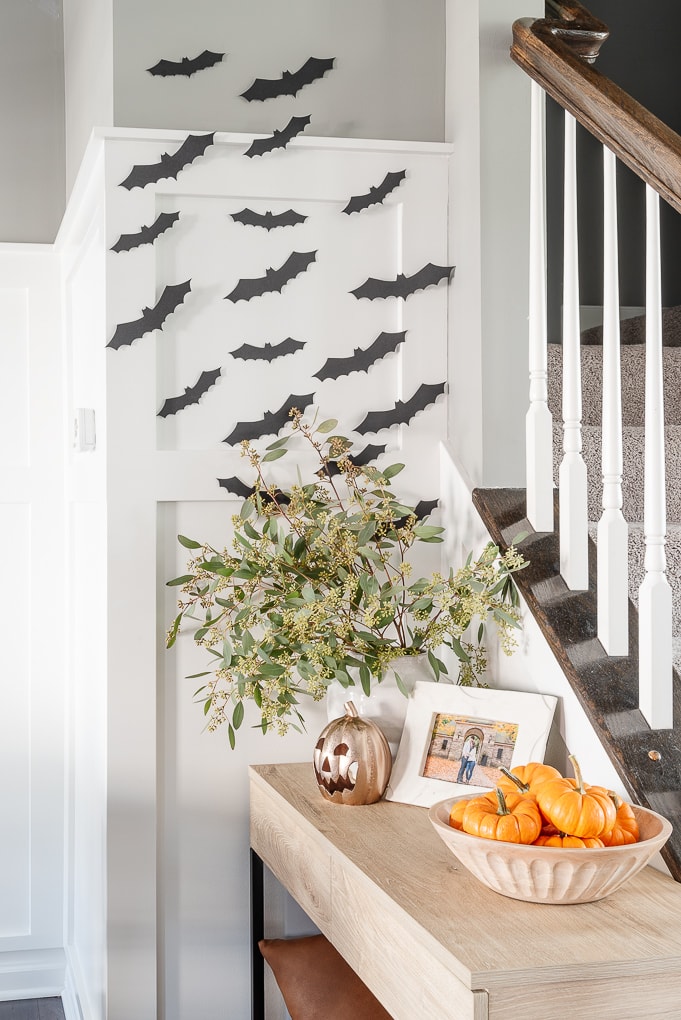
Once your paper bats are secured to the wall, your Halloween bat decoration is complete!
Final Thoughts About the Halloween Bat Decorations
I really love how this display turned out. This fun craft is a modern and stylish way to enjoy Halloween without going all-in on the spooky and scary stuff.
You can use these paper bats to create a spooky fun display anywhere in your home. I think these would look great on a front door for trick-or-treating.
They would also be the perfect decoration for your next Halloween party.
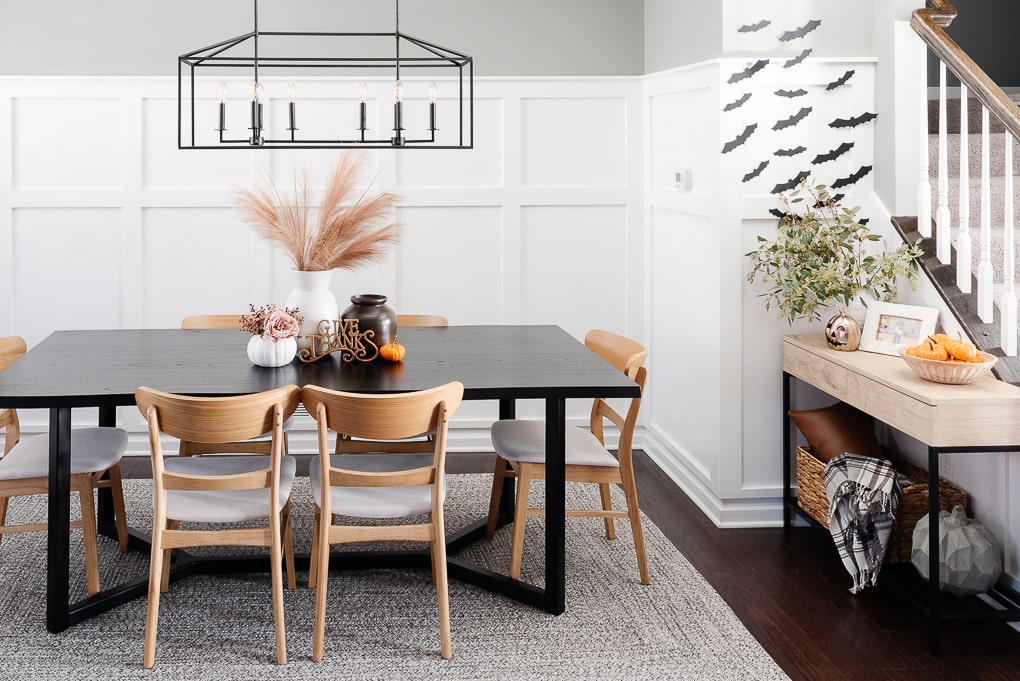
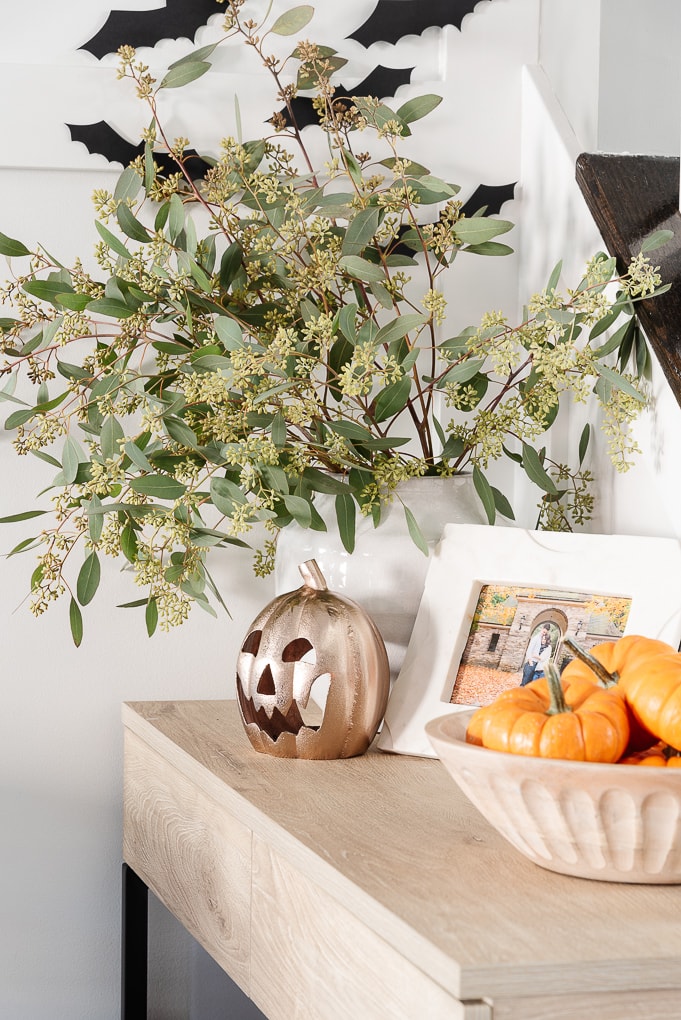
To complete the look on the console table, I added a modern jack-o’-lantern candle holder and some mini orange pumpkins.
So, there you have it – a fun and playful way to get into the Halloween spirit without making your home too scary.
This easy Halloween craft project is perfect for crafting with young kids, or adding some Halloween flair to your home.

Why wait? Go ahead, download those free bat templates, gather your craft supplies, and make some cute bats for your home!
I hope you have as much fun with this project as I did! Happy Halloween!