Create extra storage anywhere in your house using the IKEA PAX System. These are perfect for closets, but also can be installed with doors to look like built-in storage cabinets.
Want more IKEA Hack Projects? Check out our BESTA Media Center and my SEKTION Built-In Desk.

This post contains affiliate links for your convenience. For more information, see my disclosures here.
After moving into our townhome, one of the biggest problem areas for clutter was the basement.
The basement is a multi-purpose area in our home. It’s an entryway, an office, a craft room, and a storage area. Because it’s both my office and craft room, this area is where I store all of my decor items that I’m not using and my craft supplies.
Unfortunately, the basement doesn’t have very much storage. There’s only one little closet that we use to store shoes and coats. There is, however, a lot of open space to collect items.

This corner, for example, is always a problem area. It’s big enough to collect lots of items. But because it’s a main walkway through the basement, it’s not big enough for larger furniture like a seating area or a table.

I always felt like my office was so cluttered and disorganized. For a long time, I used some old bookshelves and other items in this corner to try and collect my decor items. But I knew that I needed some sort of storage system to help me stay organized.
I thought about building open bookshelves so I could display my extra home decor items. But, my extra home decor items are messy looking and aren’t exactly decorative when they are being stored.
My craft supplies are also really busy looking and not something that I wanted to look at all the time.
Instead of open storage, I decided that I needed a storage system that was closed so that I could hide things away and keep my office looking and feeling tidy.
I looked into a lot of different storage ideas. But ultimately I decided to use the IKEA PAX system. I was inspired by Abby’s home office storage cabinets. She used the PAX system for her extra home decor items and it worked perfectly!

WHAT IS THE IKEA PAX SYSTEM
The IKEA PAX system is a closet wardrobe system. It can be used with or without doors to create lots of organized storage in your home.
I knew it would be perfect for this corner of the basement because of the unique sizing of PAX cabinets.
The PAX cabinets come in two different heights. Both height options are very tall. This would make them look almost like built-in wardrobes in our home, instead of extra cabinets.
The PAX cabinets also come in two different depths. The narrower option can fit in smaller spaces without taking up a lot of floor space like kitchen cabinets would.
The narrow depth design made them the perfect choice for this corner of the basement, where we still need room to walk through to get to the stairs leading to the main floor.
The IKEA PAX system is a great storage solution for small homes. There are lots of different configurations that you can use to build the perfect system for your home.
HOW TO DESIGN A CUSTOM IKEA PAX SYSTEM FOR YOUR HOME
IKEA has a very helpful PAX planner tool that you can use to create your design. I used the PAX planner tool to start playing around with different configurations for my storage wardrobes.

Once I picked the height and depth for the wardrobe cabinets, I could start laying out a design.
Here’s the configuration that I came up with.
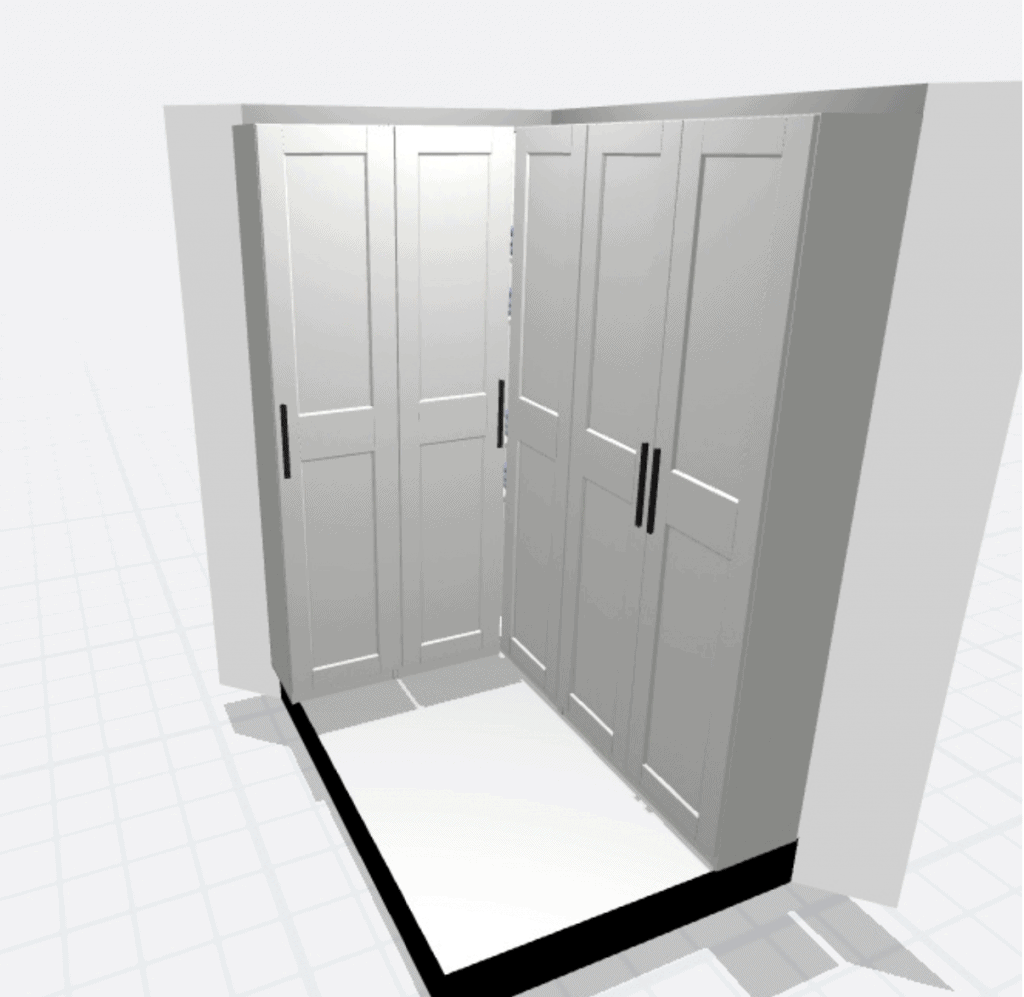
I used the corner unit to maximize the space. That way I wouldn’t lose any valuable storage space.
After I had the base configuration, I thought about what I was going to store in the cabinets and then I added the organizers inside.

You can choose from different drawers, shelves, and even railings to create your perfect storage solution. I ended up using mostly shelves for my PAX cabinets.
I did choose a few drawers for the smallest cabinet and the largest cabinet. In the smaller cabinet, I thought I could store pillow covers. And in the larger cabinet, I wanted drawers so I could organize my smaller craft supplies.
Finally, I chose the doors for the front of the cabinets. I decided to use the GRIMO doors to match my desk cabinets.
Once you finish the design using the PAX planner, you can easily generate a list of all the products you need to buy. From there, you can order everything online or go to the store and have them pick everything from the stockroom. My specific configuration ended up costing just under $1000.

We ended up having to order everything and have it delivered to our home. We didn’t have a car large enough for all of the big boxes.
HOW TO INSTALL IKEA PAX CABINETS
Once all of the boxes arrived, it was time to build and install the cabinets.
Looking at all of the boxes felt a little overwhelming at first. But, the IKEA PAX cabinets are pretty easy to put together.
BUILD THE OUTSIDE FRAMES
First, you build the outside frames and anchor them to the wall. These are basically just simple boxes that you put together and then attach in place according to your plan.
To attach the cabinets to the wall, we first removed the baseboards in the corner of the room. This helped the cabinets sit flush against the wall.

On the ends, we needed to cut off some of the trim from the other side of the wall using a hand saw. Once that small piece of extra trim was removed, the cabinets could sit right against the wall with no gaps.

MAKING ADJUSTMENTS FOR NON-IDEAL WALL CONDITIONS
At this point, we needed to make a few custom adjustments to the cabinets.
There were 3 issues on the walls where we installed the PAX cabinets. The cabinets were going to be obstructing existing features of our home.
Here’s how we worked around those issues.
PROBLEM: COVERING AN AIR VENT
First, we were going to be covering an air vent with the cabinets. We needed a way to extend the vent to the outside of the cabinets so that the air could still flow properly.
This was the most complicated of the problems, but we came up with a simple solution that worked perfectly with the IKEA PAX cabinets.
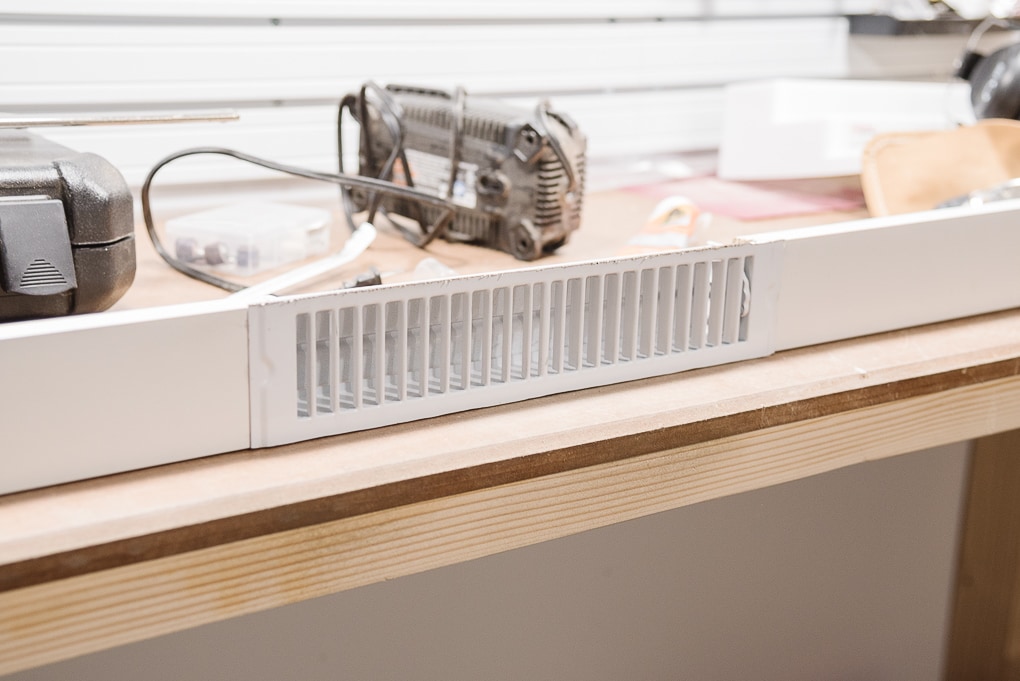
We found a narrow vent covering online that would fit inside the toe kick section of the cabinet. Before installing the toe kick piece on the cabinet that was covering the vent, we made a few adjustments.
First, we took the toe kick piece that came with the cabinets and cut it down using a miter saw. We cut off the part in the middle to make room for the new vent.

Then, we attached the new vent using superglue.

The vent itself was the perfect size for the toe kick. But, it had metal pieces above and below that were too large and needed to be removed.
We used a Dremel tool to cut off the extra metal so that only the vent was remaining.


We then used a metal file to sand down the rough edges.

Now we had a piece that was the same height as the original toe kick, but with an air vent installed.
Next, we needed to access the existing vent area. First, we removed the vent cover on the wall. Then, we cut a hole in the back of the cabinet that was covering the vent.
To find the right location, we first measured where the vent was on the wall from the ground and from the corner.

Then, we marked that location on the inside of the cabinet and used a hand saw to cut a hole.

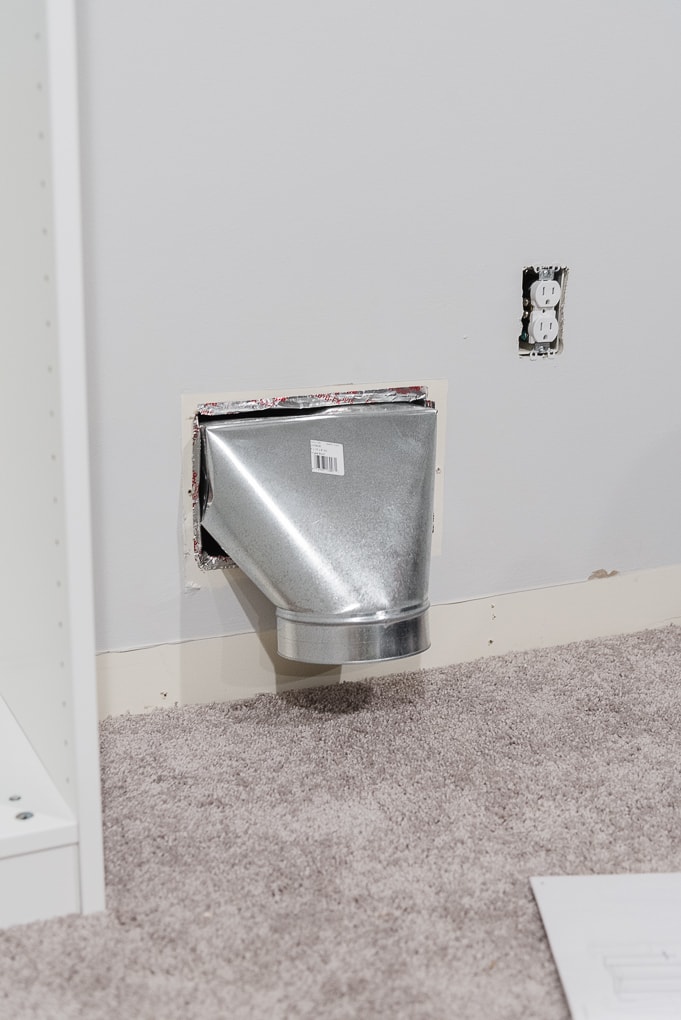
We bought an angled duct piece to route the air down and into the bottom of the cabinets towards the new toe kick air vent. We tested the fit of the angled piece first. Here’s how the angled piece looked without the cabinet installed yet.
Next, we used a jigsaw to cut a round hole in the bottom of the cabinet.

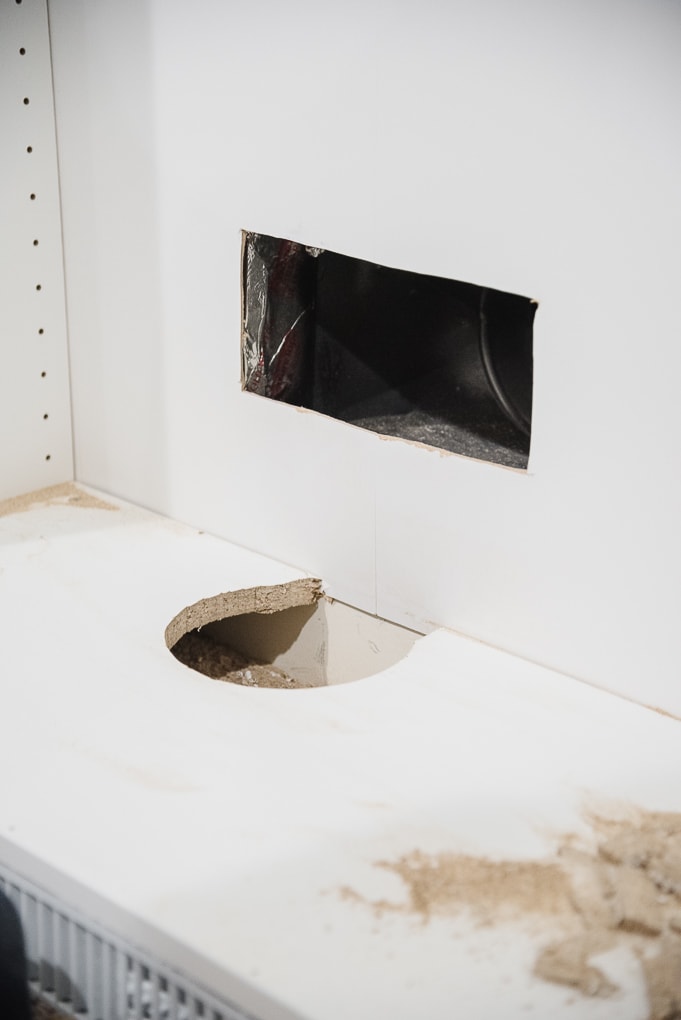
We then used some duct tape to route the air flow from the angled piece into the bottom of the cabinet and towards the new vent.
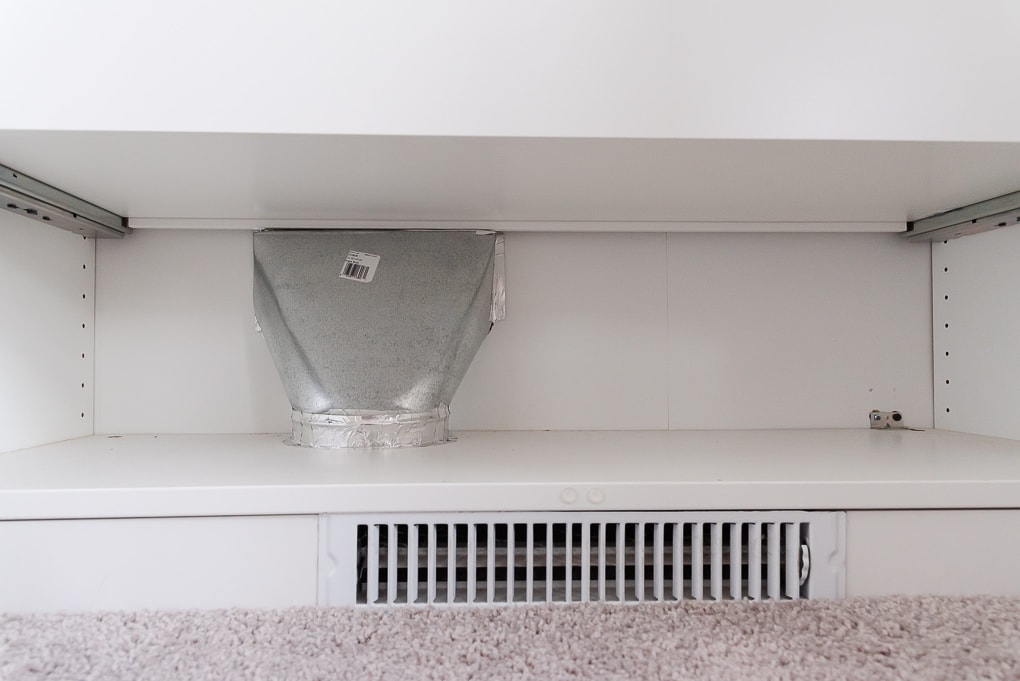
Now we have a functional air vent! The vent hardware takes up some of the lower section of the cabinet. I just made sure to install the drawers above this area, and I can use the bottom section for extra storage.

PROBLEM: COVERING WALL OUTLETS
We were also going to be covering two wall outlets. So, we needed to have access to those sections of the wall in order to still use the plugs.
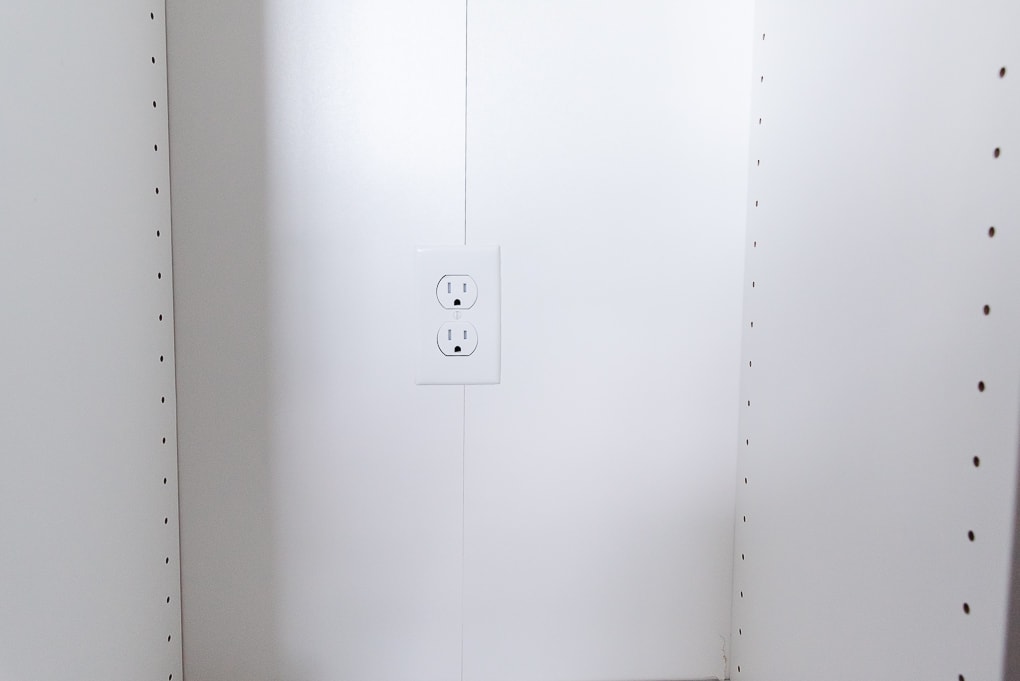
To fix this problem, we cut two small holes in the backs of the cabinets that were covering the outlets.

We cut holes in the backs of the cabinet that were covering the outlets using the same method as we did for the vent.
Then, we installed the faceplates on the inside of the cabinets so that the outlets look built-in.
PROBLEM: COVERING A THERMOSTAT
Finally, we were also going to be covering our thermostat in the basement. We needed to move that piece of hardware off of the wall and relocate it to the outside of the cabinets so we could still use it.
To fix this problem, we decided to relocate the thermostat hardware to the outside of the cabinets on the side panel.
We cut a small hole in the back of the cabinet that was covering the thermostat using the same method as we did for the vent and the outlets.

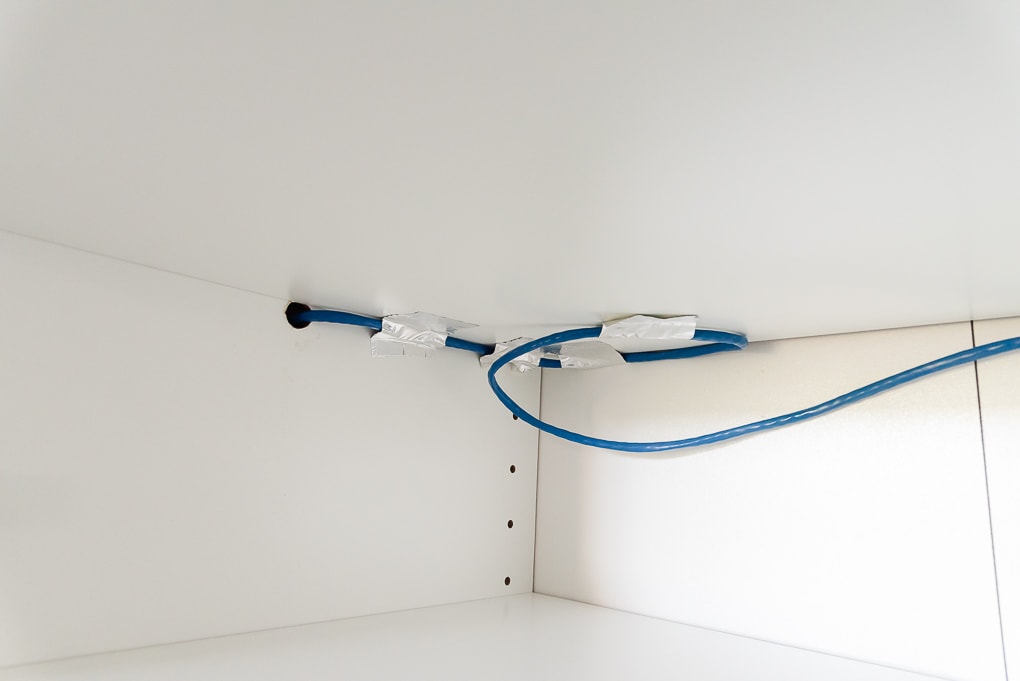
Then, we added some extra wiring and taped it along one the bottom of the shelves inside the cabinet. We ran the extra wires out to the side of the cabinet on the left.
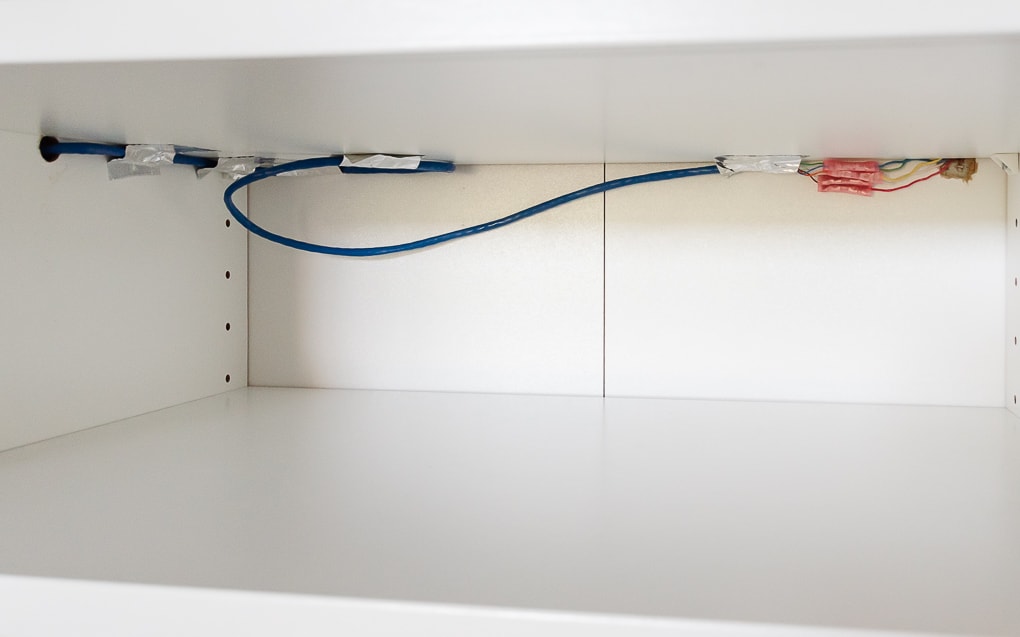
Then, we cut a small hole on the outside of the cabinet big enough to fit the wires through.
Finally, we installed the thermostat on the outside of the cabinet so we could still have access to all of the controls.

ATTACHING THE DOORS AND HARDWARE
The last part of the installation was attaching the doors and hardware.

The doors made everything feel so much more put together and finished. Look at all that storage!

Our cabinets don’t reach all the wall to the ceiling, so there’s a small gap at the top. I thought about trying to install crown moulding to make them look more built-in, but there wasn’t enough room. So I left the gap, and honestly now I barely even notice it.

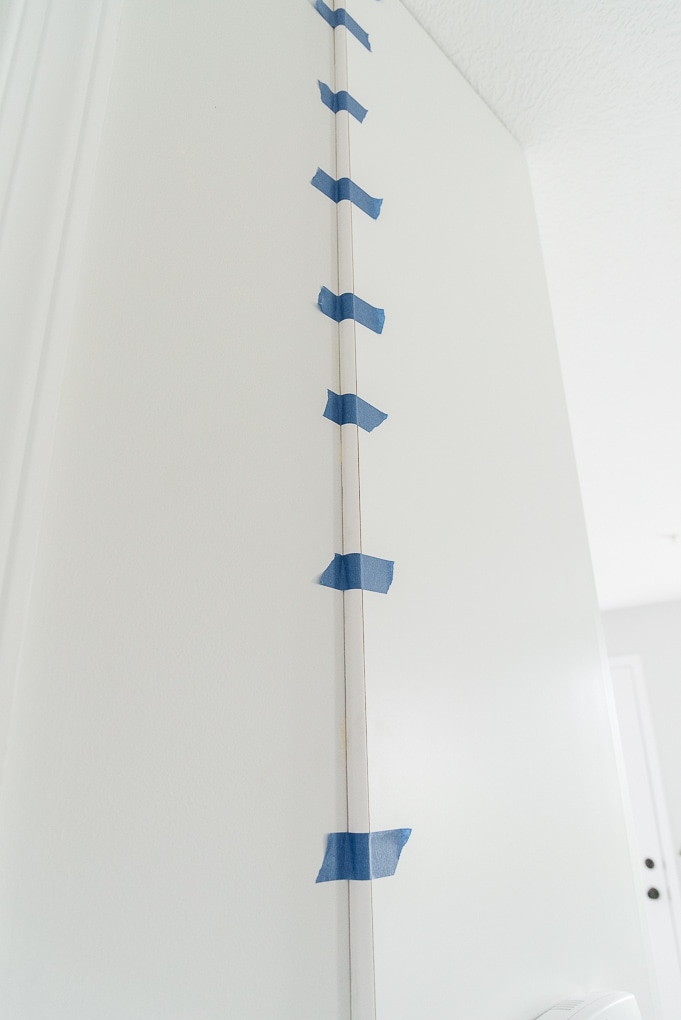
I did add small quarter round trim pieces to the ends of the cabinets between the cabinet back and the wall. I used wood glue to attach them and some painters tape to hold everything in place until the glue dried.

This covered up any gaps between the cabinets and the walls and helped to create that built-in look.
Finally, I chose some modern, matte black pulls as handles for the doors. I love how they look!

The IKEA PAX cabinets were the perfect solution for this small space. I was able to add tons of extra storage without taking up too much space.

I am so happy with how this project turned out. The cabinets honestly look like they were made for this section of the room.
Whenever people see the new cabinets, they always comment that the cabinets look like they’ve always been there. They fit in so well with the house and just look like built-in storage cabinets.
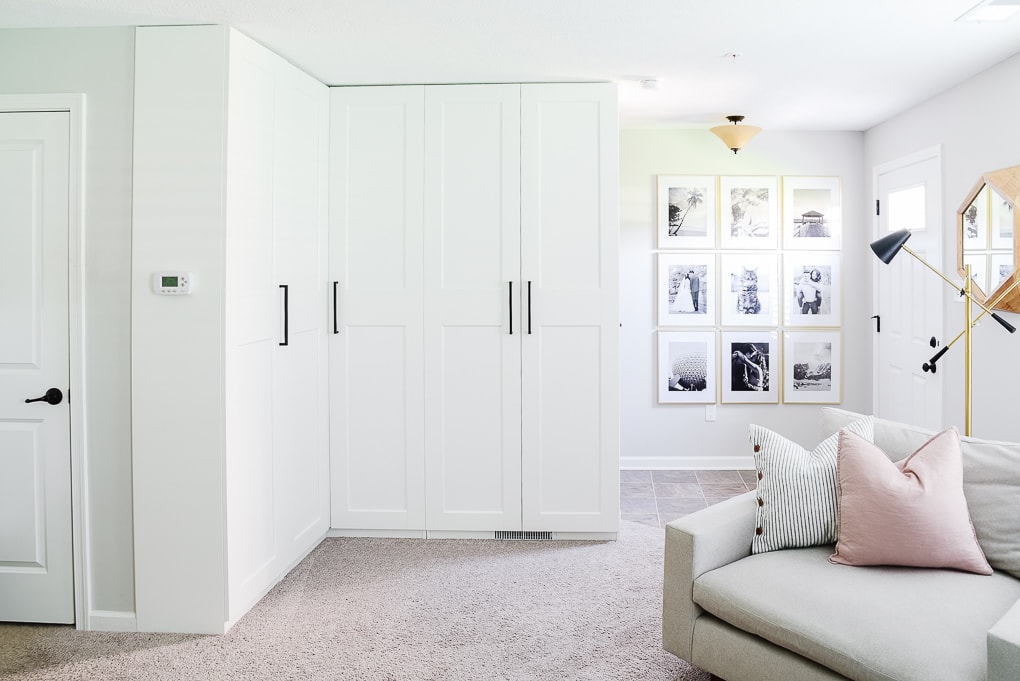
I have so much space to organize all of my home decor and craft supplies.
I love that I can store lots of things in these cabinets without having to see all of the mess. I can just hide things and keep the room looking clean and tidy.
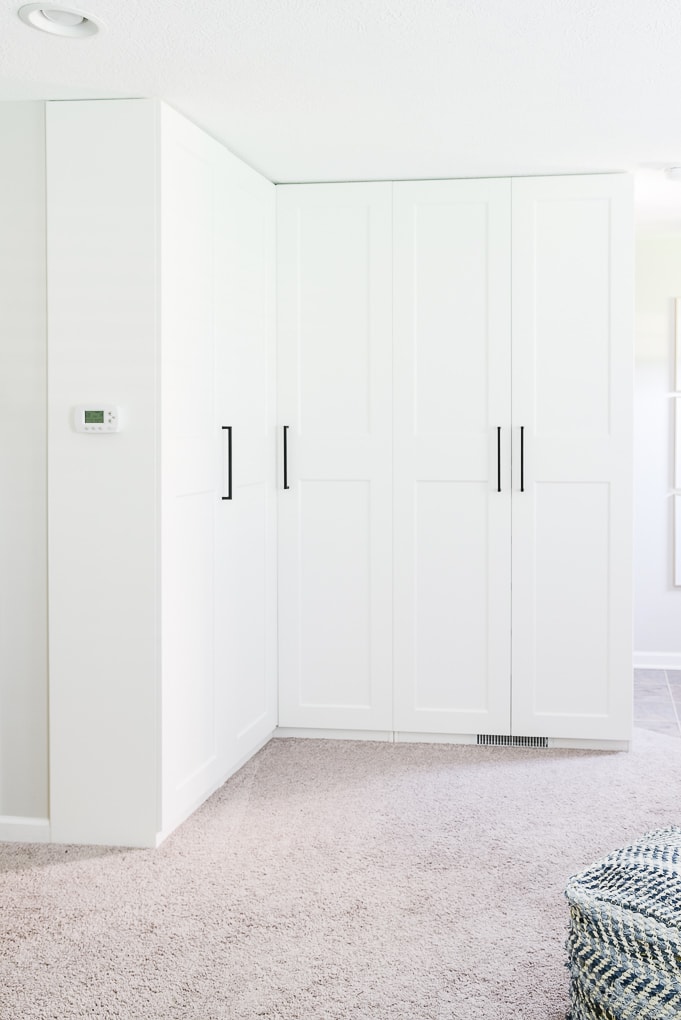
The IKEA PAX system is a great storage solution for small homes. The narrow, but tall design is perfect for creating a lot of extra storage without a large footprint.
I’ll be sharing another post in the future all about how I organized the inside of the cabinets.
I’m so excited to share more of my office with you.
You can follow along as we transform (a section of ) our basement into my comfortable and organized creative home office via the links below:
Planning a Comfortable and Organized Creative Home Office
The Best Modern Accent Lamp {and Giveaway}
The Most Comfortable Oversized Chair
How to Install Plantation Shutters
How to Create a Simple Modern Gallery Wall
How to Create Extra Storage with the IKEA PAX System (You’re Here)




Another inspiring post! Wow, I think when I realized I’d be covering up a vent, outlets, and thermostat, I would’ve just given up and done something different, but you guys? You plowed ahead and figured it out! The cabinets look fabulous and you’d never know they weren’t built-ins. I was hoping you’d show us the inside at the end, since I’m always looking for ways to corral my extra decor pieces. Hopefully, you’ll do a big reveal in a future post. Btw, I have total basement envy! Living in S. Florida where there’s no such thing, I’d give jut about anything to have all that extra space!
Thanks so much for your kind comment! I really appreciate it. I love those wardrobes and it’s so nice to have hidden storage. To be honest it’s a lot messier inside of there than I would normally like and I think that’s why I haven’t shared the inside just yet. But that’s ok because that’s why I wanted closed off storage to hide the mess!
I hope you have a great week!
>> Christene
This is so impressive! How is the air flow from the vent you created? I’d like to try this in my bedroom but don’t want to diminish the output of my main vent.
I’m so glad it was helpful to you Megan! Yes, I didn’t want to cover our vent either. It was a little more work, but the result was great and it worked out well.
Good luck with your bedroom project.
>> Christene